Christmas is one of my favorite times for so many reasons – and as more Christmases pass by, the more intense my focus on creating vivid memories with family becomes. There is no other holiday that stirs up memories of my childhood as much as this one. There were always weekends spent together in my grandma’s small apple studded kitchen baking, where the scents of coffee mixed with baked goods + laughter the main theme song. My grandma’s laugh filled the room, and her love palpable. Her hugs were as warm as the coffee and when she spoke with you, her focus was on nothing but your words.
She was one of the kindest women I’ve ever met.
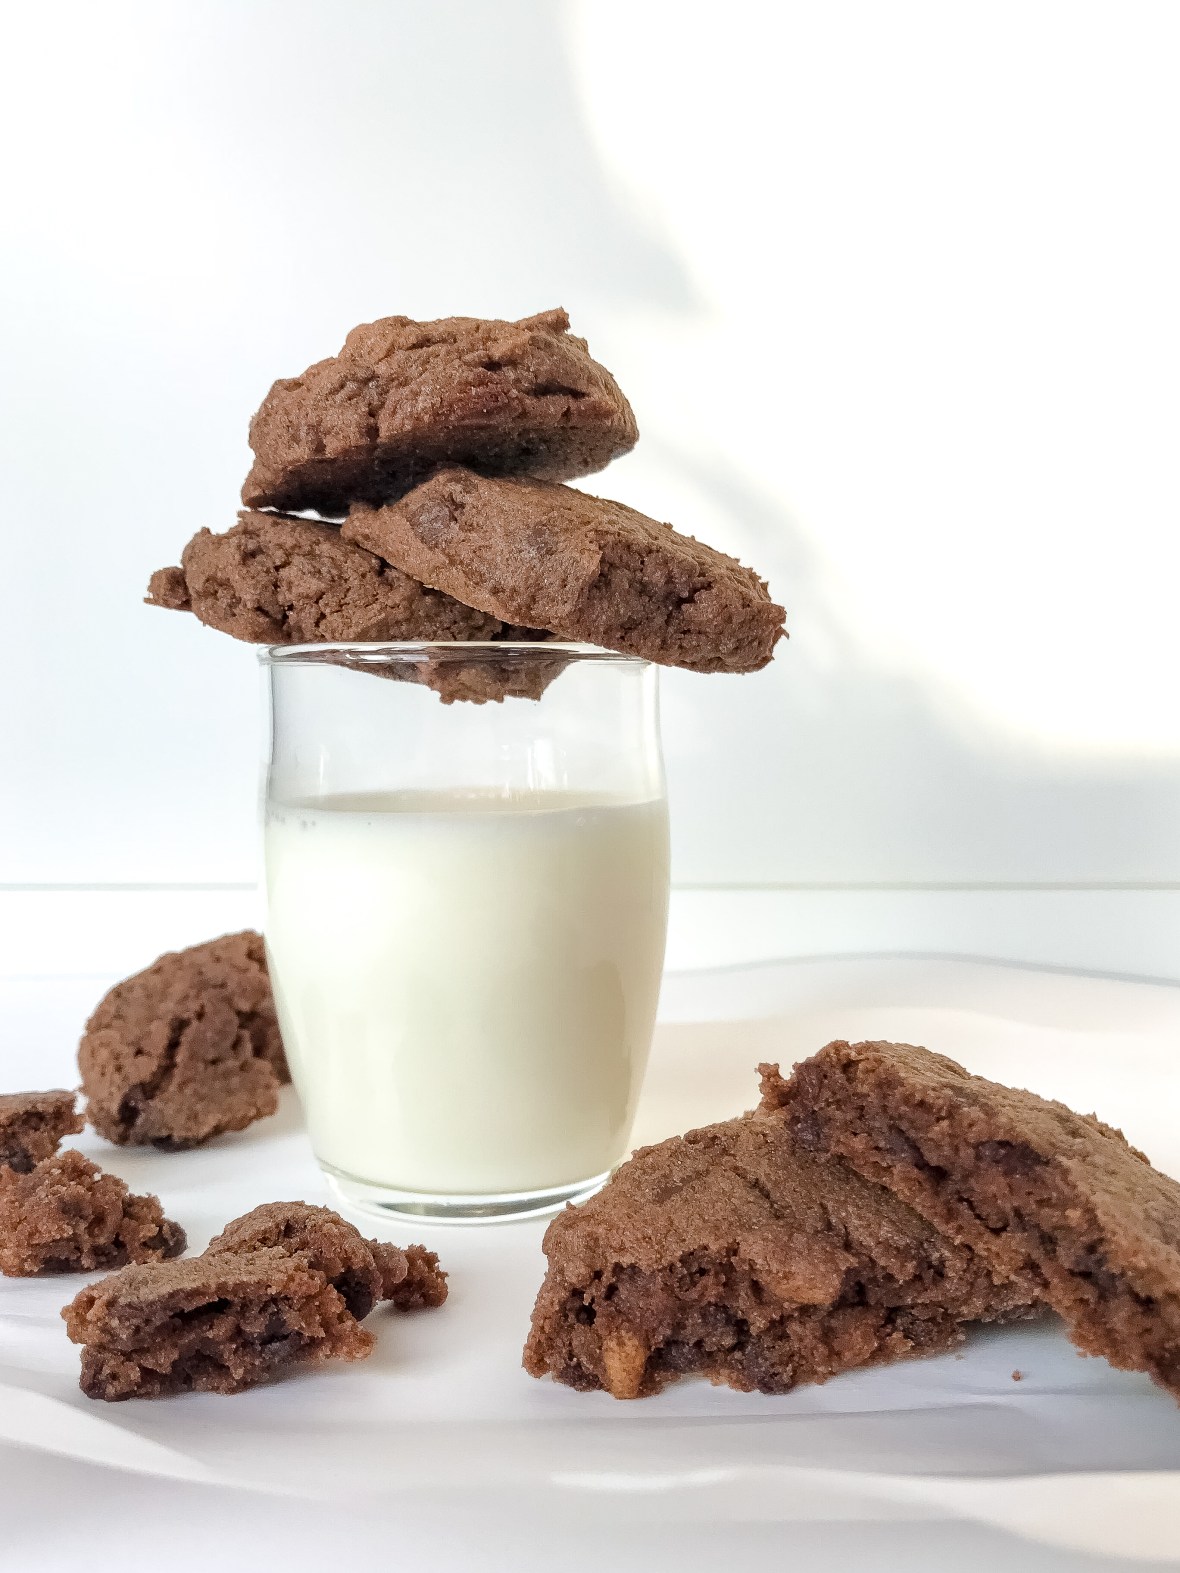
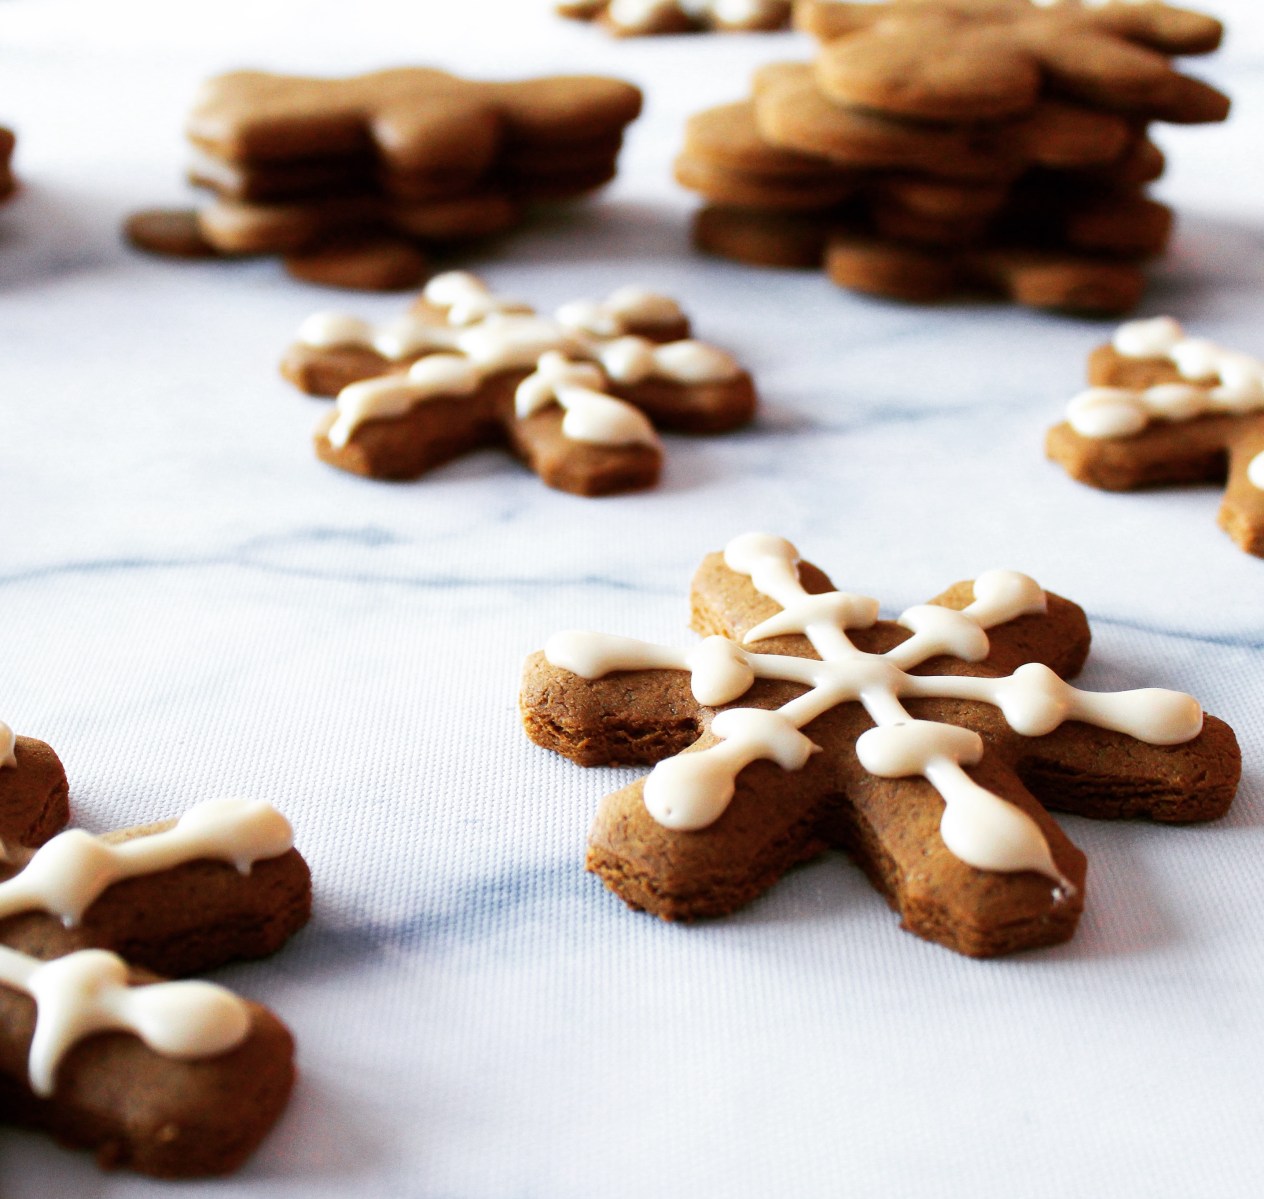
This recipe for gingerbread is hers – and my mom’s favorite. As the story goes, after I was born (in the middle of summer) my mom’s only request was for my grandma’s gingerbread. She snuck it into the hospital for my mom, and I can see both women enjoying it knowing not a nurse or doctor could challenge them otherwise. When the women in our family put their mind to something – especially out of love – nothing stands in our way. We are a determined bunch.
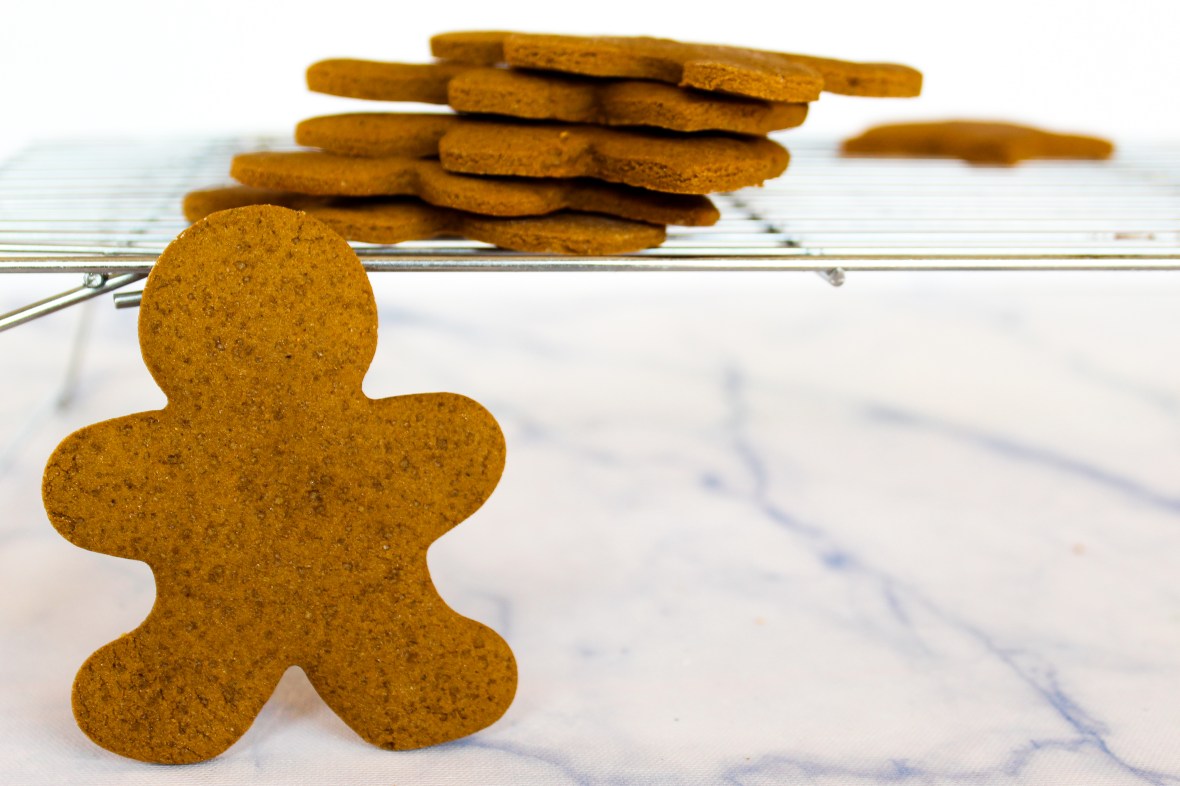
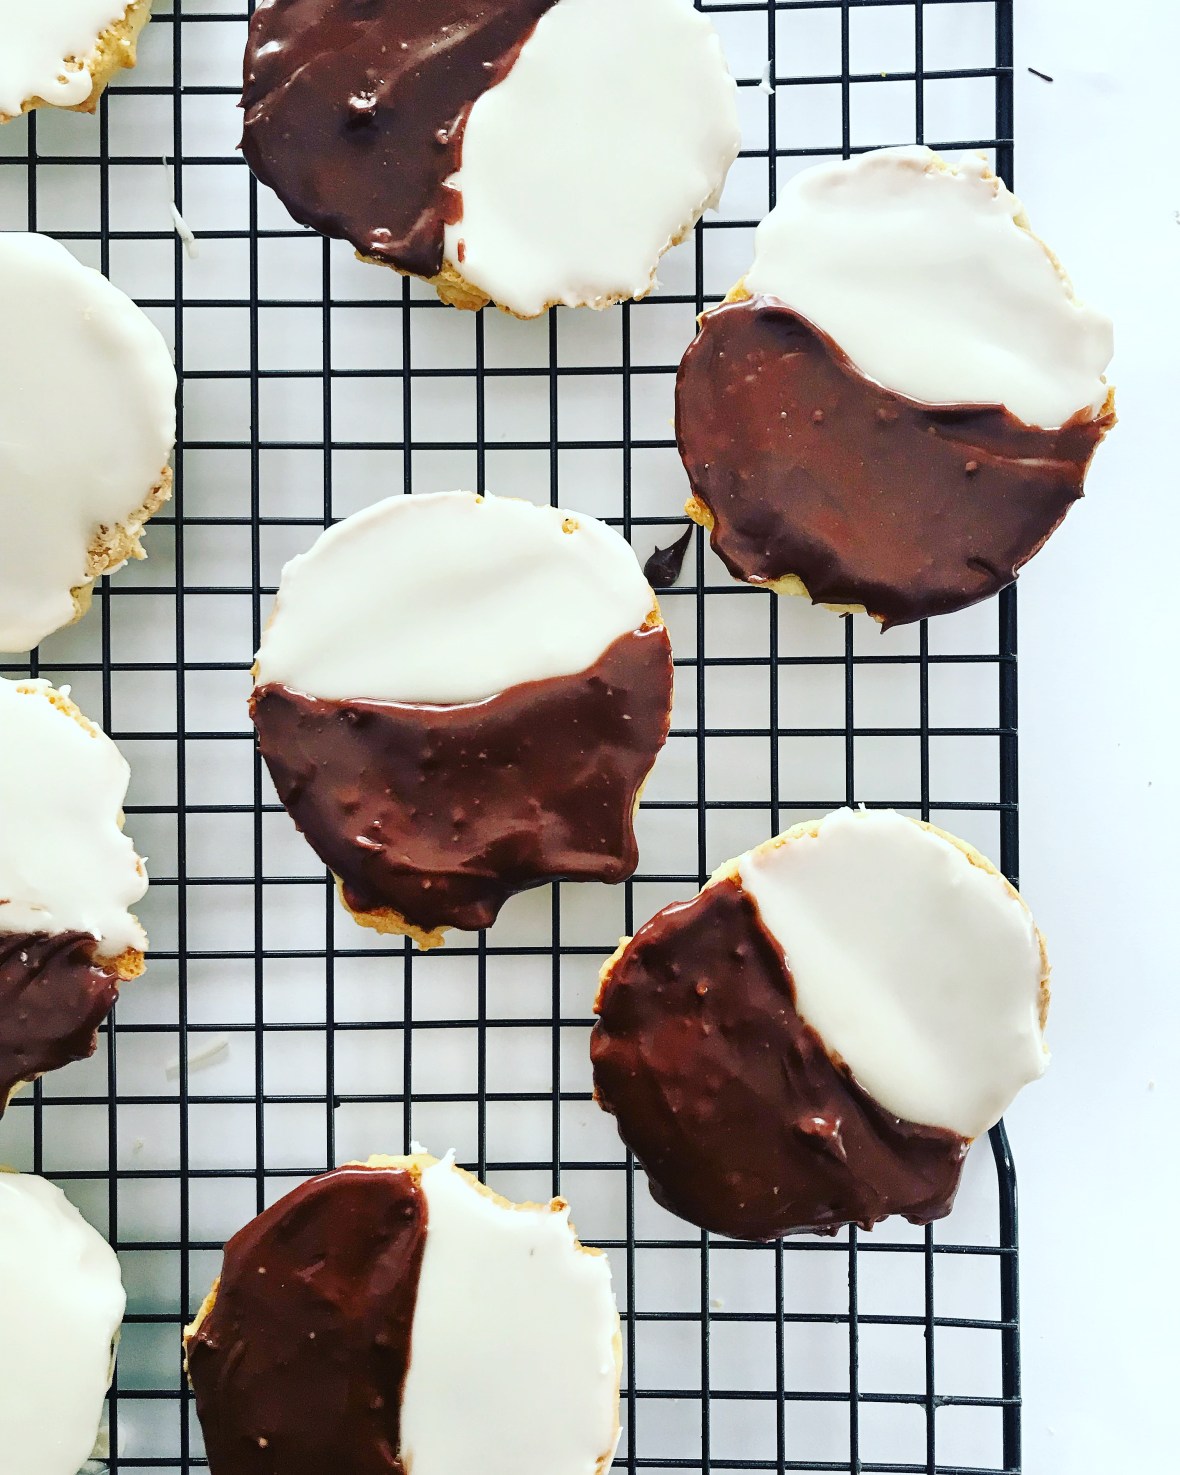
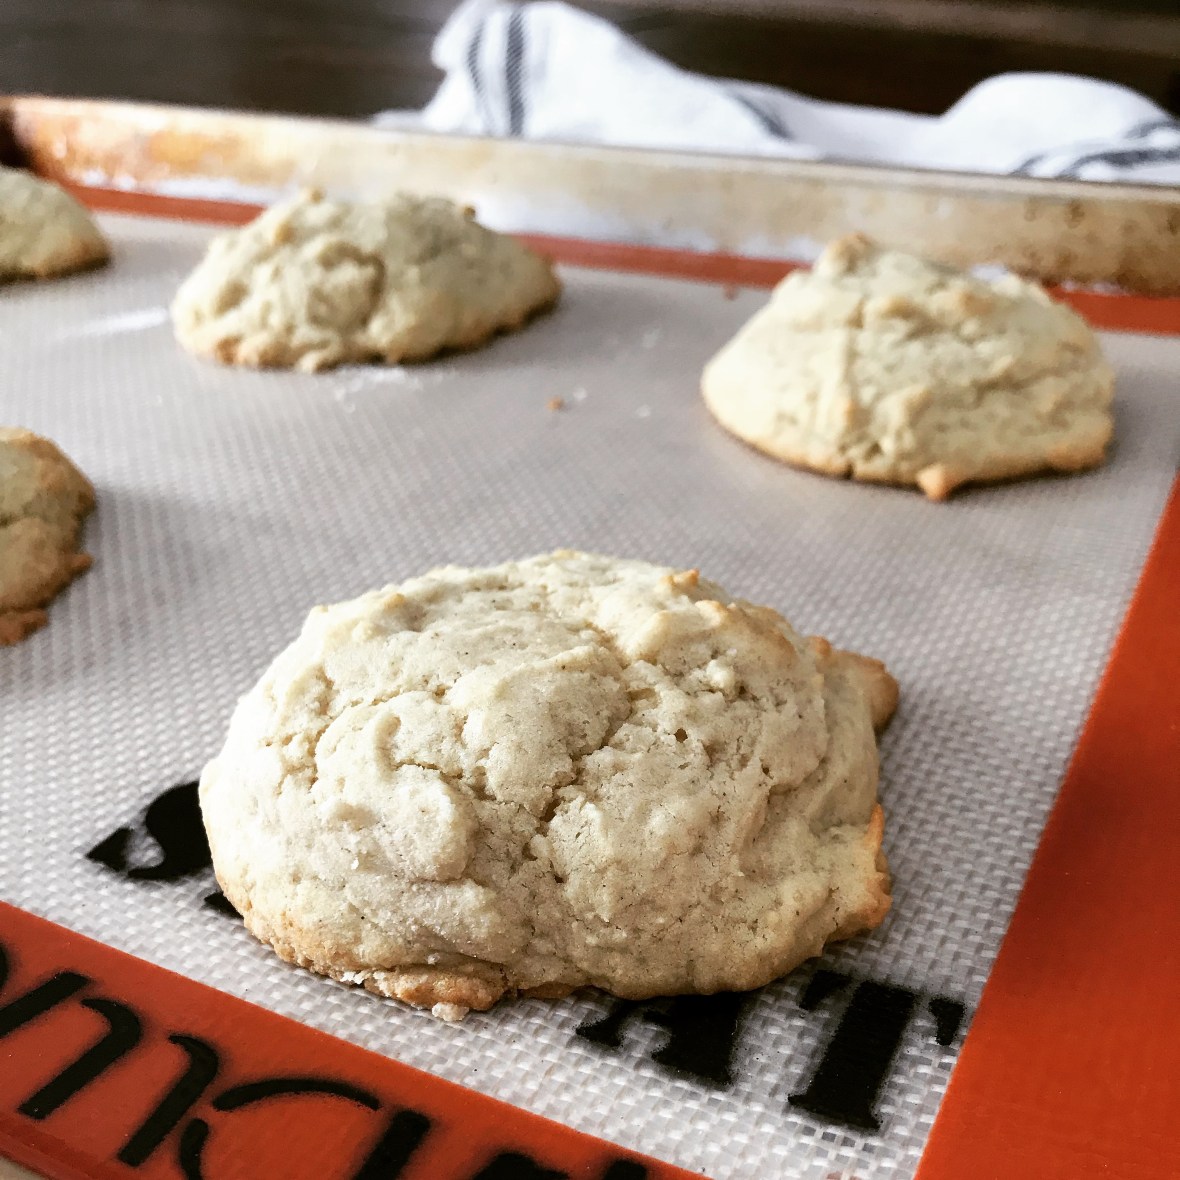
These can be made as cut outs + decorated per your whim – or for a simpler treat, bake them in a 9×13 pan as bars. A cinnamon frosting slathered atop them is glorious. I used a decorator icing to pipe, and my girls frosted some then topped with sprinkles. They’re also lovely on their own.
For any gluten free bakers, I substituted Bob’s Red Mill cup for cup Gluten Free flour and they turned out wonderfully.
From my kitchen to yours, enjoy baking with those you love this season!

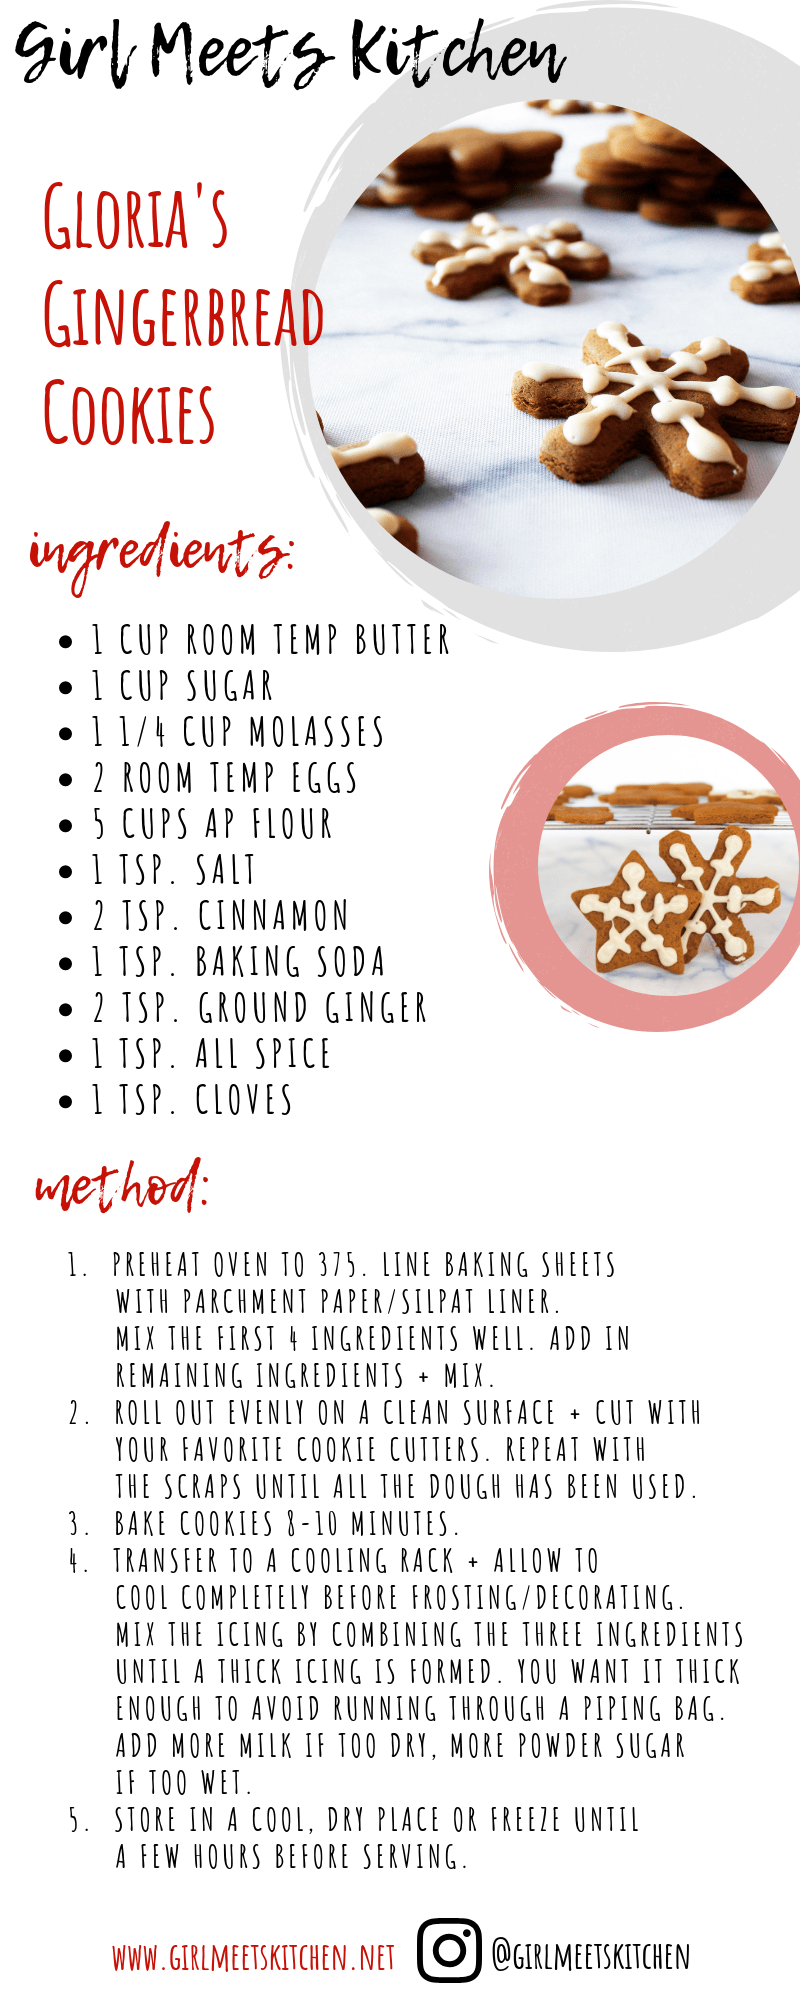
Ingredients:
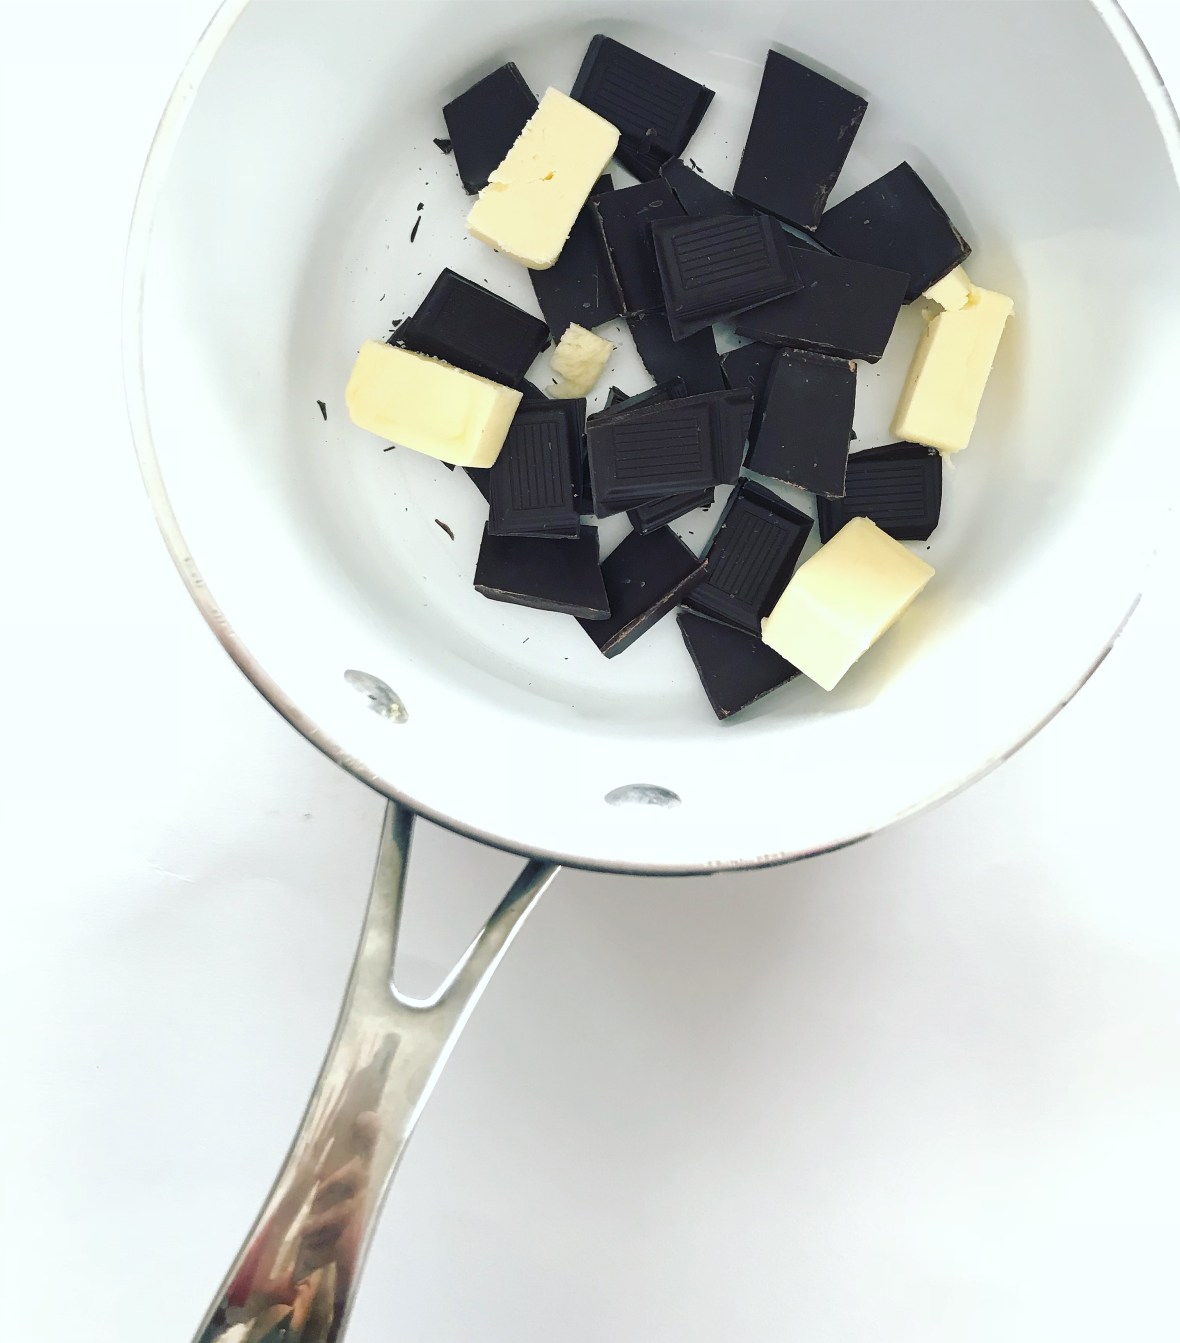
- 1 cup room temp butter (my grandma used shortening. I’m a butter girl.)
- 1 cup sugar
- 1 1/4 cup molasses
- 2 room temp eggs
- 5 cups AP flour
- 1 tsp. salt
- 2 tsp. cinnamon
- 1 tsp. baking soda
- 2 tsp. ground ginger
- 1 tsp. all spice
- 1 tsp. cloves
For the Royal Icing:
- 1 lb powder sugar
- 2-3 tbsp. whole milk
- 1 tsp. pure vanilla extract (use Mexican Vanilla if you want a pure white icing)
Method:
- Preheat oven to 375. Line baking sheets with parchment paper/silpat liner.
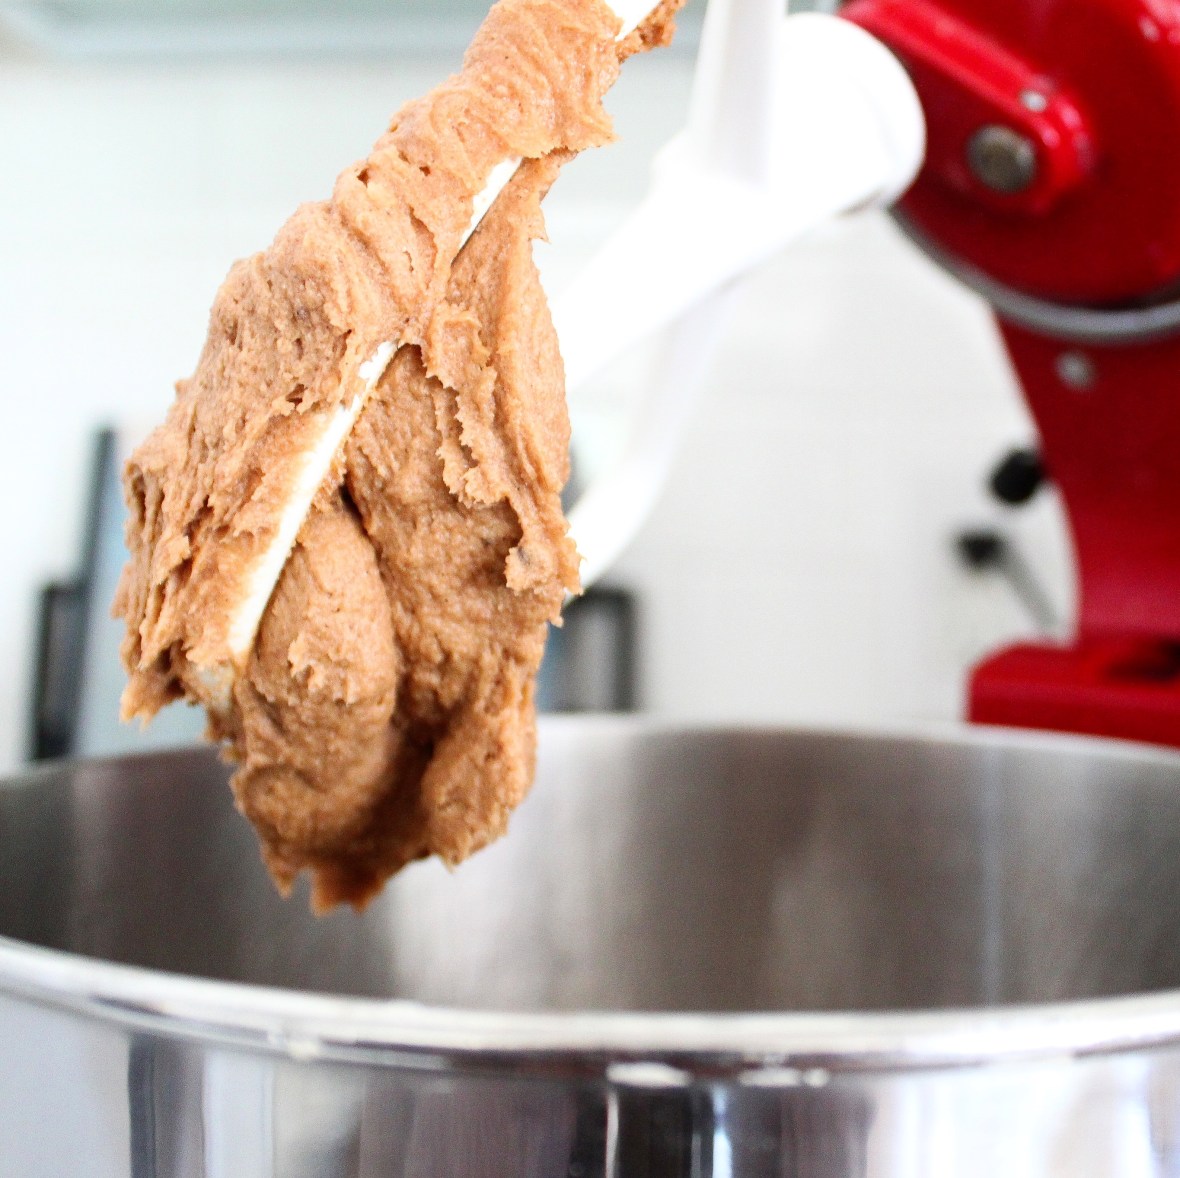
- Mix the first 4 ingredients well. Add in remaining ingredients and mix until incorporated.
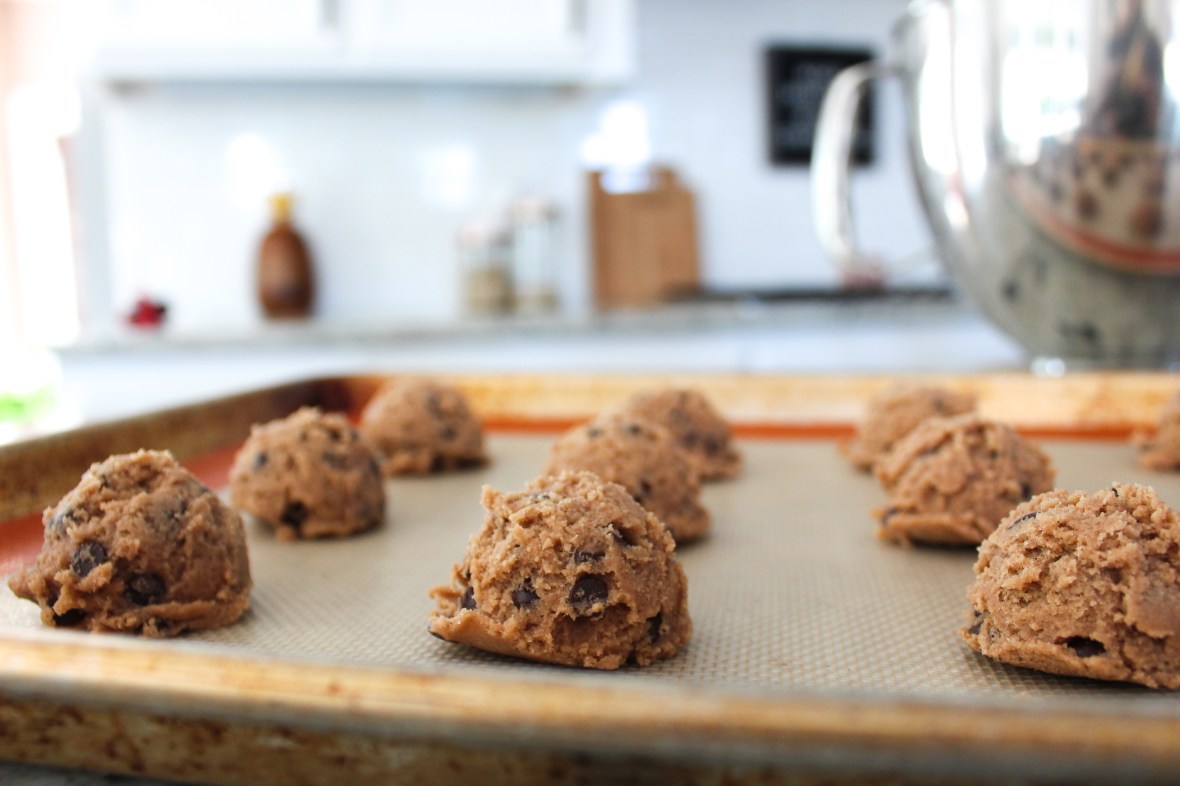
- Roll out evenly on a clean surface + cut with your favorite cookie cutters. Repeat with the scraps until all the dough has been used.
- Bake cookies 8-10 minutes.
- Transfer to a cooling rack + allow to cool completely before frosting/decorating.
- Mix the icing by combining the three ingredients until a thick icing is formed. You want it thick enough to avoid running through a piping bag. Add more milk if too dry, more powder sugar if too wet.
- Store in a cool, dry place or freeze until a few hours before serving.