Here is a guide to how to throw a nordic themed progressive dinner party, without breaking the bank, or your sanity!

When I decided to throw a progressive dinner party with my neighbors, I immediately decided the theme to which I’d arrange every little detail, and it was without question Nordic. The first reason was to celebrate my heritage.
My heritage is predominately nordic. The Nordic countries are a geographical and cultural region in Northern Europe and the North Atlantic. It includes the sovereign states of Denmark, Finland, Iceland, Norway and Sweden as well as the autonomous territories of the Faroe Islands and Greenland, and the autonomous region of Åland.
The second reason for this theme is my belief that Nordic environments embody the meaning of hygge. This Scandinavian term encompasses a feeling of coziness, contentment, and well-being found through cherishing the little things.
I believe our generation has lost the practice of gathering around the table with intention. Everything is fast, on the go, or distracted. We’ve (on the whole) lost our ability to put aside the world’s distractions, roll up our sleeves, make a meal and connect together around the table.
This dinner party was a beautiful night, not just because we put a few extra touches into the decor and food…but because we gathered around the table to cherish the gift of life and friendship.

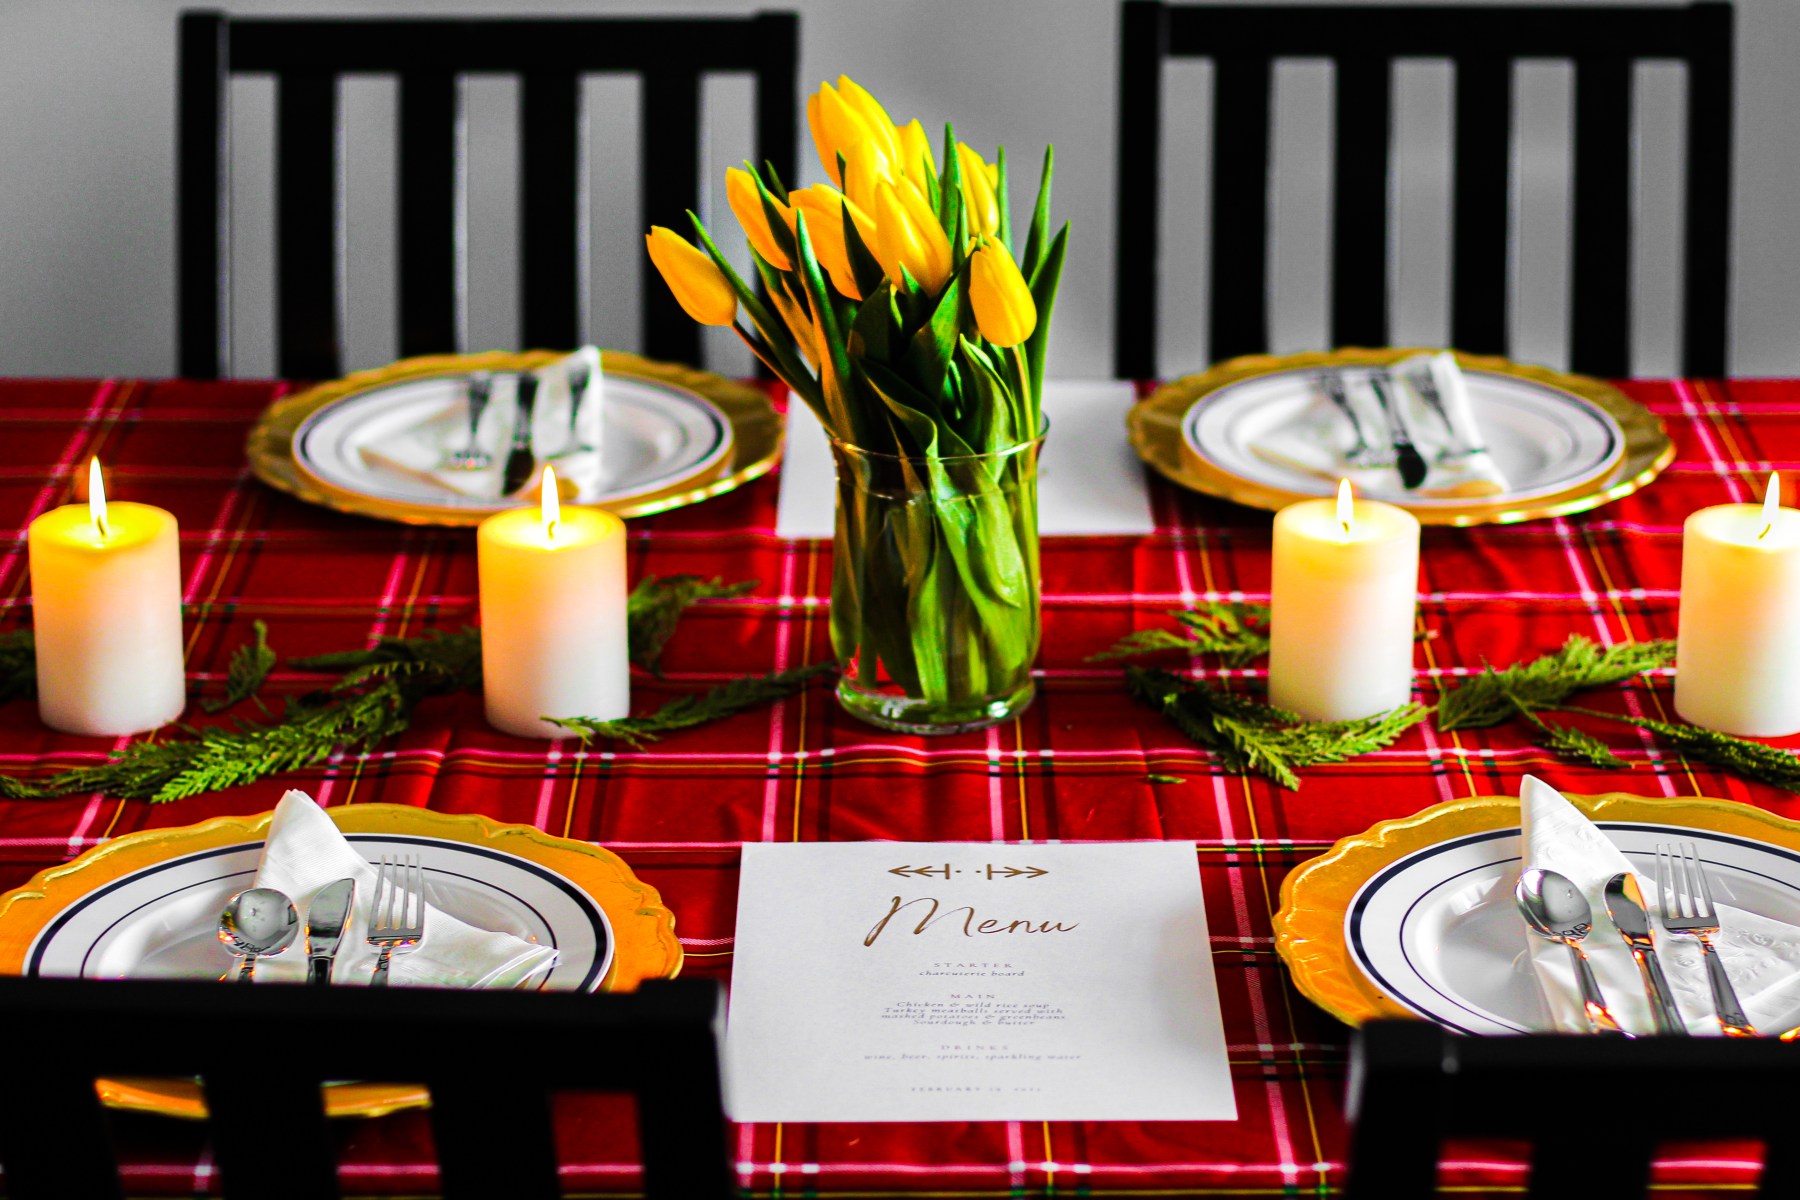
Let’s discuss what we did for decor. Whenever I host a large scale dinner party, I opt for practicality with a side of beauty. I used chargers I had bought years ago on clearance from target, but topped them with disposable china and silverware. The tablecloth’s were waterproof and machine washable, and I will use them again around Christmas time. I chose a red plaid pattern, and pulled in blue rimmed plates and gold items to tie the additional colors of the plaid together. Lastly, I added yellow tulips as a centerpiece, and lined unscented white candles and some of my outside greens to display across the center of the tables.

Link to tablecloths
Link to disposable dinnerware
Link to disposable cups
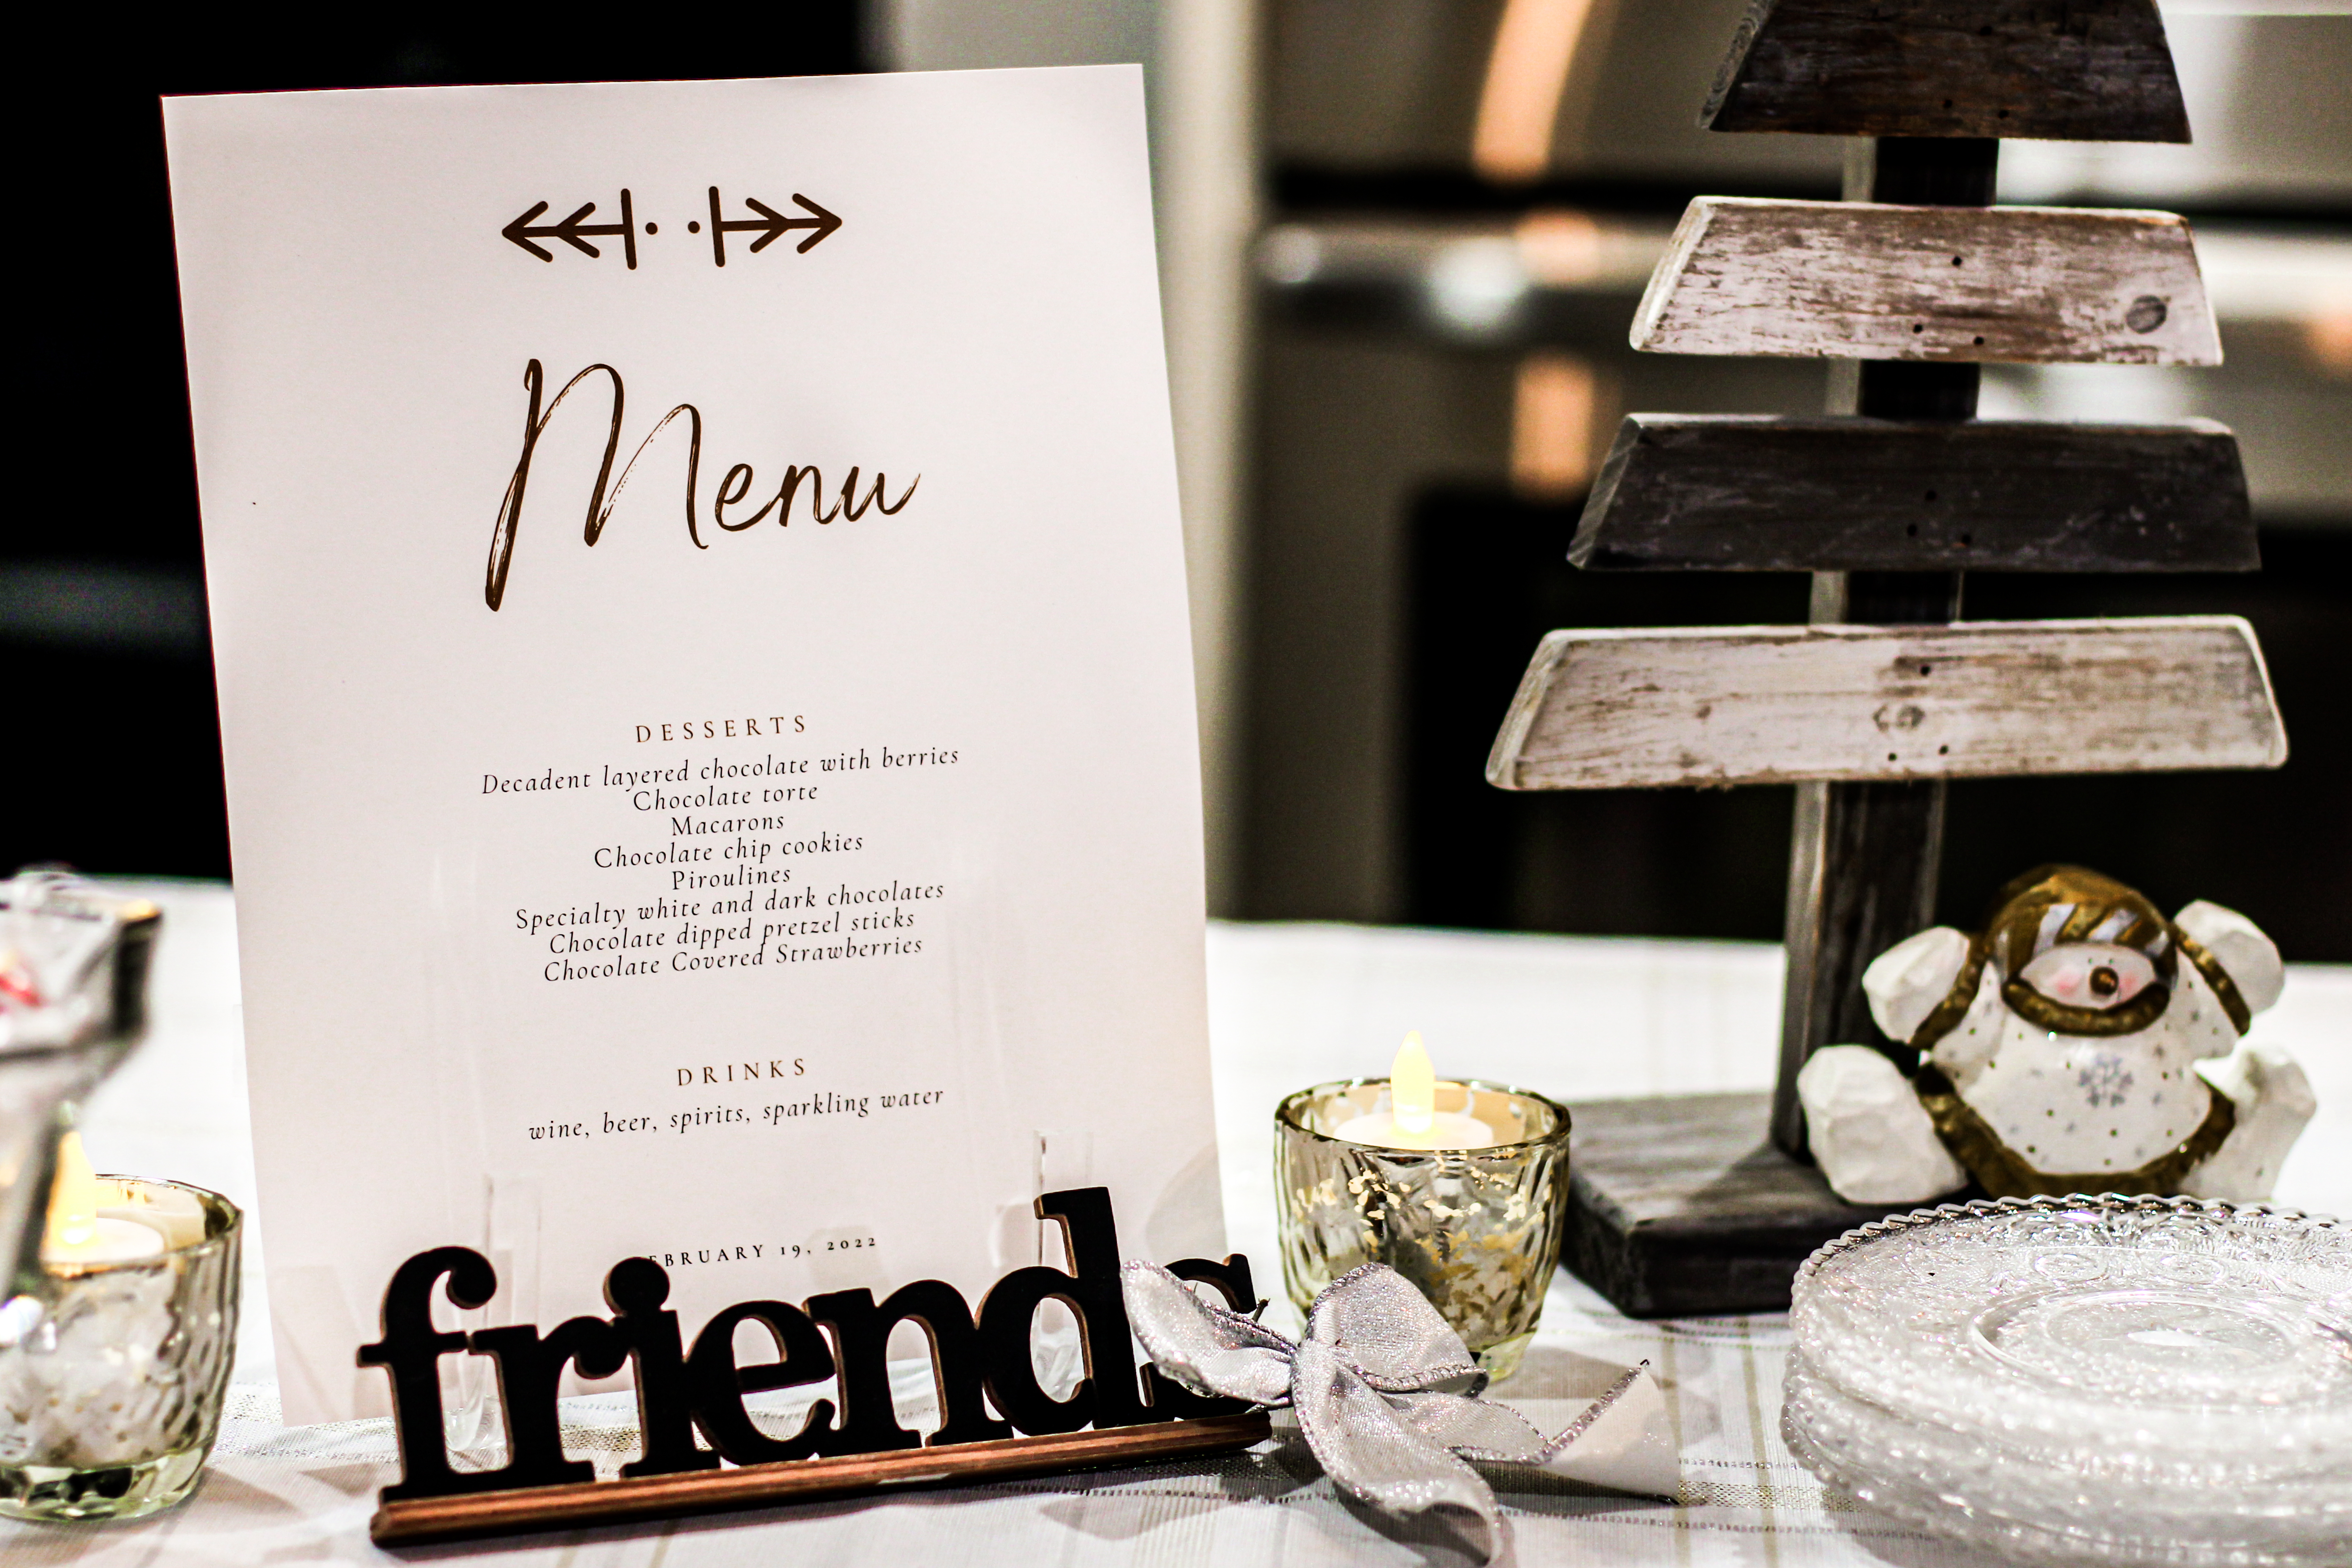
I believe little touches sometimes go a long way, like printing a menu. I created it in Canva, (a free design website) printed them on card stock and placed them on the tables.


Let’s discuss how I coordinate progressive dinners:
My home was the stop for the appetizers and dinner, and the second home was dessert and games. When the RSVP’s are firm, I divide the families into “teams” to assist the host financially and with prep work. It’s up to the team lead (host) to determine how they need help and coordinate their stop. In our case, each couple on the host’s team gave them $50 for the evening, which helps cover costs for food and drink. I also polled guests in advance to ensure we avoided any food allergies.
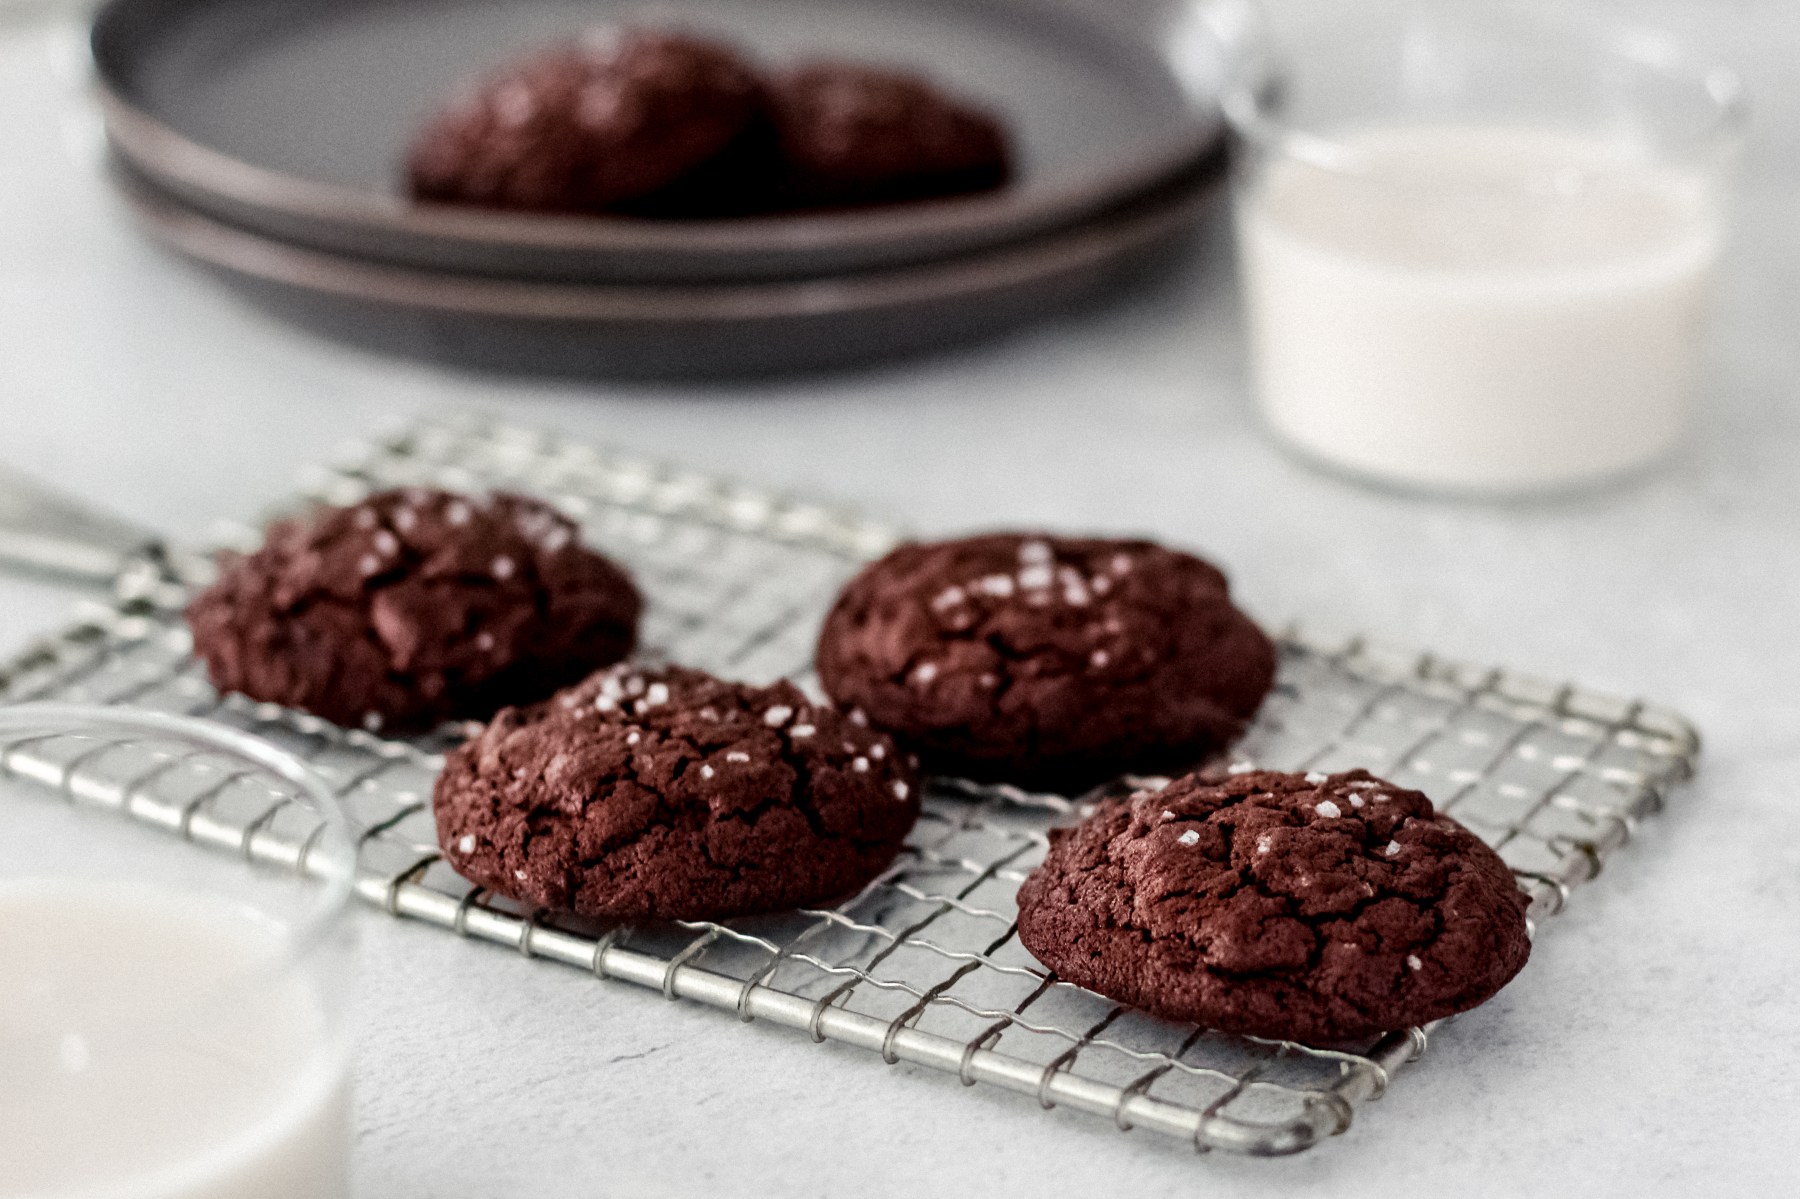
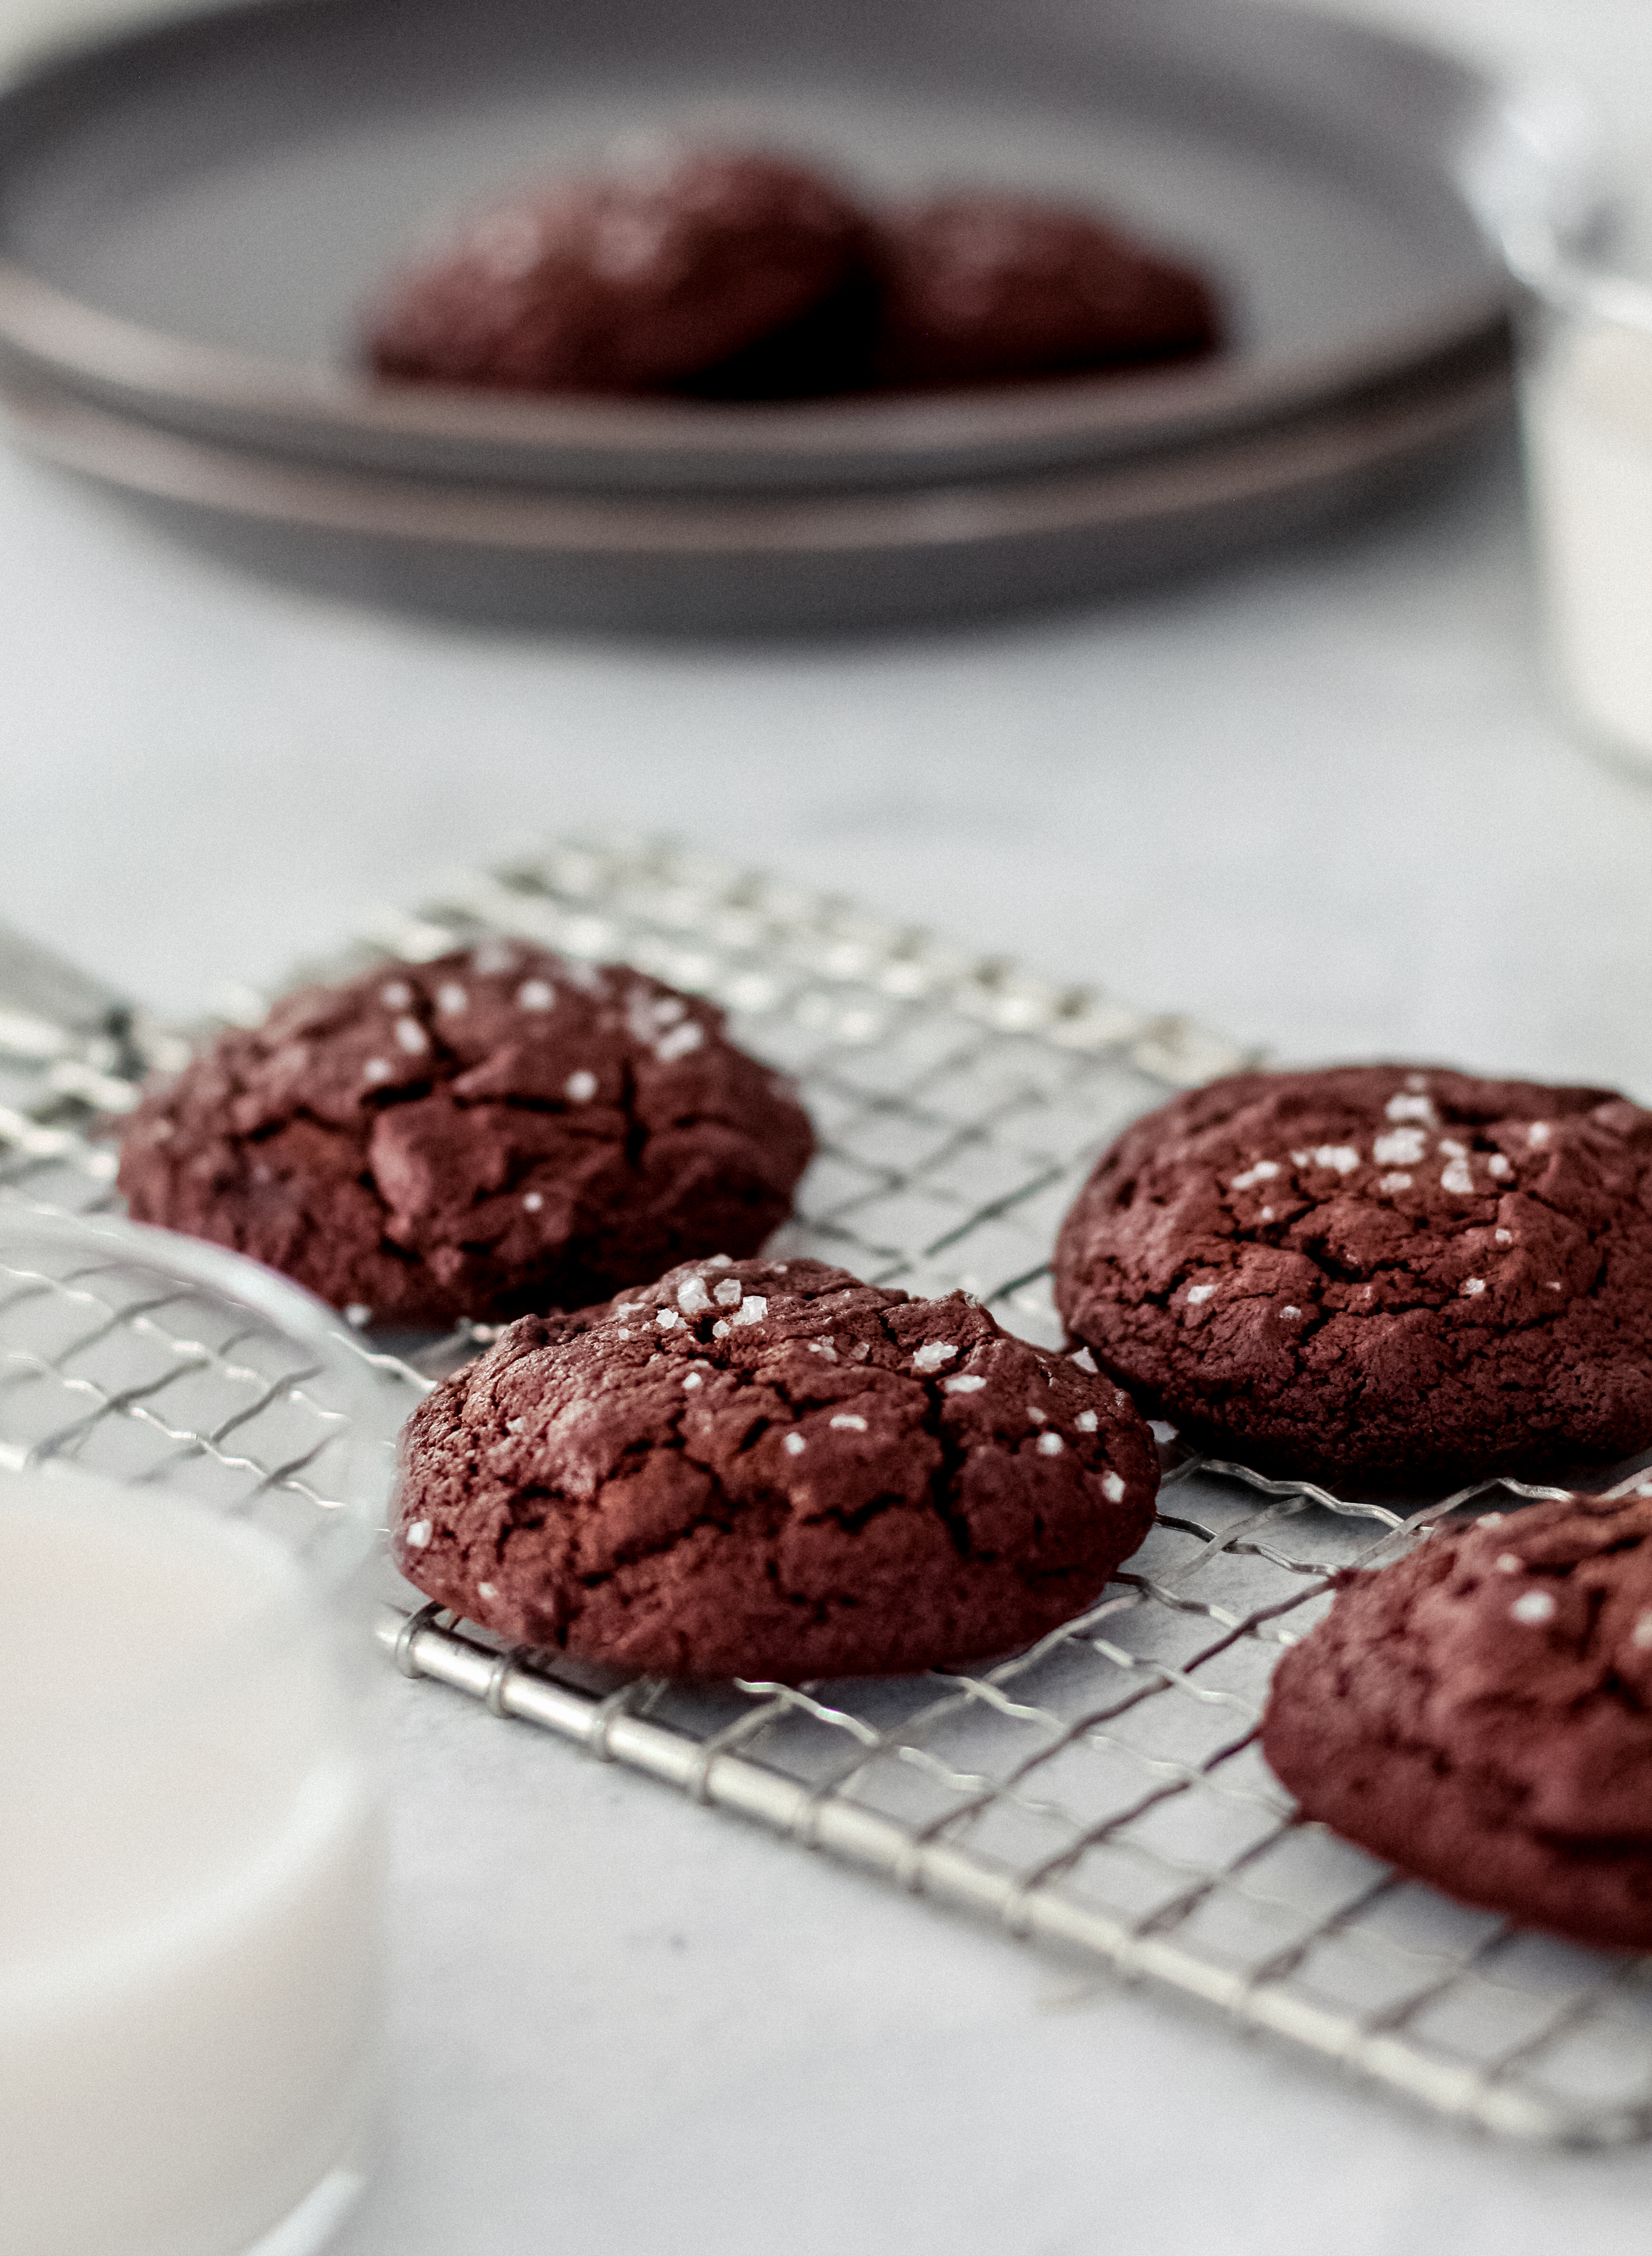
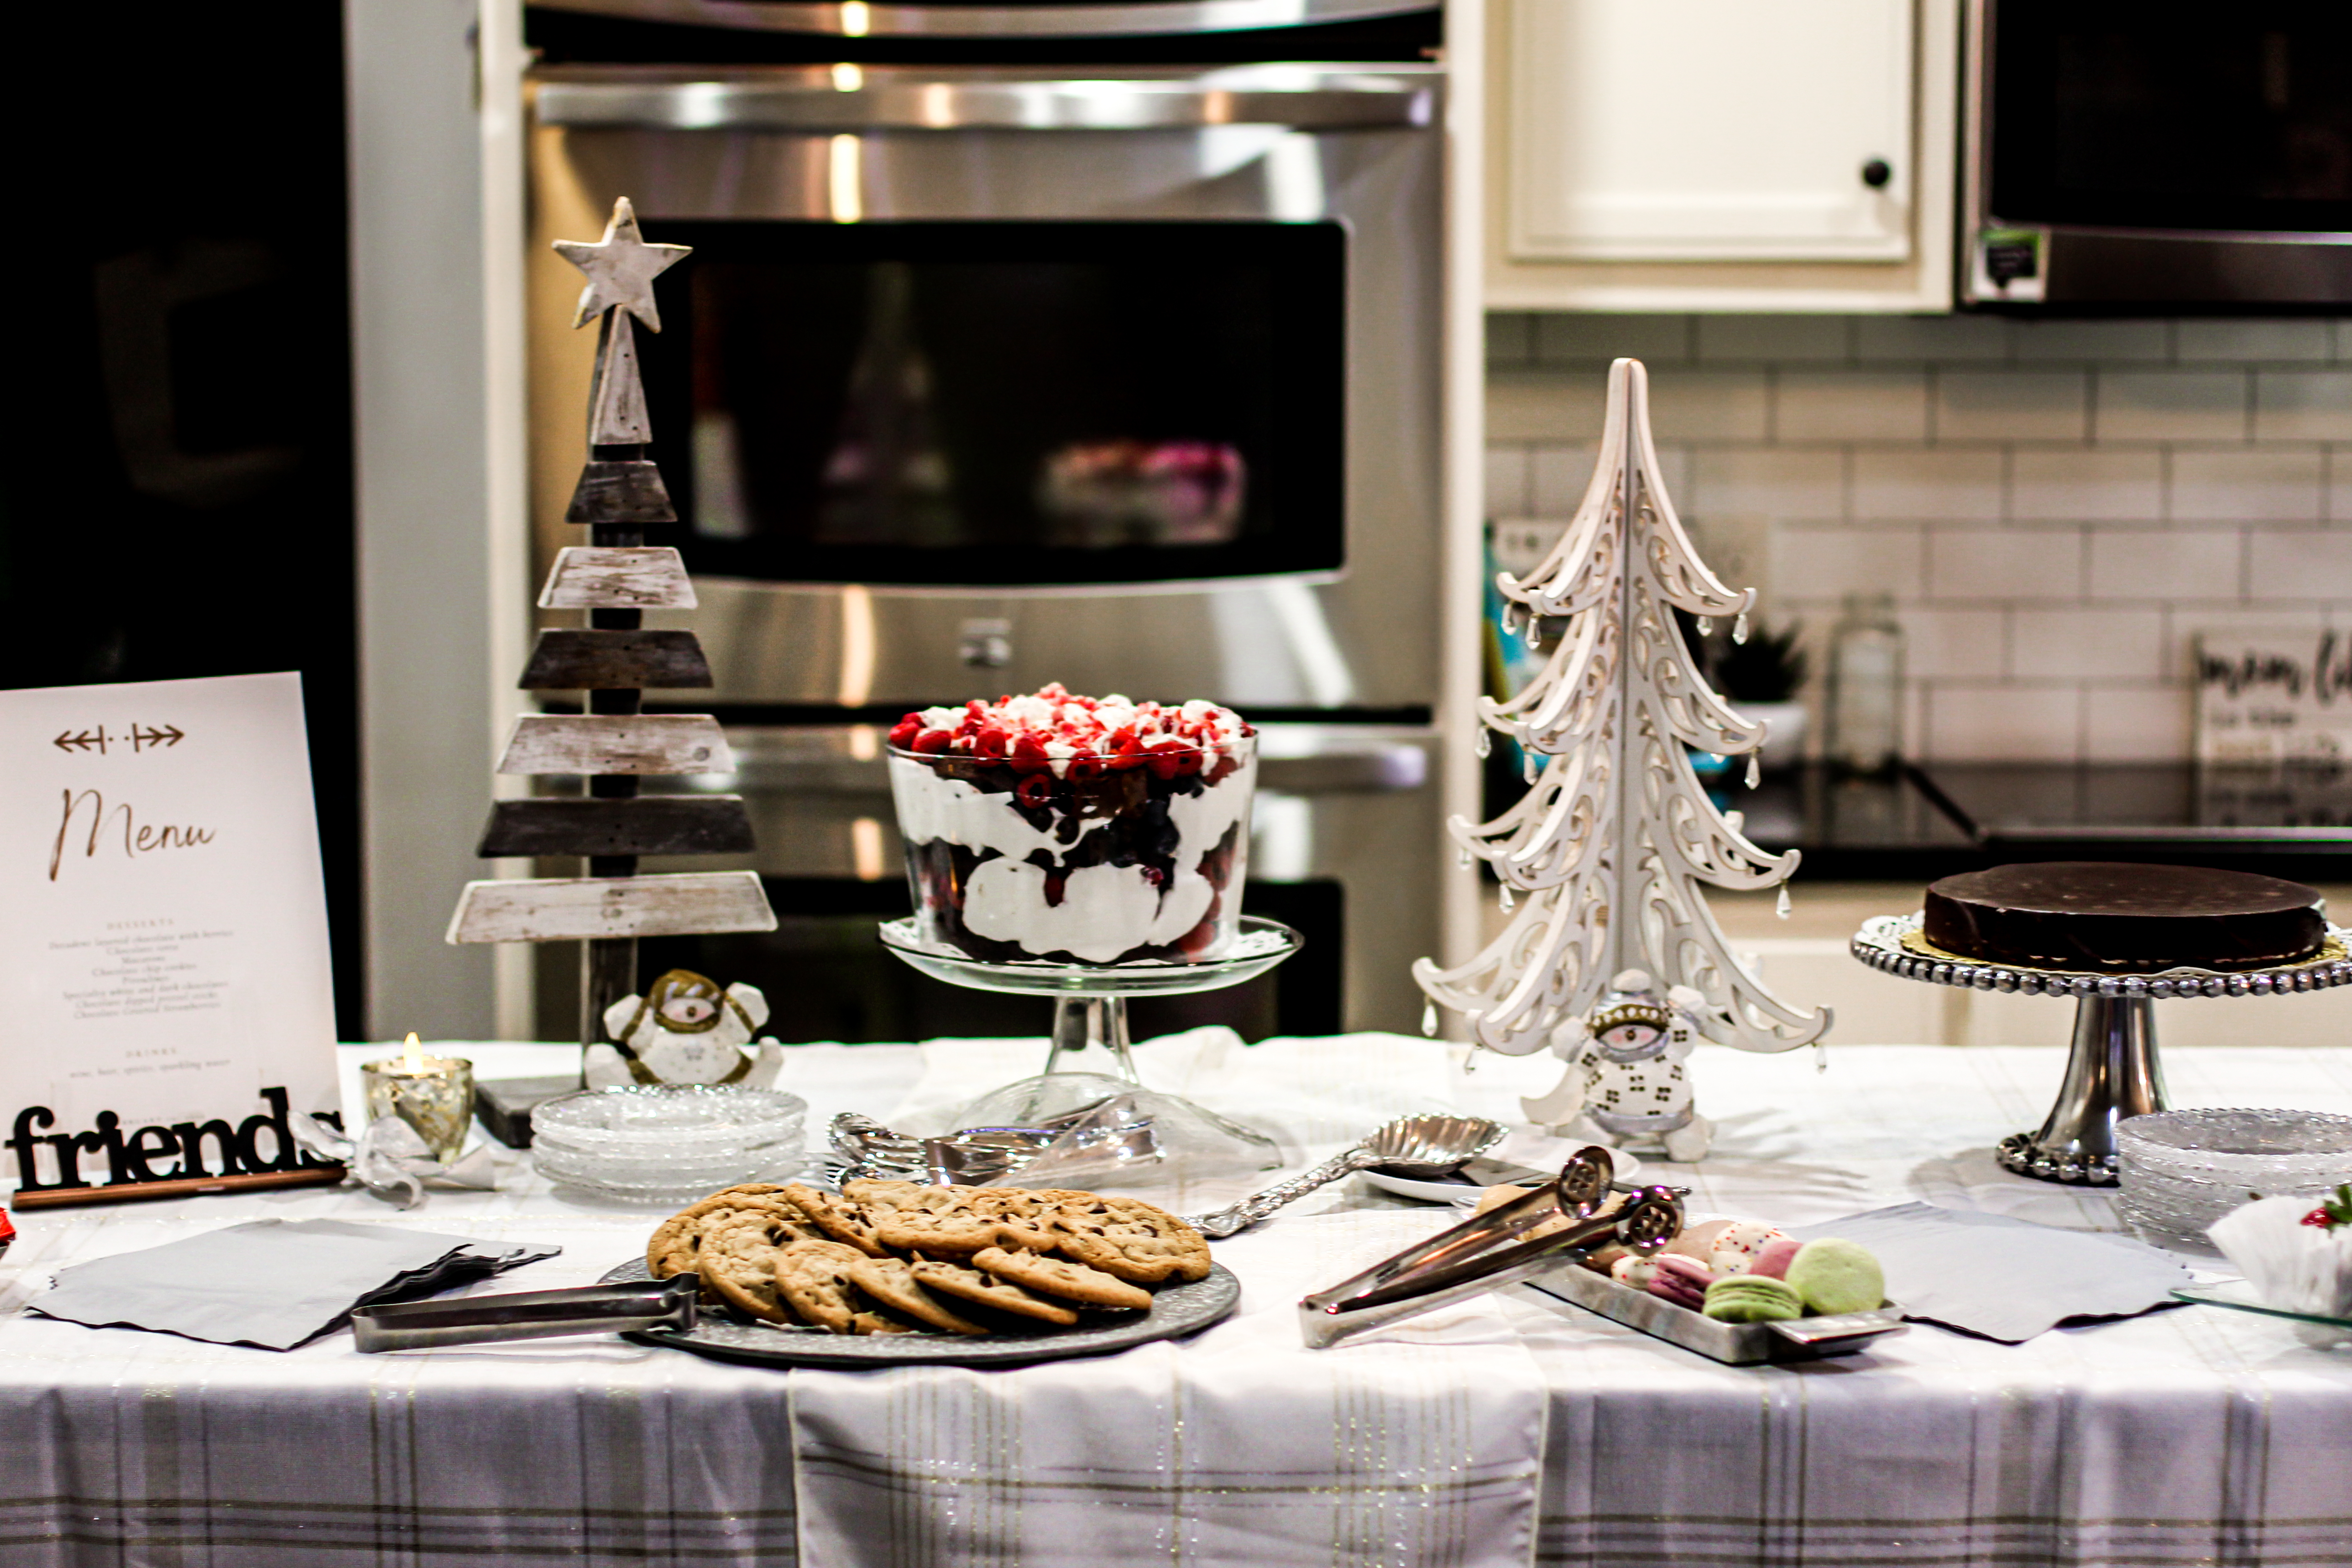
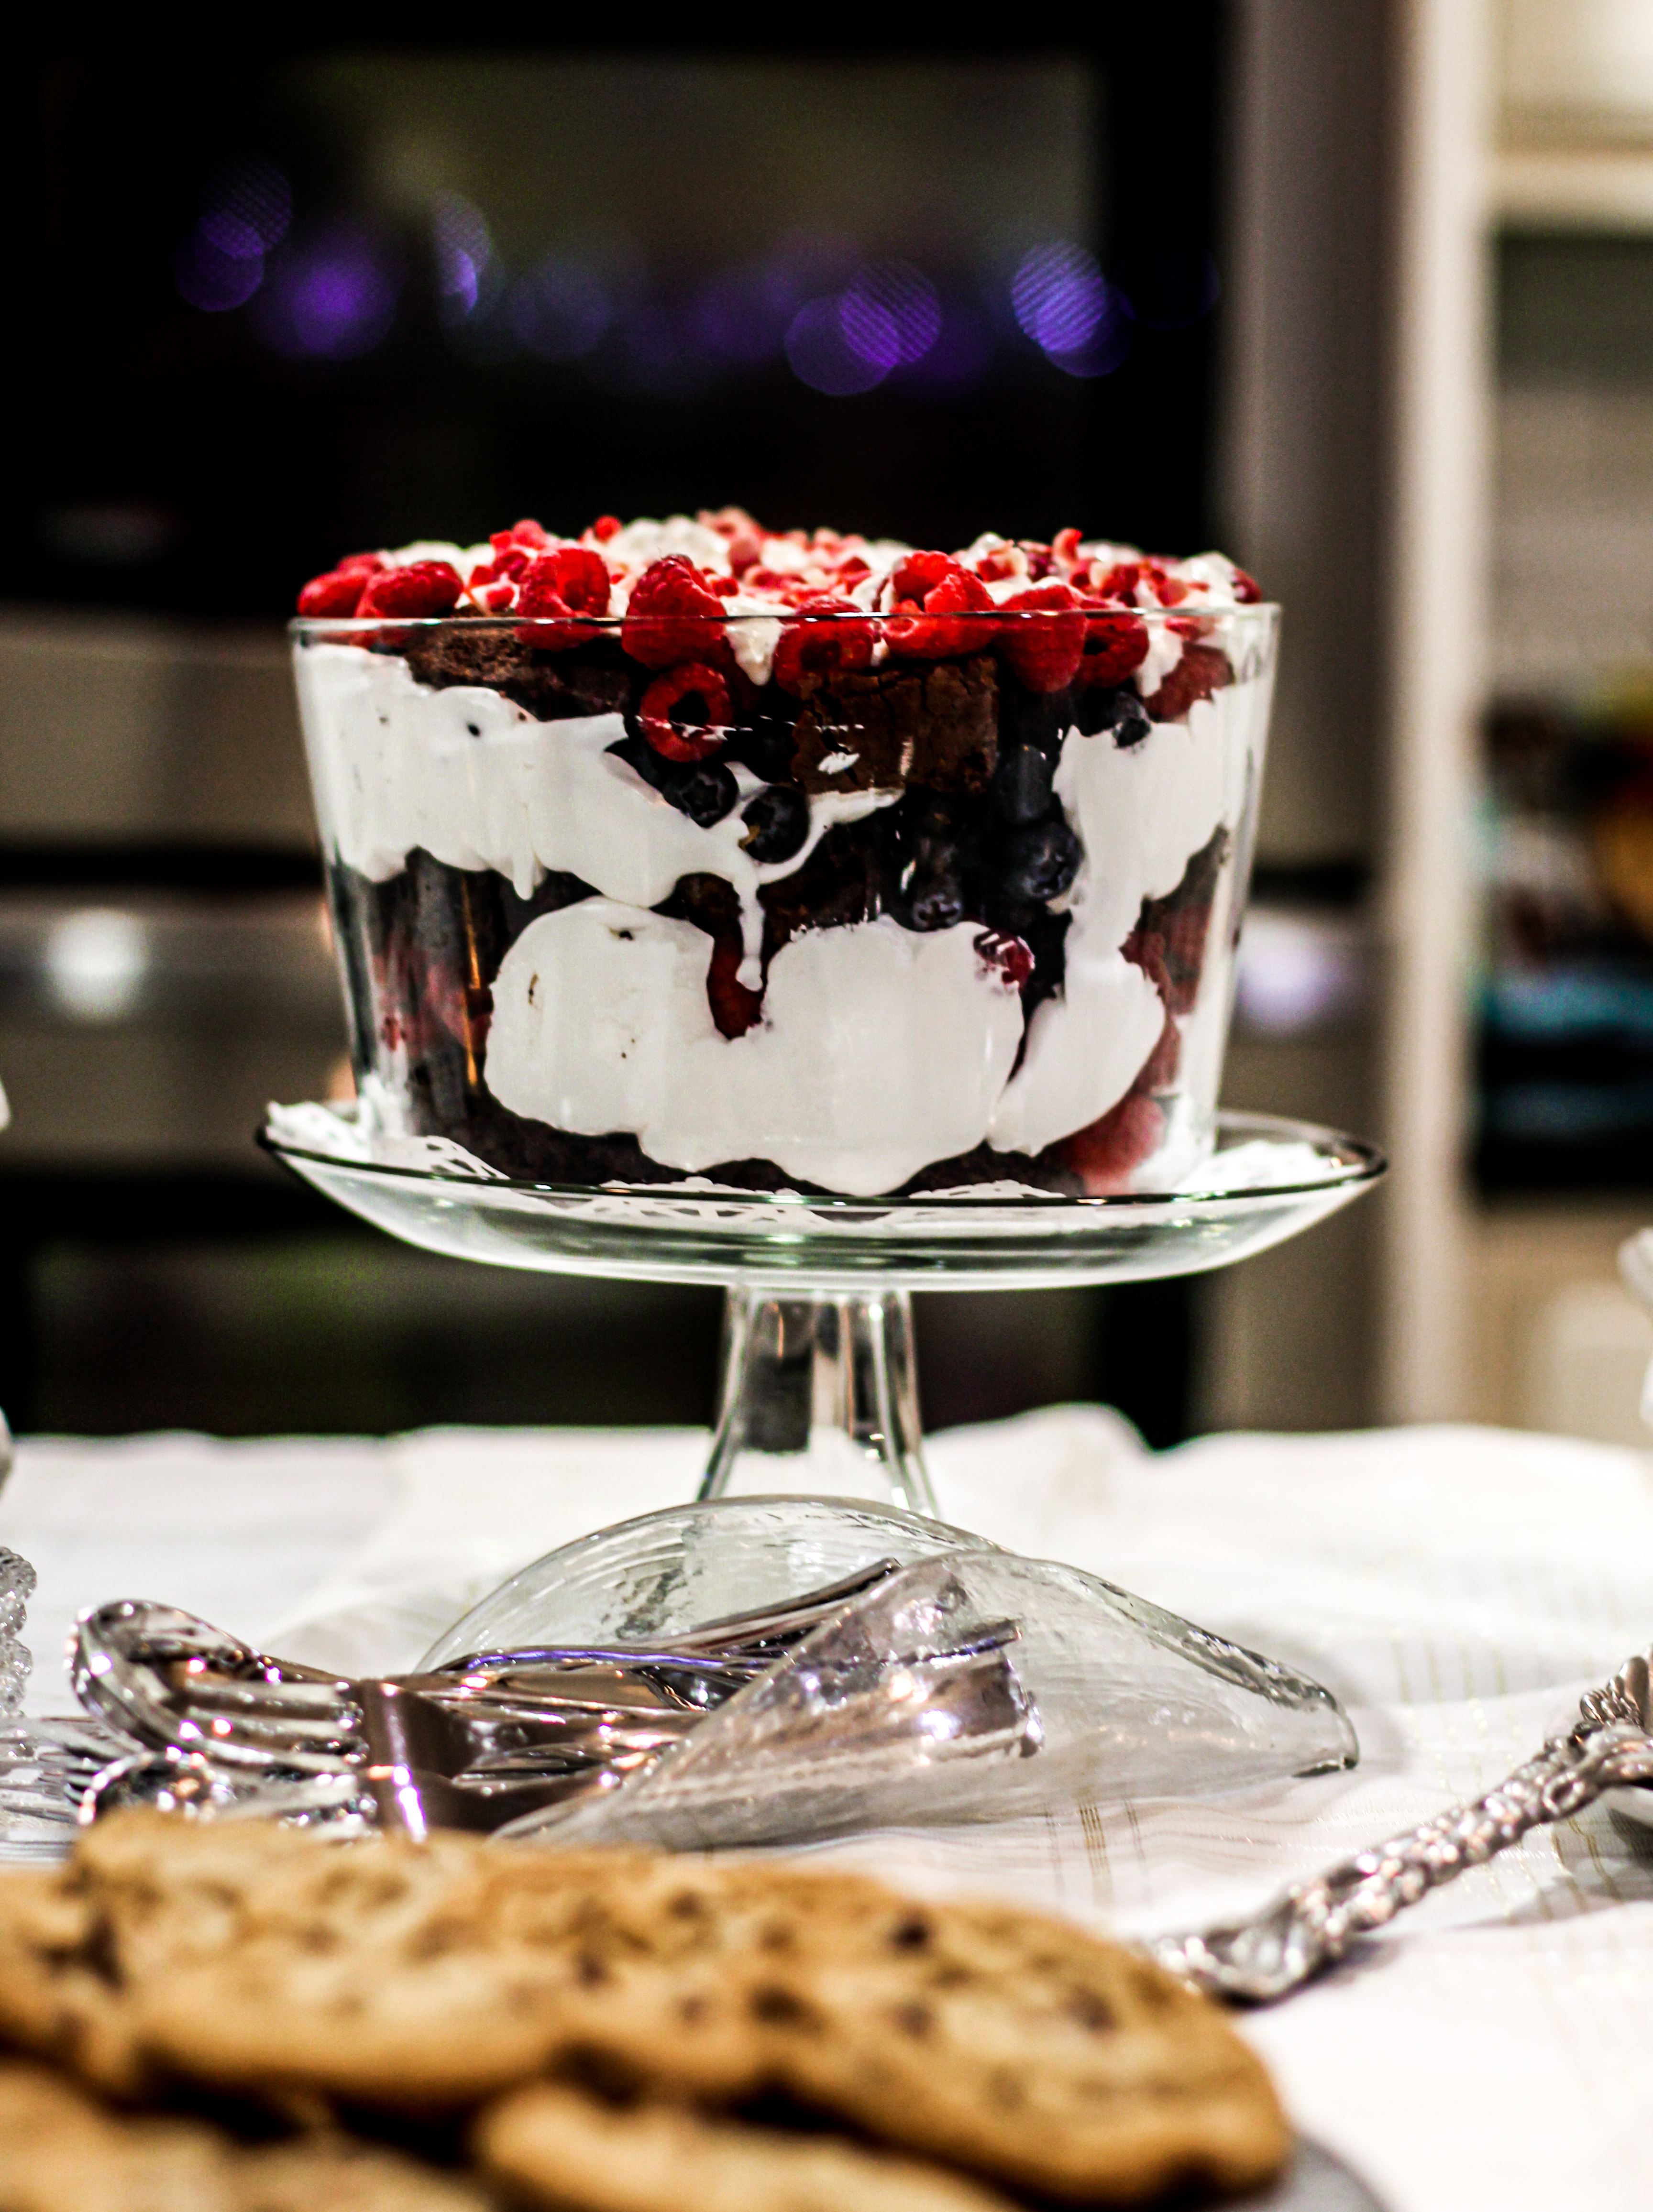
We were at our home from 5-8pm, then headed to the second stop for dessert and games for the remainder of the evening. I made them a menu as well, and the nordic theme that carried to the dessert table was magical.


I cannot encourage you enough to create a dinner party of your own with friends. Whether you use solo cups and disposable paper plates, or your finest china – I promise the magic will be the same. Let’s rekindle the art of entertaining!
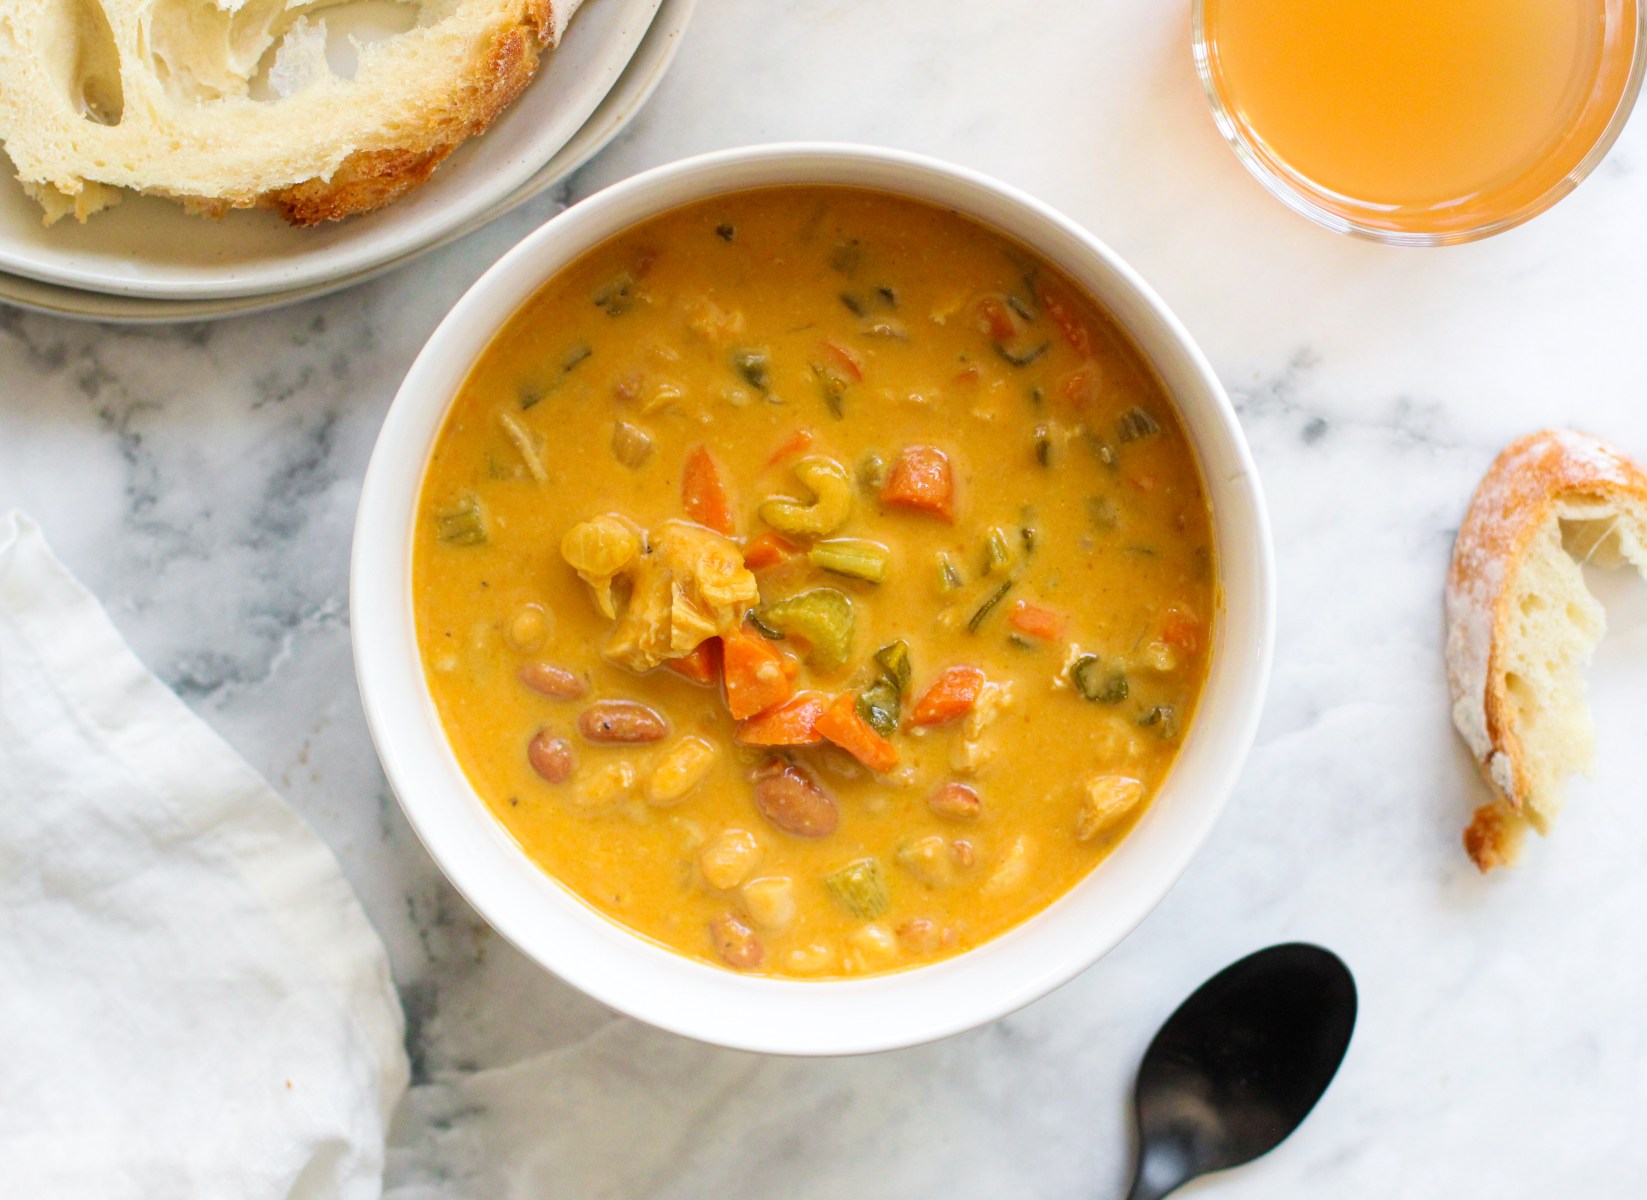
On that note, I didn’t take any photos of the dinner because I was focused on intentional conversations, but I am providing the recipe for the chicken and wild rice soup below.
My neighbor has a smoker and smoked the chickens, for which I then used the bones and juices to create a stock. I’ll never make it any other way, but if you don’t have access to a smoker like I did – store bought stock will do!
Ingredients
- 1.5 cup uncooked wild rice blend (cook it per the package instructions)
- 2 cup chopped yellow onion
- 2 cup diced carrots
- 2 cup diced celery
- 13 Tbsp butter, diced, divided
- 2 large garlic cloves, minced
- 8 cups low-sodium chicken broth
- .5 tsp of each dried thyme, sage and rosemary
- Salt and pepper to taste
- 2 rotisserie chickens, pulled apart (dark and light meat)
- 1 cup all-purpose flour (I used a 1:1 GF flour)
- 2 3/4 cups milk
- 1 cup heavy cream
Method:
-
Halfway through the rice cooking process (it takes 45 minutes to cook the rice), in a separate large pot, melt 1 Tbsp butter over medium heat. Add onion, carrots and celery and saute 4 minutes, add garlic & sauté 30 seconds longer.
-
Add chicken broth, thyme, sage, rosemary and season with salt and black pepper to taste. Add in pulled rotisserie chicken.
-
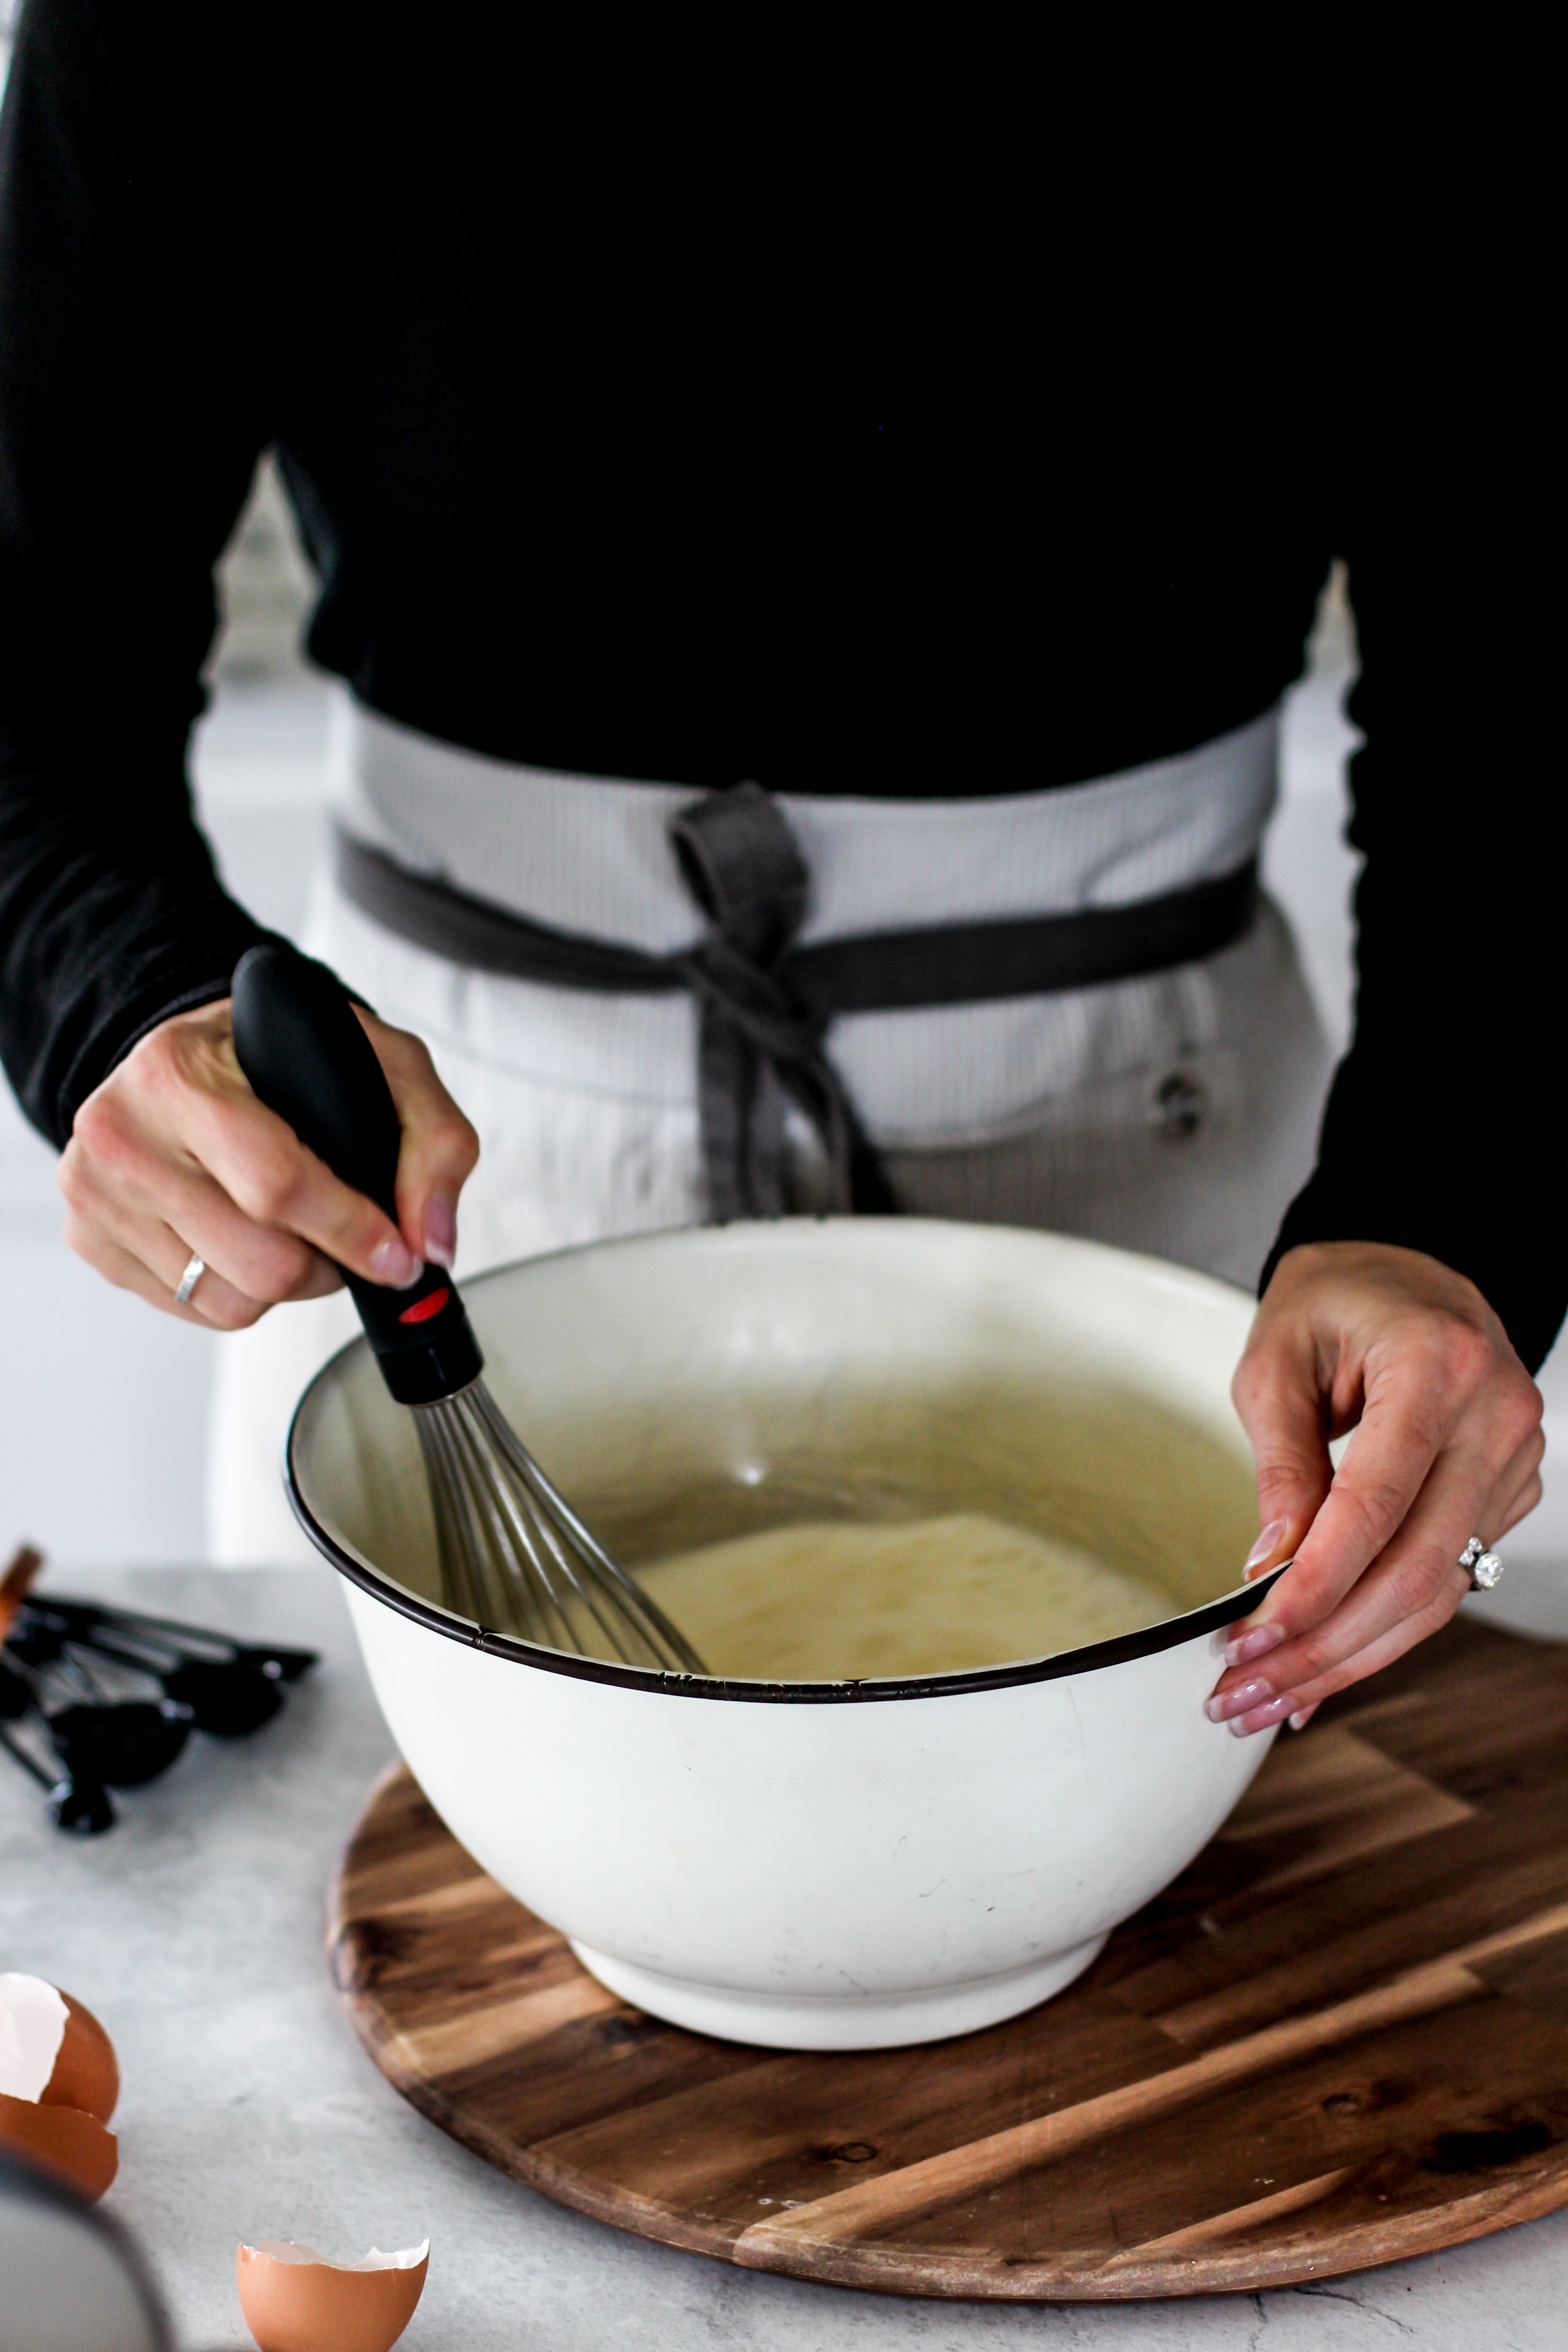
Meanwhile in a separate medium saucepan, melt remaining 12 Tbsp butter over medium heat. Add flour and cook 1 1/2 minutes, whisking constantly.
-
Then while whisking vigorously, slowly pour milk into butter/flour mixture. Whisk in heavy cream. Cook mixture, stirring constantly until it thickens, approximately 3-5 minutes.
-
Add milk mixture to soup mixture in pot along with the cooked wild rice. Stir well and remove from heat. Serve & enjoy!
Be sure to tag me if you create your own nordic themed dinner party @girlmeetskitchen on instagram & use the #girlmeetskitchen
Consider these recipes for your gatherings:
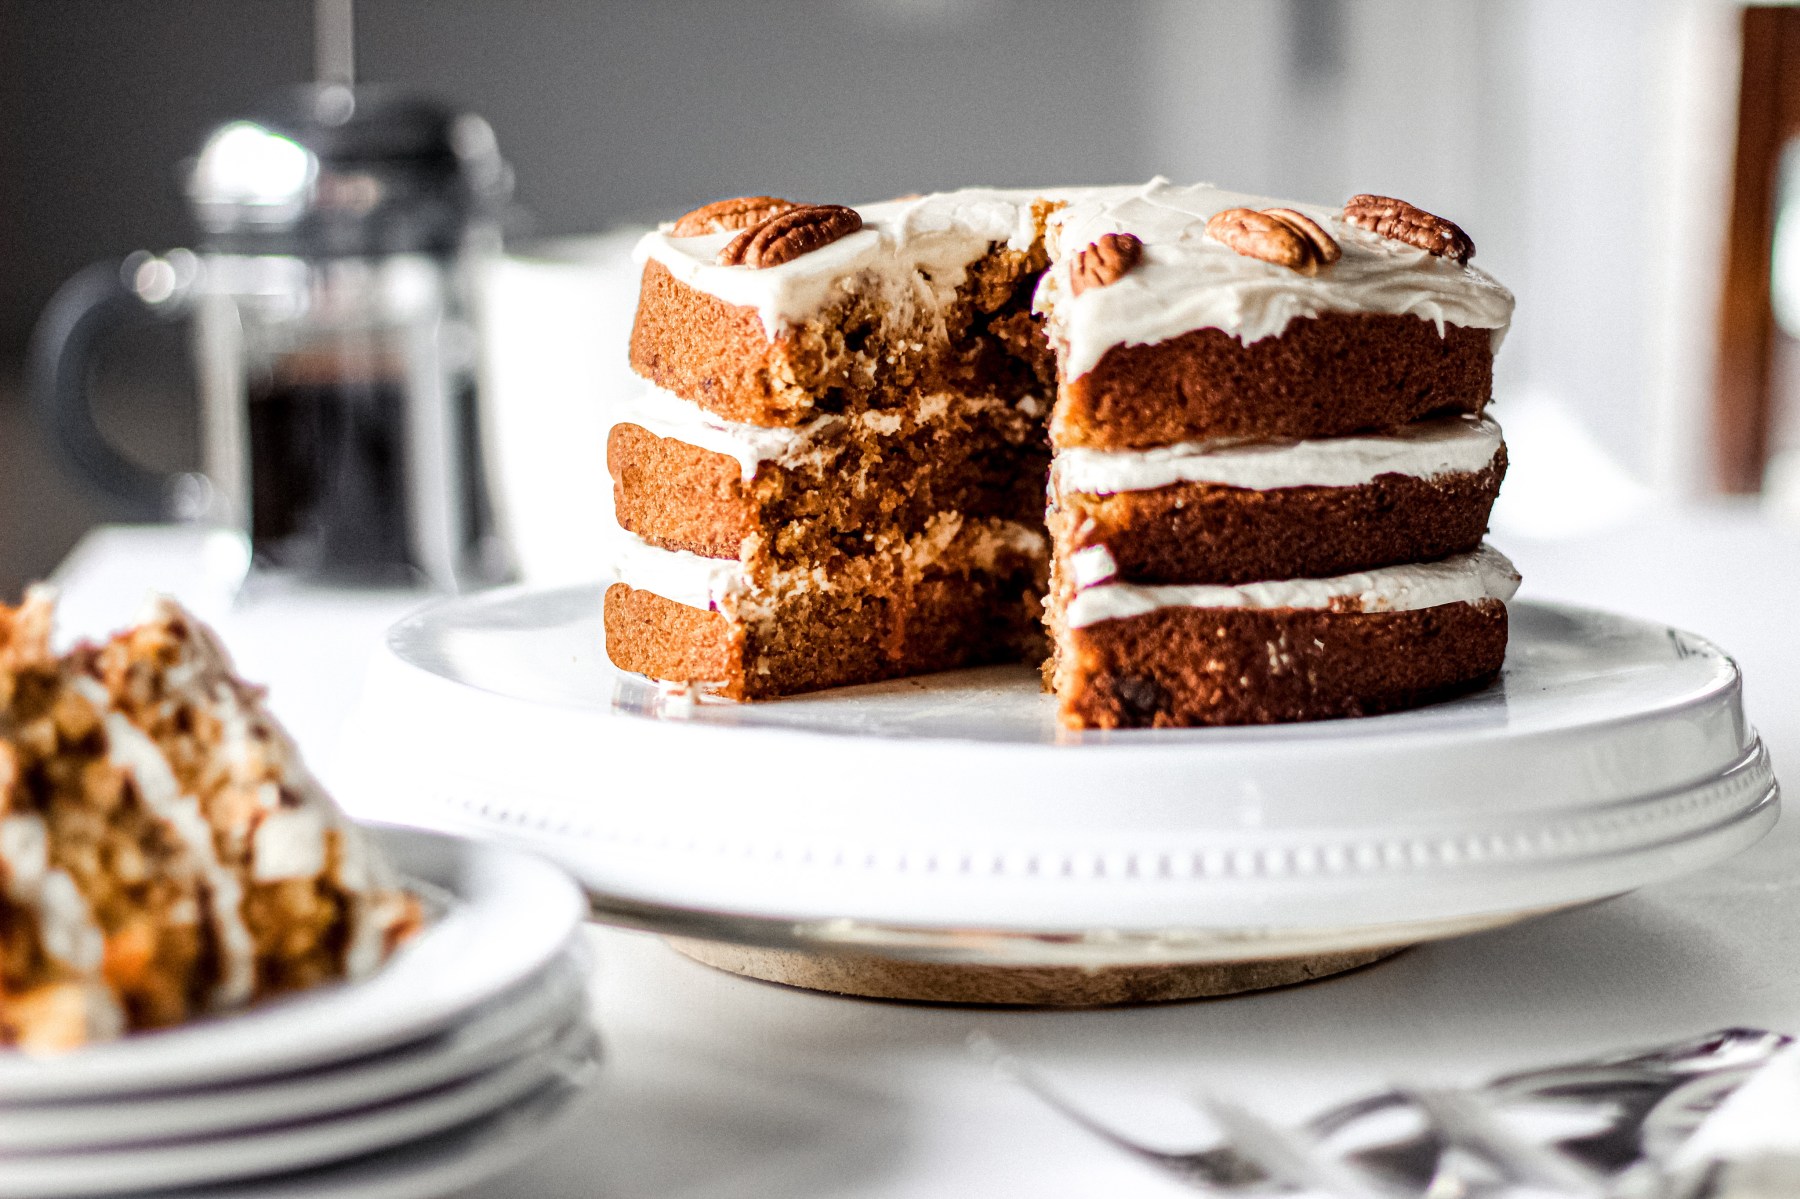
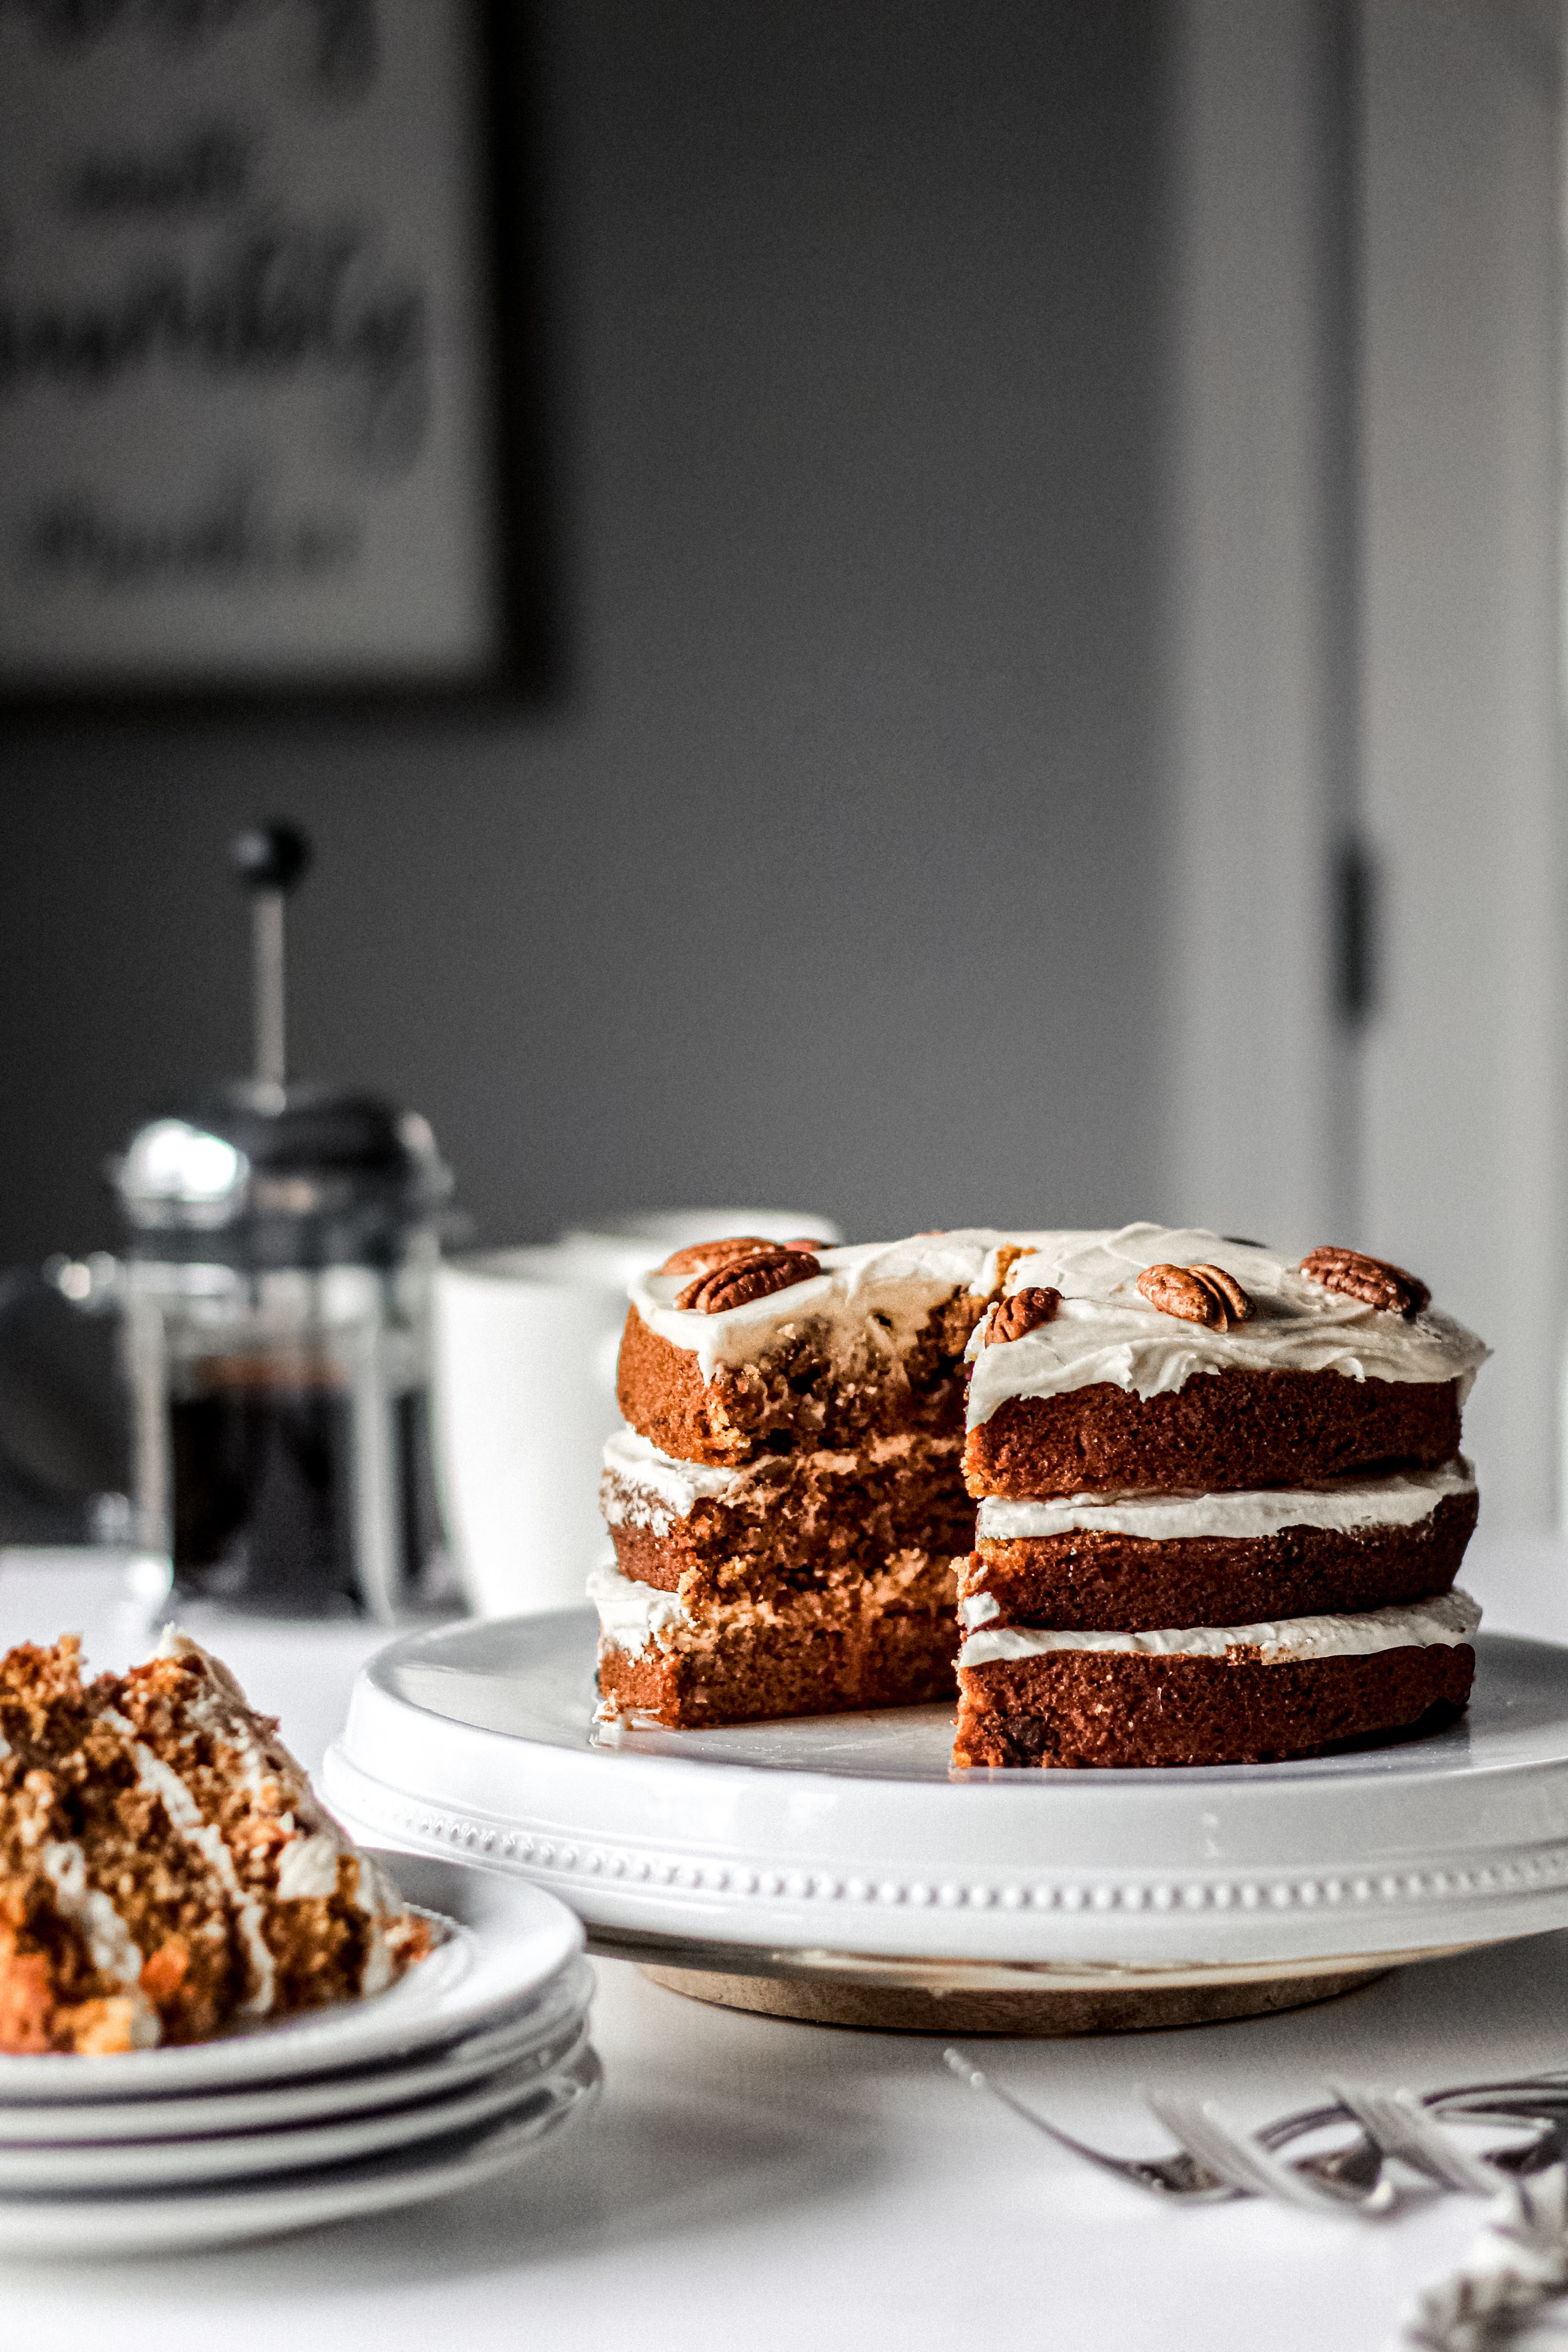
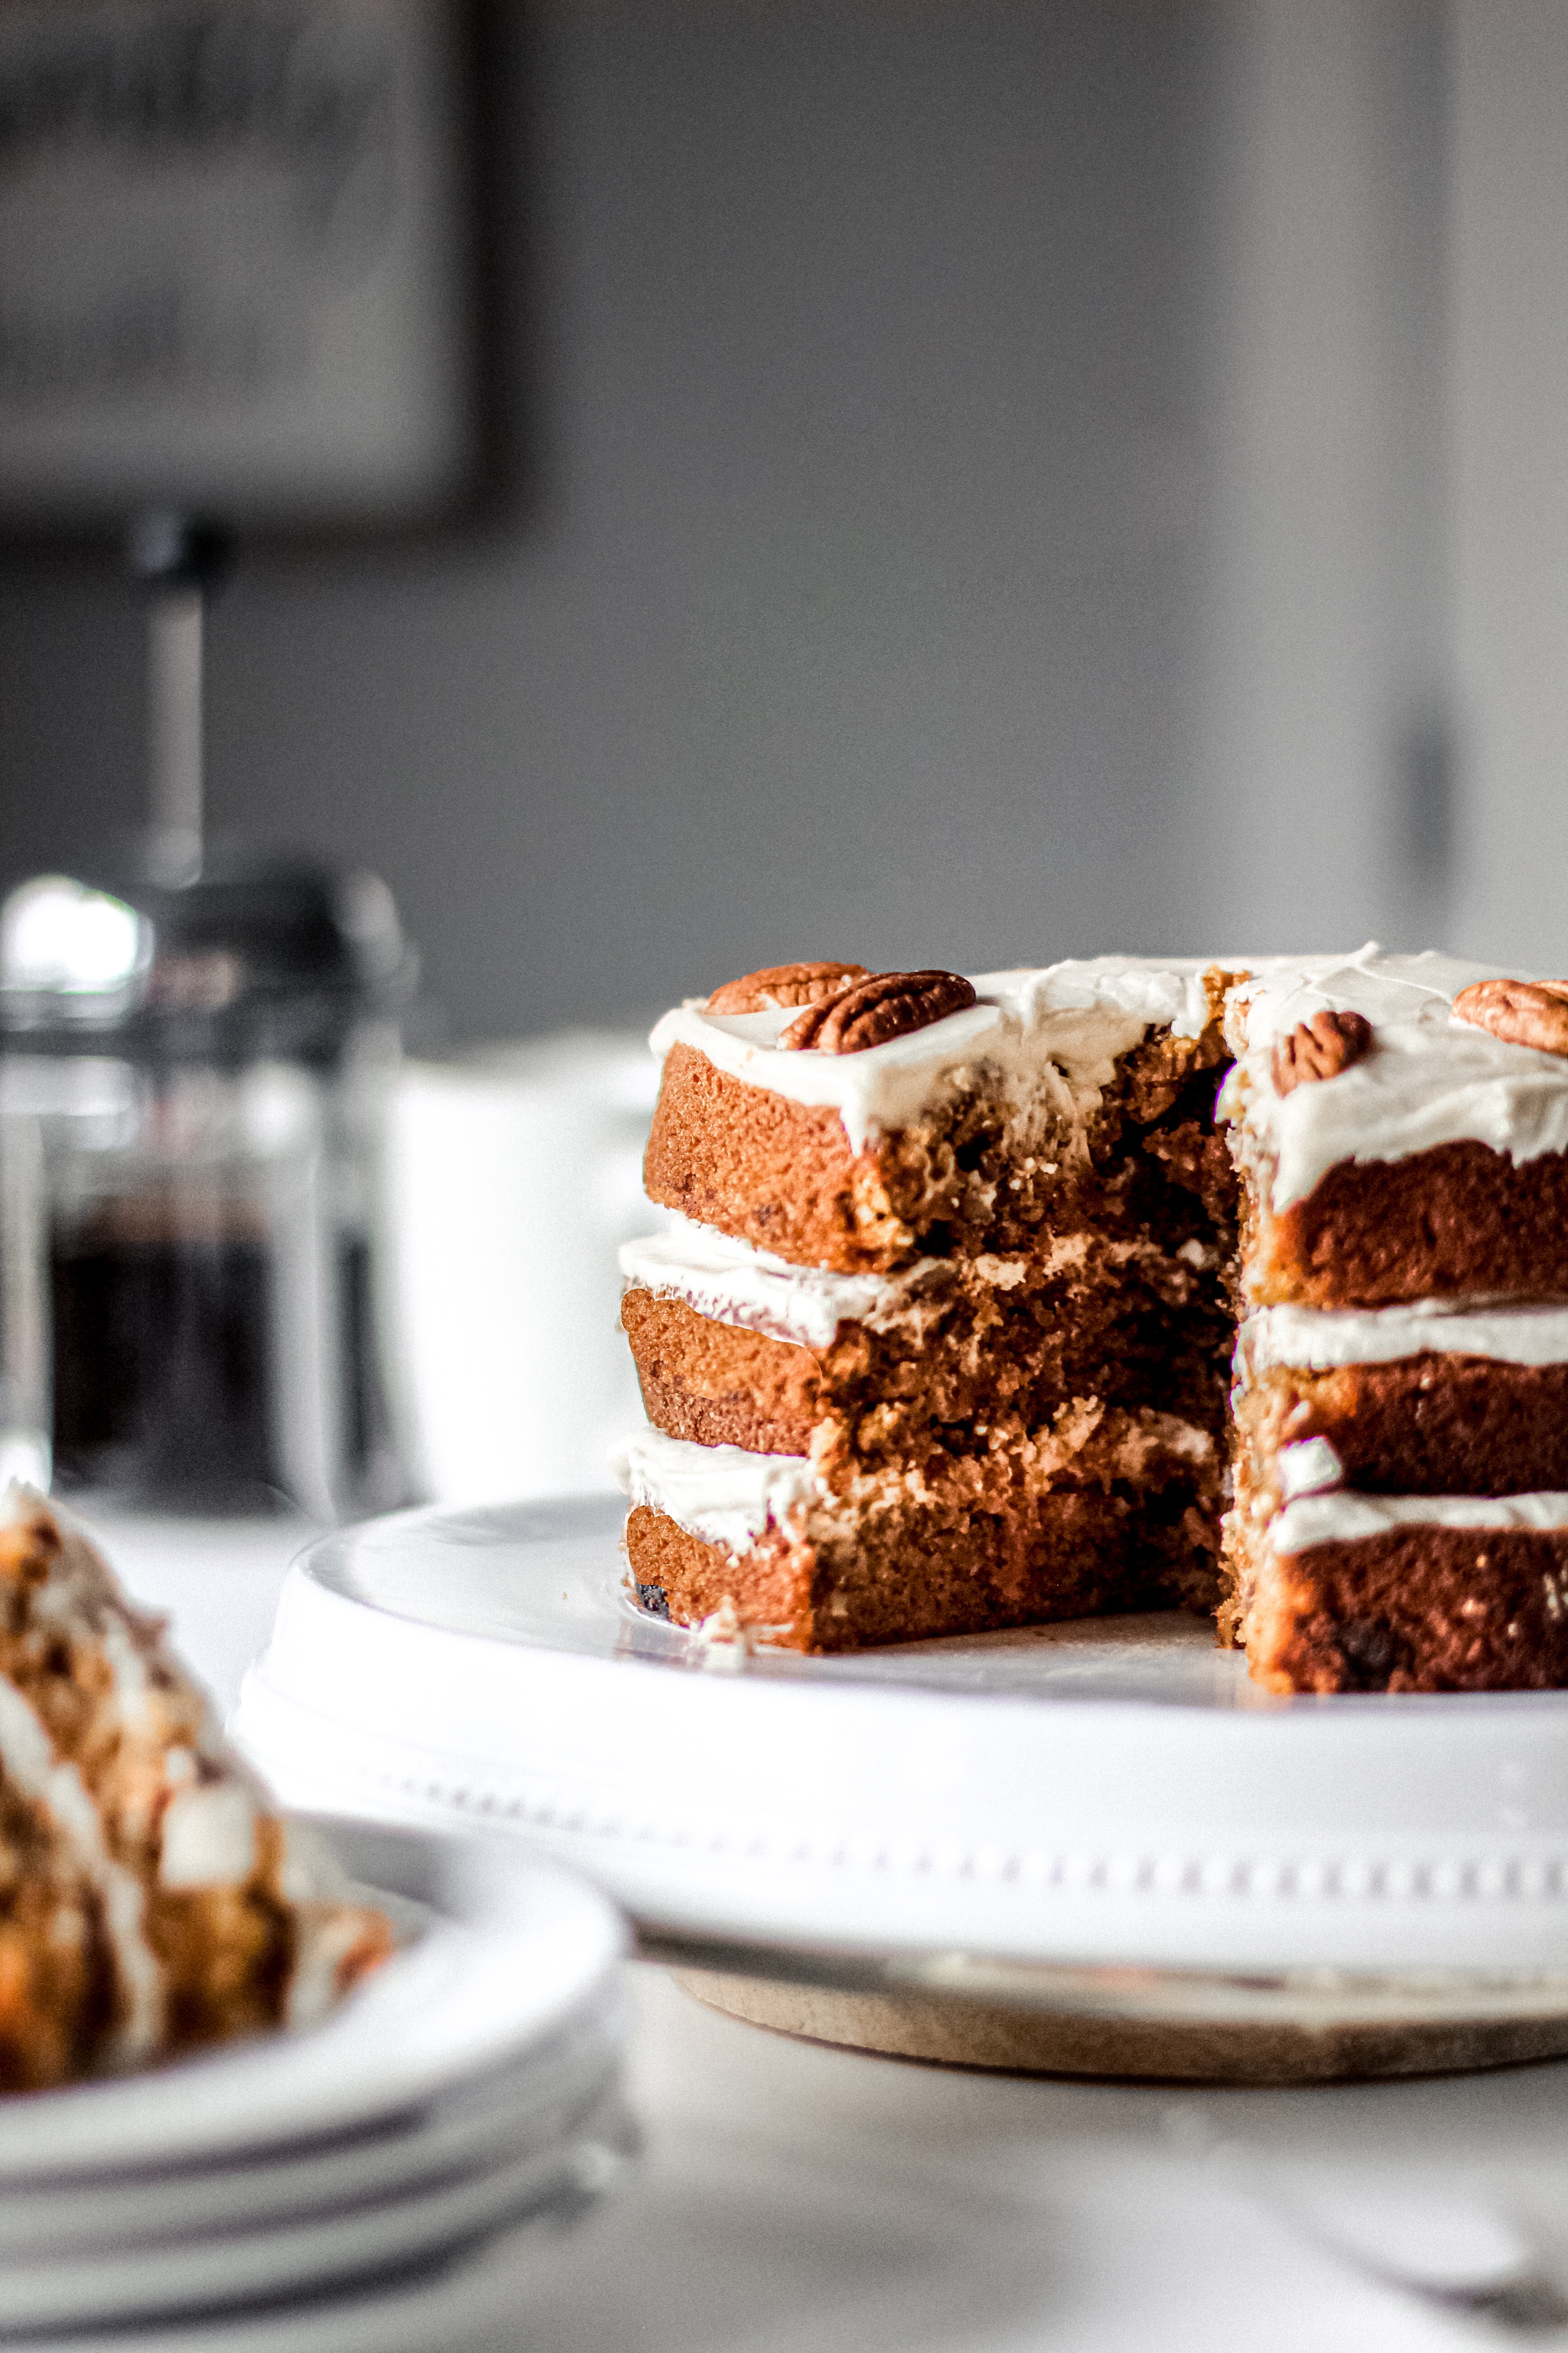
Layered Carrot Cake
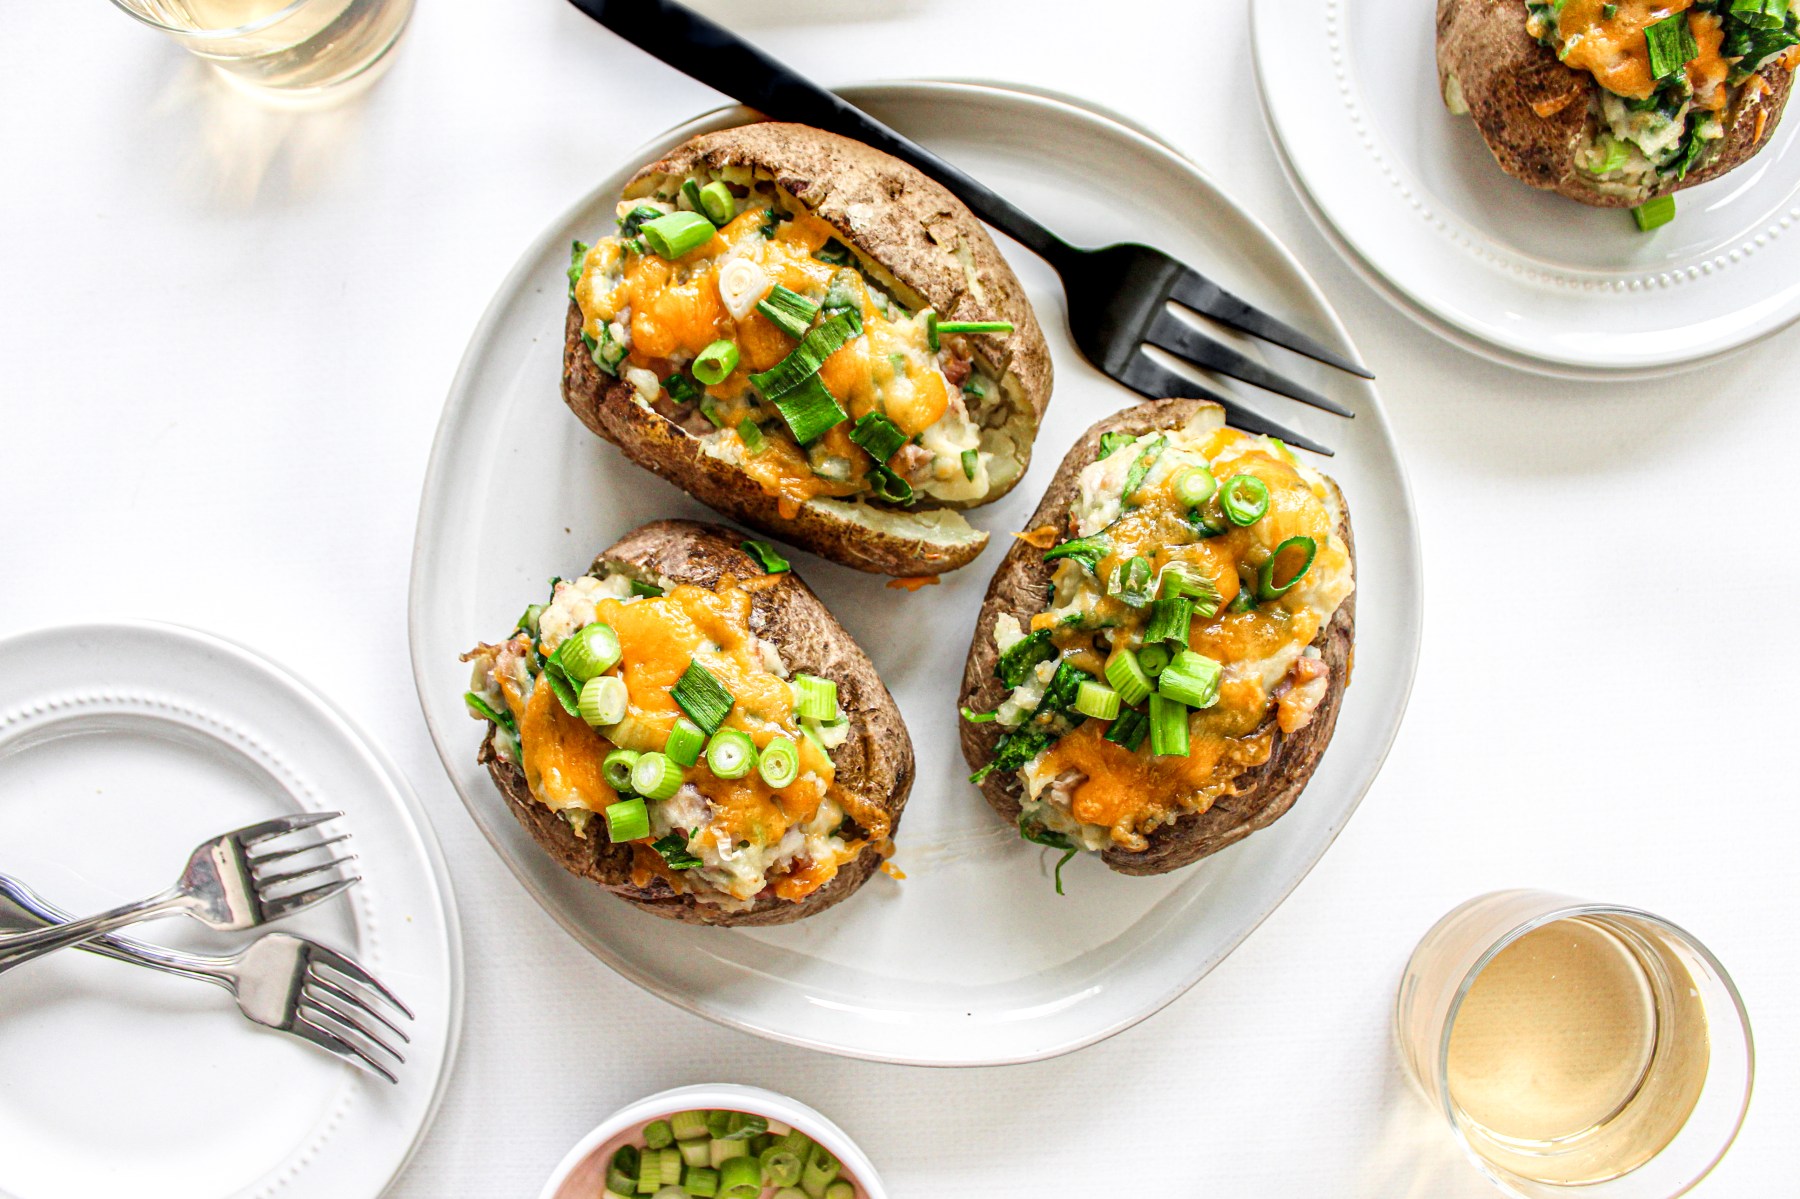
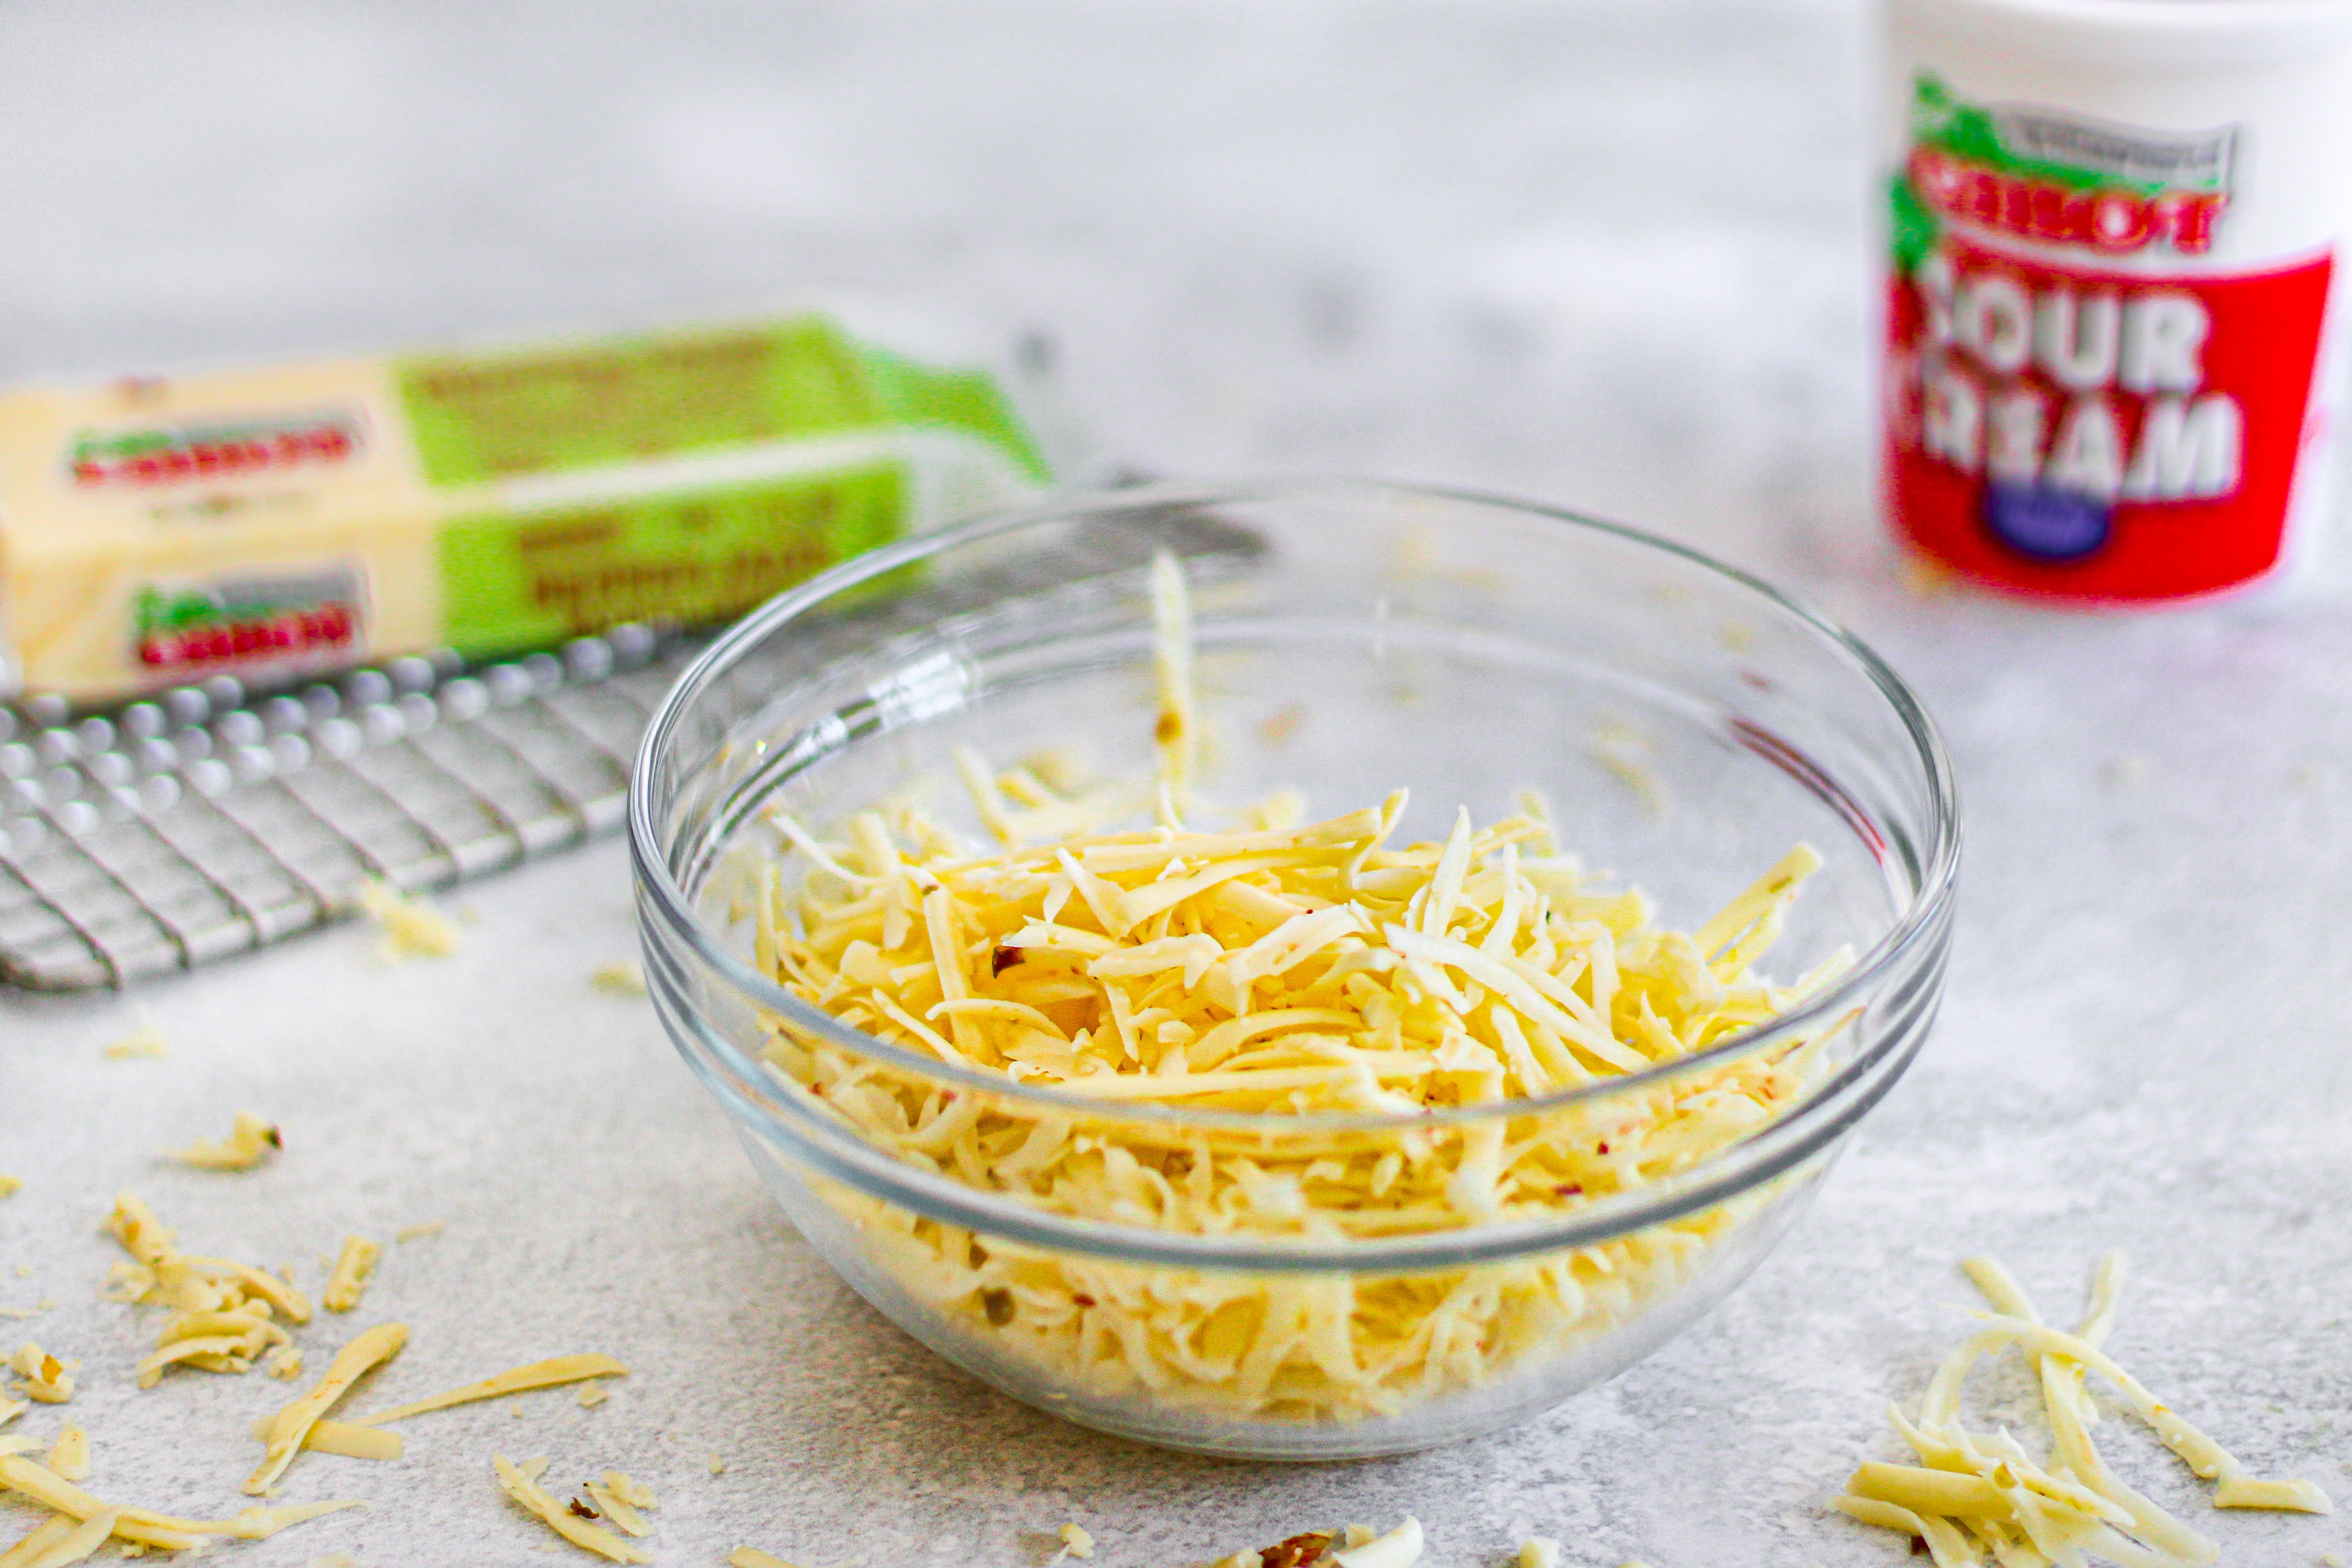
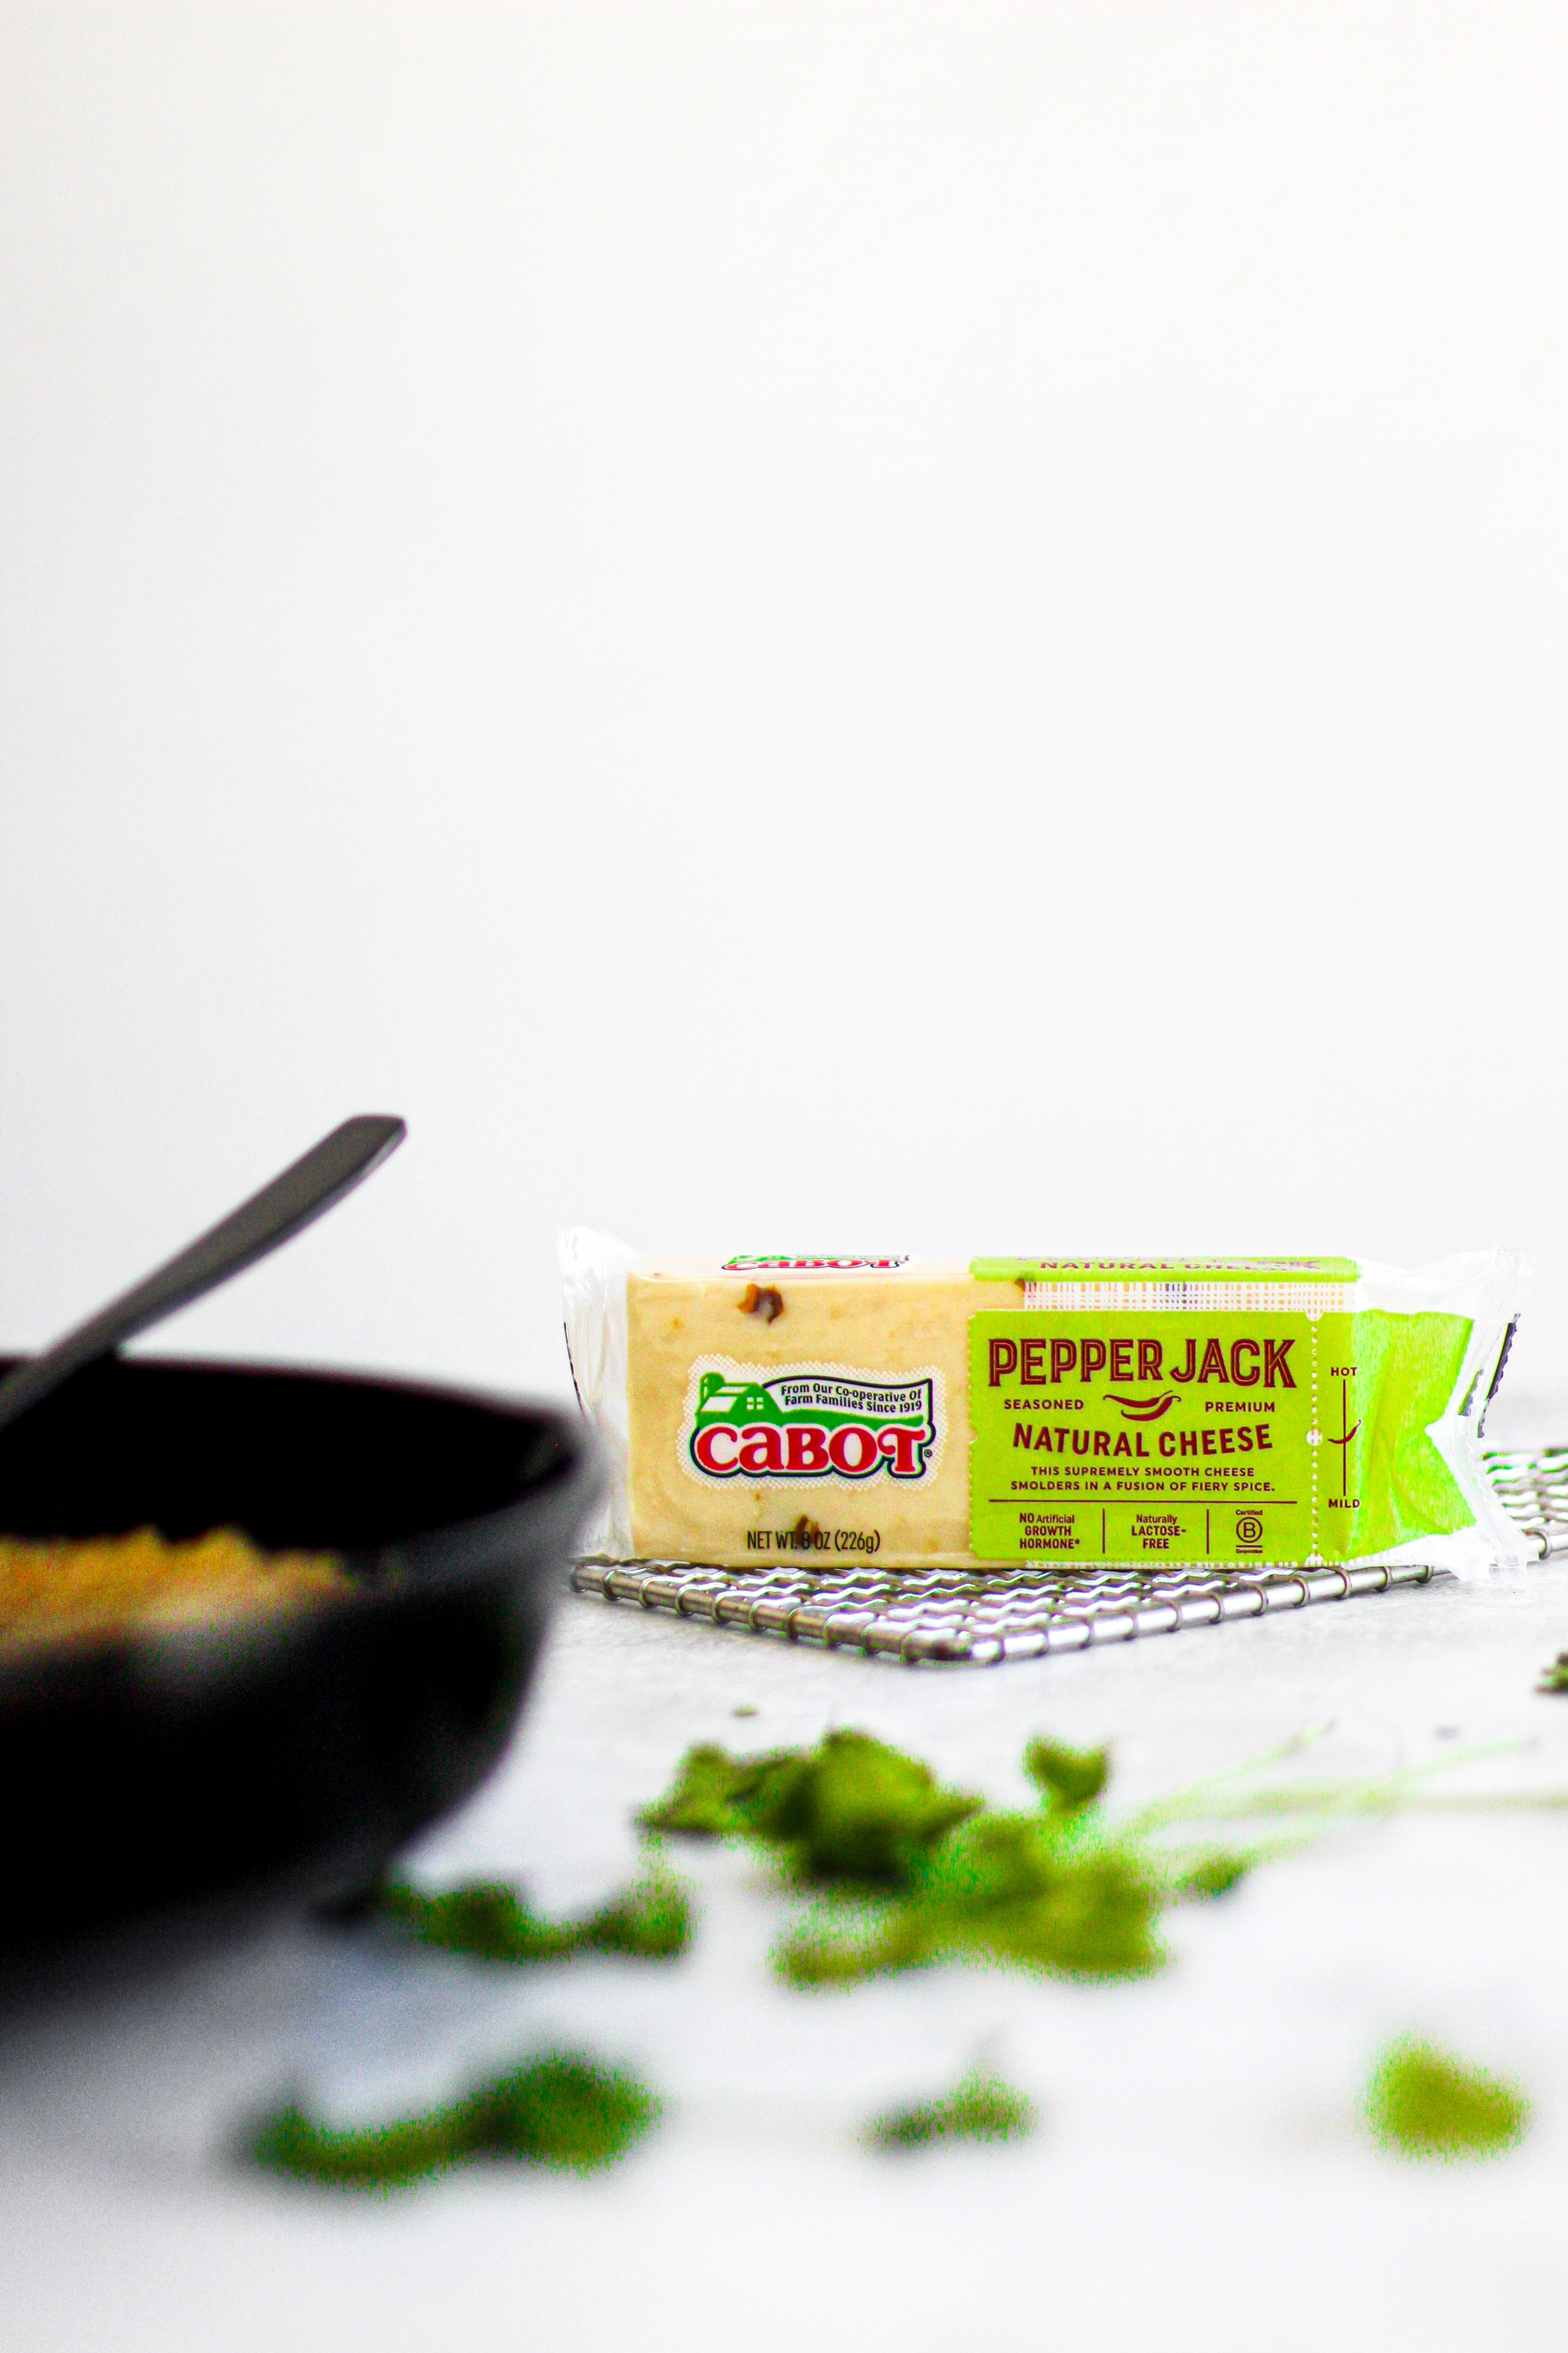
Prosciutto and Cheddar Twice Baked Potatoes


 .
.  .
.