Just in time for all your Friendsgiving and Thanksgiving gatherings – here is the promised recipe for apple crisp! If you follow me over on Instagram, you may recall we did a poll about how you prefer your apple crisp. I’m a girl who likes it tart and not overly sweet. I know it’s dessert…but apples are already sweet. When you compliment that natural sweetness with spices and a hit of bright acidity, they really shine and make a recipe sing.

When I did the poll, however, a lot of you prefer it sweet – so I’ll give you direction on which apples to use that will change the notes of the dessert more to your liking without over doing it on the sugar.

Best Apples to use for Tart Apple Crisp: Gala, Honey Crisp, Granny Smith

Best Apples to use for Sweeter Apple Crisp: Mutsu, Jonagold, Golden Delicious

APPLE

For this recipe, I used Honey Crisp…because I wanted it to be celebratory in honor of Friendsgiving. The more cost effective alternative with bright tart notes would definitely be the Granny Smith. A mixture of 1/2 of each also works great here.

Let’s get to the recipe for the best apple crisp, and we will discuss the table setting after that.

Ingredients:

For the apple filling

  • 2 lbs. apples, peeled, cored and sliced into half-moon uniform pieces (see above for apple choices for sweet vs. tart!)
  • 1 tbsp. cinnamon
  • 1 tsp. allspice
  • 1/4 tsp. cloves
  • 1/3 cup sugar
  • 4 tbsp. butter, cubed
  • juice of 1 lemon

For the Topping:

  • 1 stick of cold butter, cubed
  • 1 tsp. cinnamom
  • 1 cup AP flour (gluten-free sub a 1:1 GF flour)
  • 1 1/4 cup rolled oats
  • 1/2 cup sugar

apples 2

apples 3

Method:

  1. Preheat oven to 325. Butter or spray a 9×13 pan with nonstick cooking spray and set aside.
  2. Add the sliced apples to a large bowl, then add the lemon juice and stir.
  3. Combine all spices and sugar together, then stir into the apples until evenly coated. Set aside.
  4. In a separate large bowl, add the topping ingredients and combine with a fork or pie crust mixer. You can also use clean hands. The idea is to get the ingredients combined to a crumble consistency.
  5. Add the apples to the sprayed/buttered pan and add the 4 tbsp. of cubed butter throughout the apples. Then top with the crumble topping.
  6. Bake 55-60 minutes on the center rack of your oven. Serve warm topped with your favorite ice cream.

crisp

When planning your Friendsgiving…follow a few simple rules: keep it simple, include your guests and borrow what you don’t have!

When I say keep it simple, I mean everything from the menu to the table setting. Simple can be fancy – I’m referring to simplicity on your budget and using what you have. The main dish was Ham instead of turkey because it’s more cost effective during Thanksgiving season, and simpler to cook. The rest of the menu consisted of a variety of roasted veggies, collard greens, scalloped potatoes, a wild rice salad, a cheese platter all paired with some crisp Rosés. We ended the evening with the warm apple crisp.

I included my friends by assigning them a dish or beverage to bring, making it interactive for them as a guest. It could be as simple as a bottle of wine to a cheese platter or side dish – but odds are your guests will love being included and it helps you as well.

ham

For the table setting: I have China from a zillion years ago, so I used that for both the adults and the kids. Finally, I texted a few neighbors for plate chargers and one of them had the most amazing variety that added dimension to the tablescape.

friendsgiving table 2

I decided to use a tablecloth I had purchased on amazon for my girls’ birthday party a couple years ago that is 100% sparkle and over the top, which is linked here. Layering texture for visual affect, I added a burlap runner on top followed by a yellow leaf garland and a few white pumpkins from Target’s dollar section. Finally, I brought it all together with some white unscented candles that bounced the best light off the glitter of the tablecloth and chargers.

friendsgiving table

There you have it: a recipe for the best apple crisp plus a few tips on how to host your own Friendsgiving. More importantly than what’s on the table, however, is those who gather around it. Wishing you a beautiful fall season celebrating with friends and family alike!

This pumpkin bread is a favorite fall recipe packed with cinnamon and spices!

I love a good pumpkin recipe, and this pumpkin bread is a family favorite that doesn’t last long when baked. They also request it year round, not just in the fall months. It’s really moist, full of spices and pairs nicely with a cup of morning coffee.

Share it with those you love even though you’ll be tempted to eat the whole loaf by yourself. Sneaking piece after piece in your pantry to avoid your littles seeing you. I’m just going to jump straight to the recipe: because we all know that’s why you’re here!

Enjoy from my kitchen to yours! Recipe yields one loaf or 12-14 muffins.

pumpkin bread 2

Ingredients:

  • 1.5 cups sugar
  • 2 eggs
  • 1/3 cup water
  • 1/2 cup oil (I used avocado, but feel free to use a coconut or canola)
  • 1 cup pumpkin purée
  • 1 3/4 cup AP flour (for the GF crowd, I use a 1:1 gluten free flour and it turns out perfect every time!)
  • 1 tsp. baking soda
  • 1/4 tsp. baking powder
  • 1/2 tsp. salt
  • 1/2 tsp. cloves
  • 1 tsp allspice
  • 2 tsp. cinnamon

Method:

  1. Preheat oven to 350. Spray a loaf pan with nonstick cooking spray.
  2. Mix sugar + oil together, then add in eggs and pumpkin.
  3. Sift spices with flour, then add.
  4. Add water. Mix until combined.
  5. Bake 1 hour or until a cake tester comes clean from the center of the loaf.
  6. Let cool 15 minutes before removing from the pan, then allow to cool completely before cutting.
  7. Serve with coffee or ice cream. Enjoy!


pumpkin bread 3

Be sure to tag me on Instagram if you make this recipe @girlmeetskitchen and use #girlmeetskitchen 

Try these other favorite breakfast recipes:

Every Day Pancakes
Baked Apple French Toast

The back to school shuffle is real! Any parent can attest to the very real change in routines and schedules when the kids start school again…which can sometimes lead to less time for meal planning. If this is you: rest easy! This is a recipe round-up of some simple + delicious meals from breakfast to dinner in partnership with Roth Cheese.

IMG_8939

I don’t know about you, but I tend to stick my emotional head in the sand when back to school comes around each year. It’s so easy to feel overwhelmed by the never ending, on-the-go schedules when fall arrives.

This year, I decided to take matters into my own hands and create an environment in the kitchen and house that was decisively celebratory…especially when it came to packing lunches and planning meals. This meant creating a fun environment when we packed lunches. We crank the tunes and include the kids, which inevitably turns into a kitchen dance party. Making the potentially mundane memorable was exactly what we all needed to kick the back to school blues away!

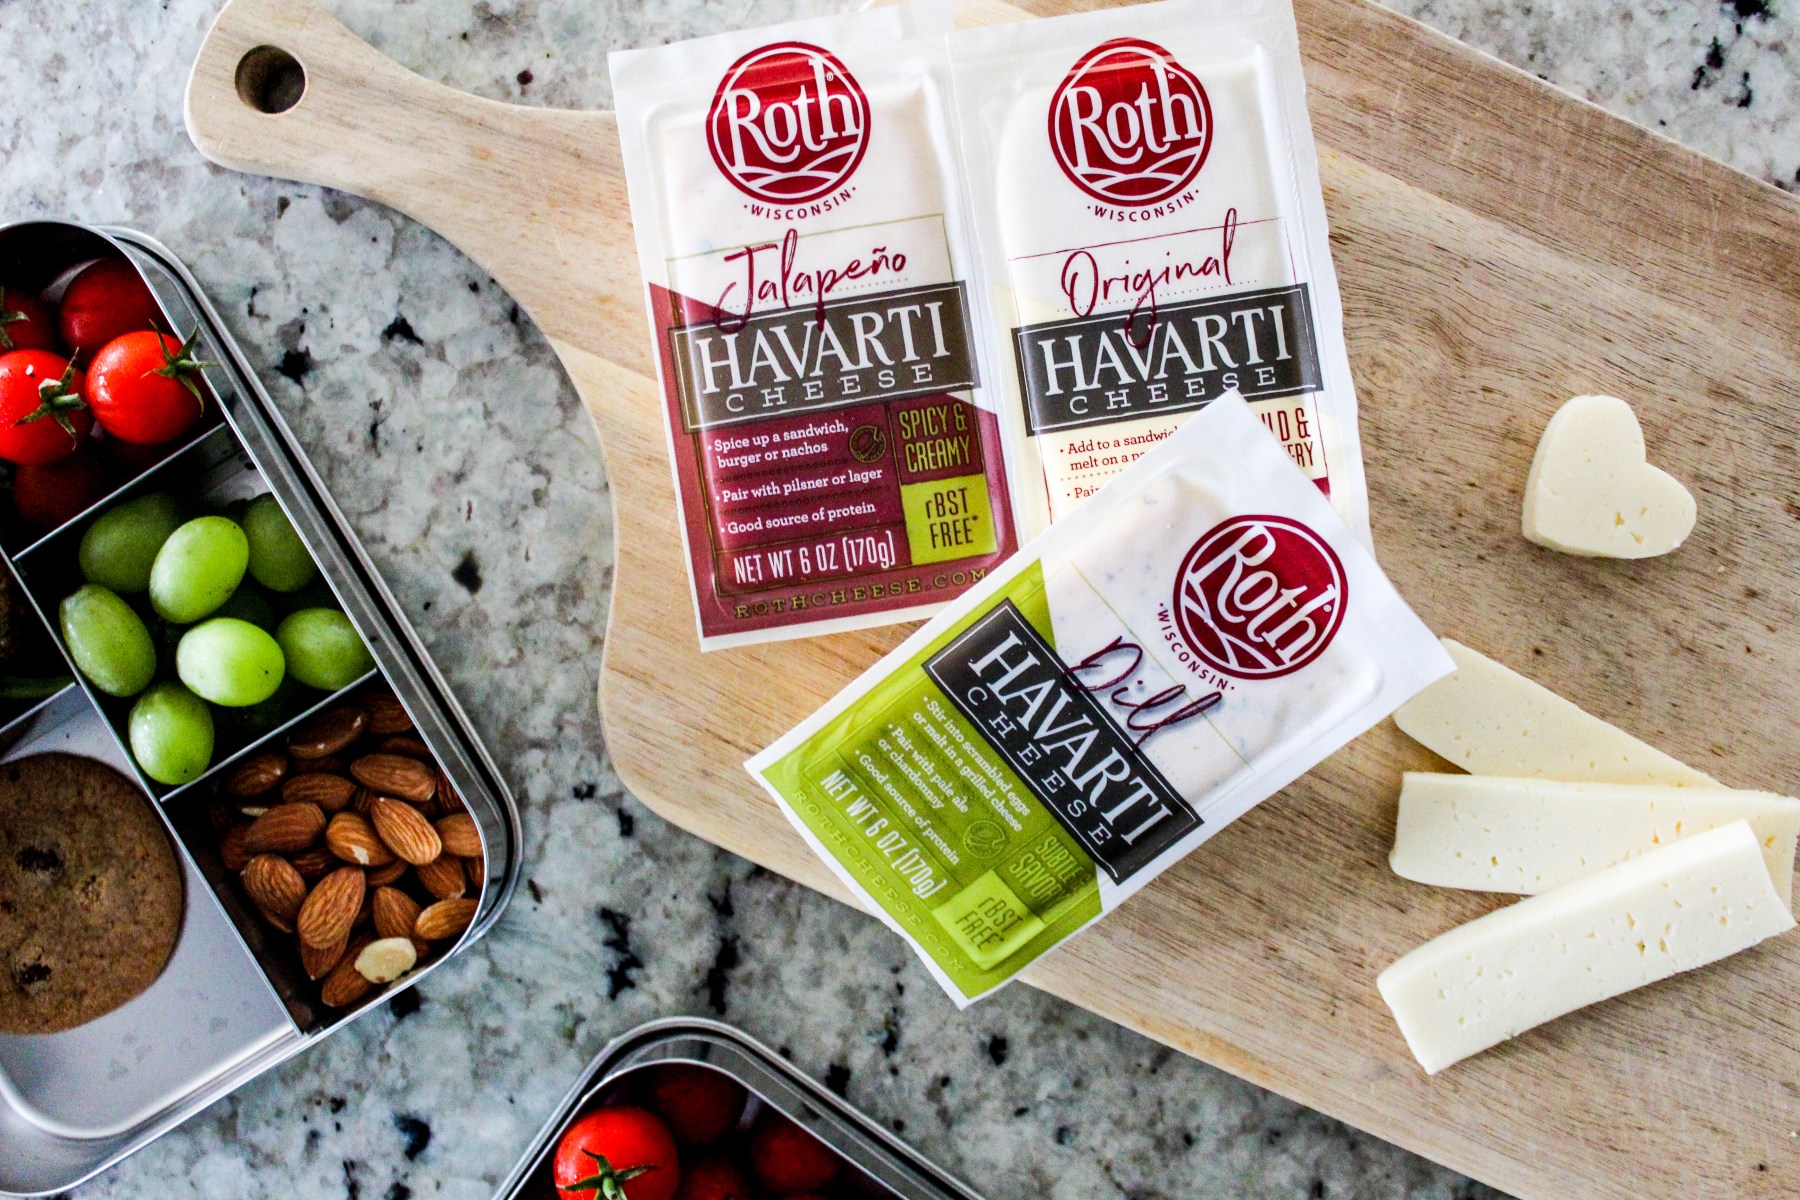
Here are a few recipes to add to your meal planning this month, featuring Roth Havarti cheese. They have a variety of Havarti cheeses from mild to bold and spicy that are sure to add the perfect depth of flavor to any meal!

Now: let’s get to the recipes…


Breakfast: Cheesy Dill Grits with Blistered Onions + a Jammy Egg

Roth: Dill Polenta Breakfast bowl

I’m a big fan of savory breakfast, and a warm bowl of cheesy grits made with Roth Dill Havarti topped with blistered onions and a jammy egg hits the spot. This cheese pairs well with just about everything, but brings such a unique flavor to creamy grits that satisfies you long into the late morning hours. Recipe serves 2.

Ingredients:

  • 1/2 cup grits
  • 1.5 cups chicken stock
  • 1 tsp salt 
  • 4 oz Roth Dill Havarti, shredded
  • 2 eggs
  • 1/2 red onion, sliced
  • 2 tbsp. EVOO (extra virgin olive oil)

Method:

  1. Add 2 eggs to a small saucepan and cover with room temp water. Bring to a boil and turn the stovetop off. Let sit for 5 minutes and 50 seconds. Drain and set aside to cool slightly.
  2. In a small skillet atop your stovetop, add 2 tbsp EVOO and add the sliced onions. Cook 8-10 minutes or until the onions are slightly crunchy but not blackened.
  3. Meanwhile, in a separate medium saucepan, add chicken stock, grits and salt and bring to a boil. Turn heat down and let simmer for 5 minutes, stirring occasionally. Turn heat off and stir in the shredded dill havarti. 
  4. Divide the grits between 2 bowls and top with the crispy onions and one peeled jammy egg cut in half. Enjoy!

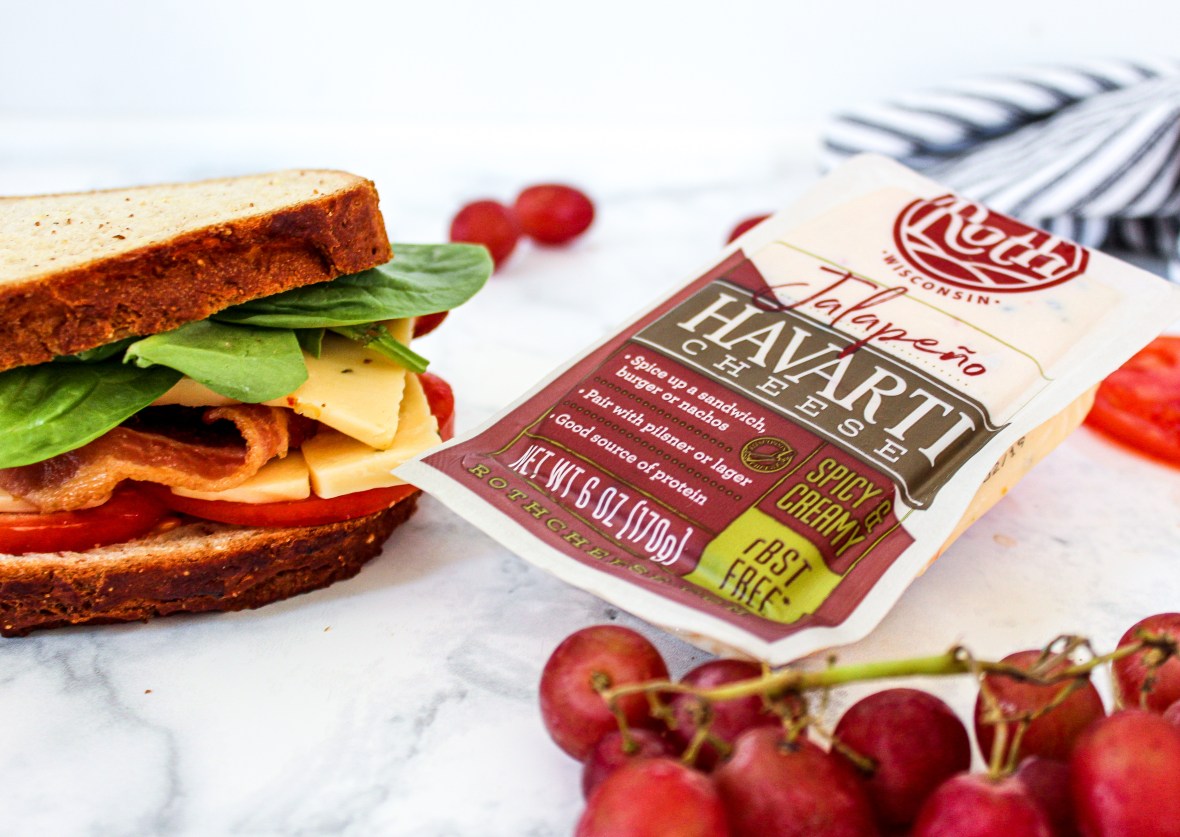
Lunch: Jalapeño Havarti BLT

Roth: Jalapeno BLT

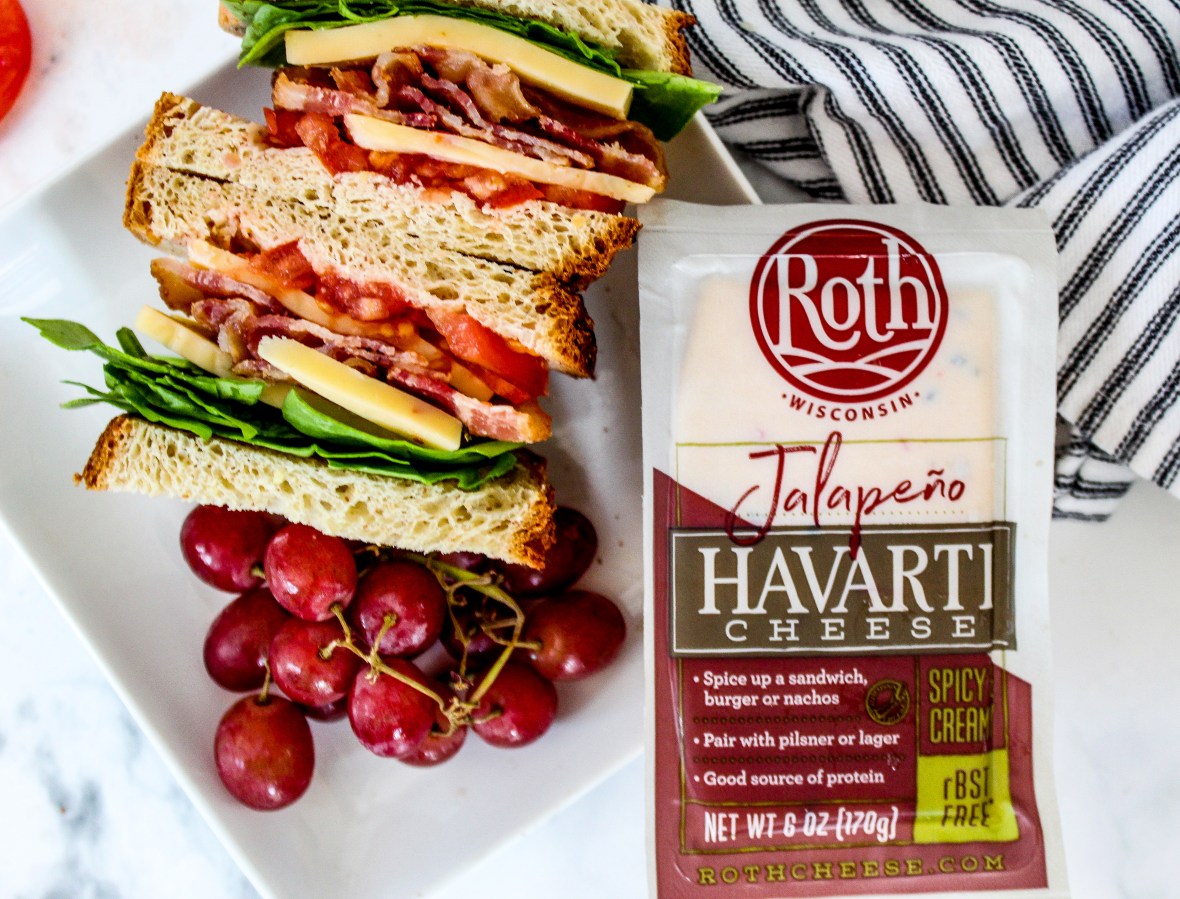
We pack our girls a lunch every day, and sometimes it’s easy to get in a rut. Changing up a traditional sandwich option like a BLT by adding Roth Jalapeño Havarti turns an everyday lunch into a delicious surprise. The Havarti is so creamy that there’s no need for any mayonnaise, which makes it easier to pack for littles.

We make our bacon in the oven and refrigerate the leftovers, which makes prepping meals like this one so simple. Substitute spinach for regular lettuce for added vitamins and fiber. Recipe yields one sandwich.

Jalapeno havarti BLT

Ingredients:

  • 2 slices of your favorite bread
  • 3 slices of cooked bacon
  • 2 slices of tomatoes
  • 6 thinly cut slices of Roth Jalapeño Havarti
  • 8-10 spinach leaves

Method:

  1. Pretty simple here: layer the ingredients between two pieces of bread. Cut in half. Enjoy!

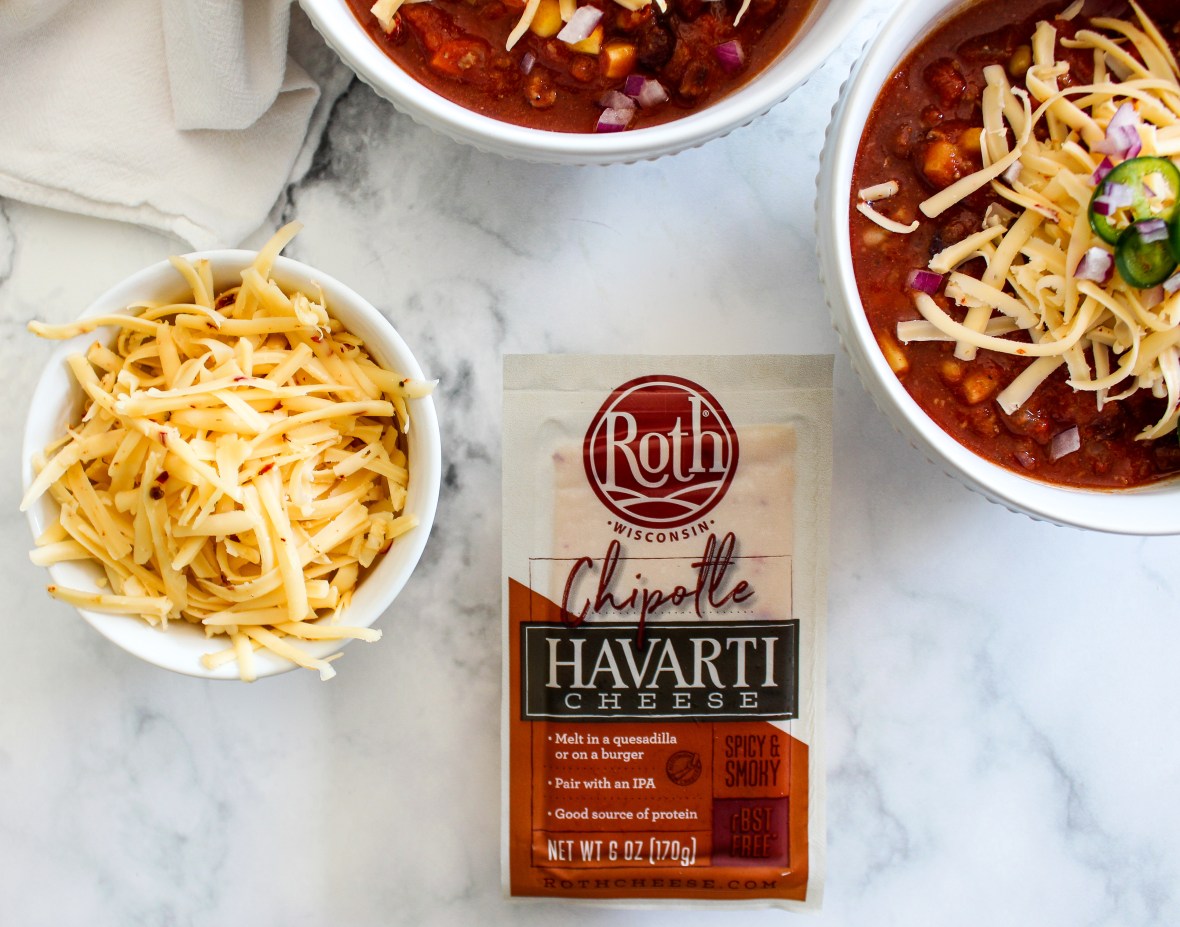
Dinner: Hearty Chili with Chipotle Havarti

Chipotle Chili: Roth

Don’t get me wrong, these are all mouth watering recipes. But this one…she’s the prom queen. My family requests this recipe the most of anything I make. And I love that it’s loaded with so much goodness like sprouted beans and lentils, fresh vegetables and 3 different kinds of beans. My husband requests it with grass-fed beef, but I typically make it vegetarian. Either way…it’s a quick and delicious flexitarian meal everyone will love!

It’s especially tasty topped with Roth Chipotle Havarti. The smoky notes of the cheese compliment this hearty bowl of chili so well, and the pairing was a total “When Harry Met Sally” moment. Or for you younger generations, consider it that moment when Hermoine Granger and Ron Weasley finally paired up in “Harry Potter.”

This recipe makes a very large stockpot of chili – which is my preferred way to make it. However, I know many of you are asking for make ahead or little prep meals, and this can most definitely be made in a crockpot! It will also yield you at least 3-4 meals for a family of four, plus it freezes and reheats well…. I mean, what more can you ask from a recipe?

Answer: nada.

Roth: Chipotle Chili

Ingredients:

  • 1/2 bag sprouted bean and lentil medley (I use Tru Roots)
  • 15 oz each can of kidney, pinto and black beans, including the liquid
  • 1 large yellow onion, finely diced
  • 4 stalks celery hearts, diced
  • 4 large carrots, diced
  • 1 bag frozen corn
  • 1 lb. grass-fed ground beef (I use 85/15 blend) optional
  • 1 x 28 oz. can diced tomatoes
  • 4 x 15 oz. can tomato sauce
  • 5 tbsp. chili powder. (Every chili powder is different. This will make the flavor of the chili and I’ve grown to love Target’s Simply balanced organic chili powder.)
  • 1 tbsp. onion powder
  • 1/2 tbsp. garlic salt
  • 1 tbsp. pure maple syrup or brown sugar
  • 2 cups beef or chicken stock
  • Roth Chipotle Havarti cheese, shredded (don’t skimp here!)

Optional toppings: fresh or canned jalapeños, cilantro, green onions.

Chipotle Chili: Roth 2

Method:

  1. Brown the beef with the diced onions, celery and carrots until the beef is cooked throughout.
  2. Cook the sprouted lentil/bean mix per the directions on the package on the stovetop in a medium saucepan.
  3. If making this in a crockpot: add the browned beef and cooked vegetables plus cooked lentil/bean mix into the crockpot with all remaining ingredients. Stir well and cook on low for 8-10 hours.
  4. If cooking in a stockpot on the stovetop, brown the beef and vegetables, then stir in remaining ingredients – including the cooked lentil/bean mix. Simmer on medium low to low heat for 45 minutes to an hour, stirring occasionally.
  5. Dish out into bowls and top with all the shredded chipotle havarti cheese.

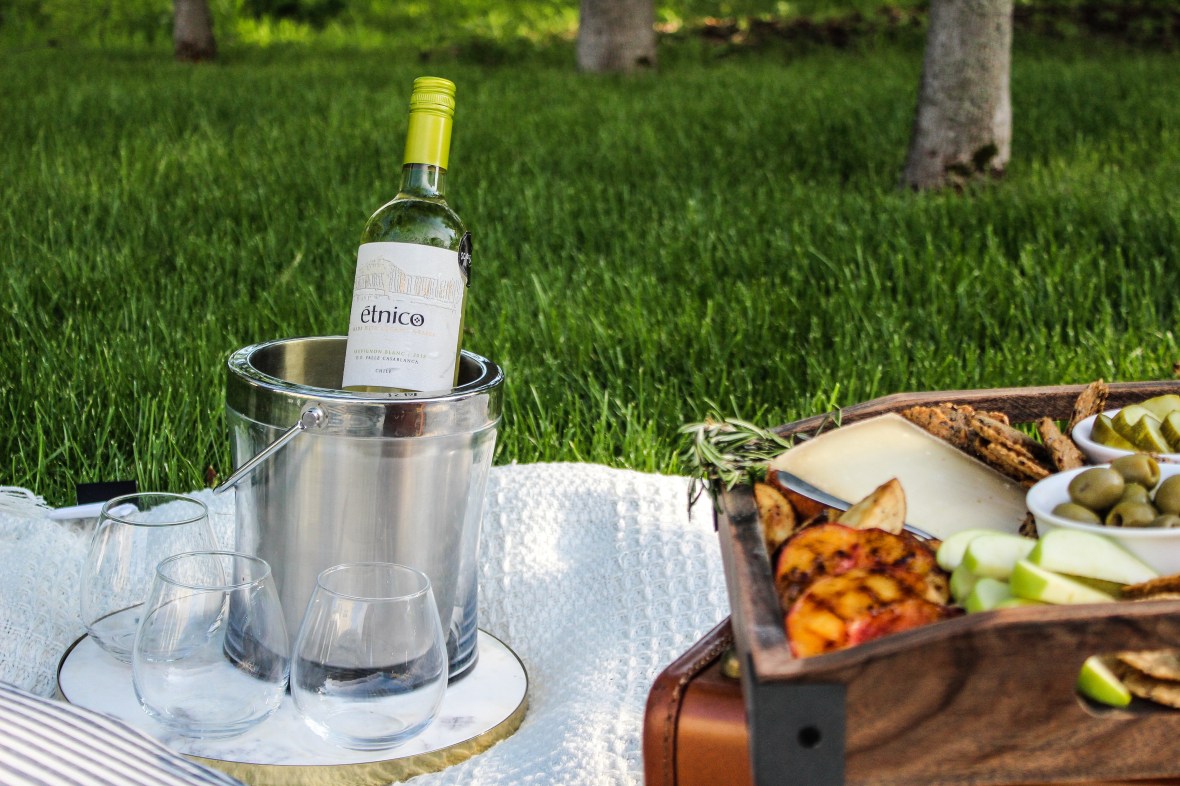
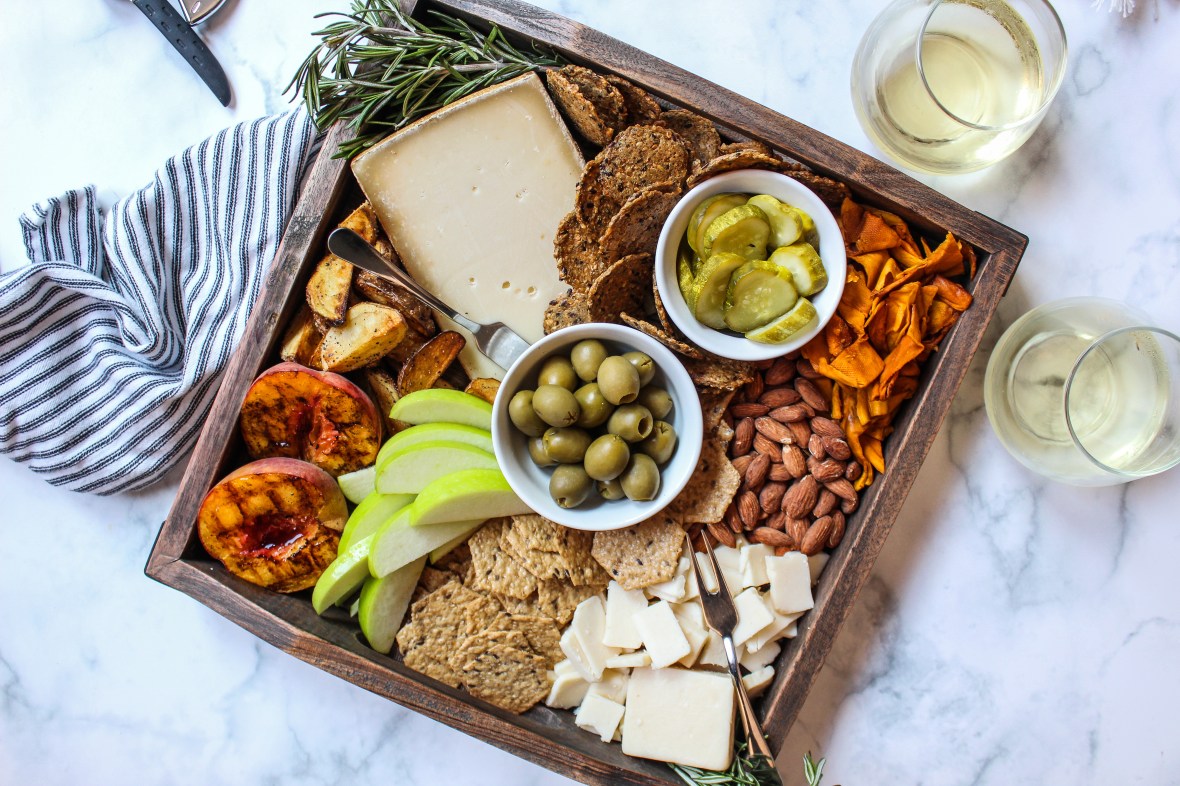
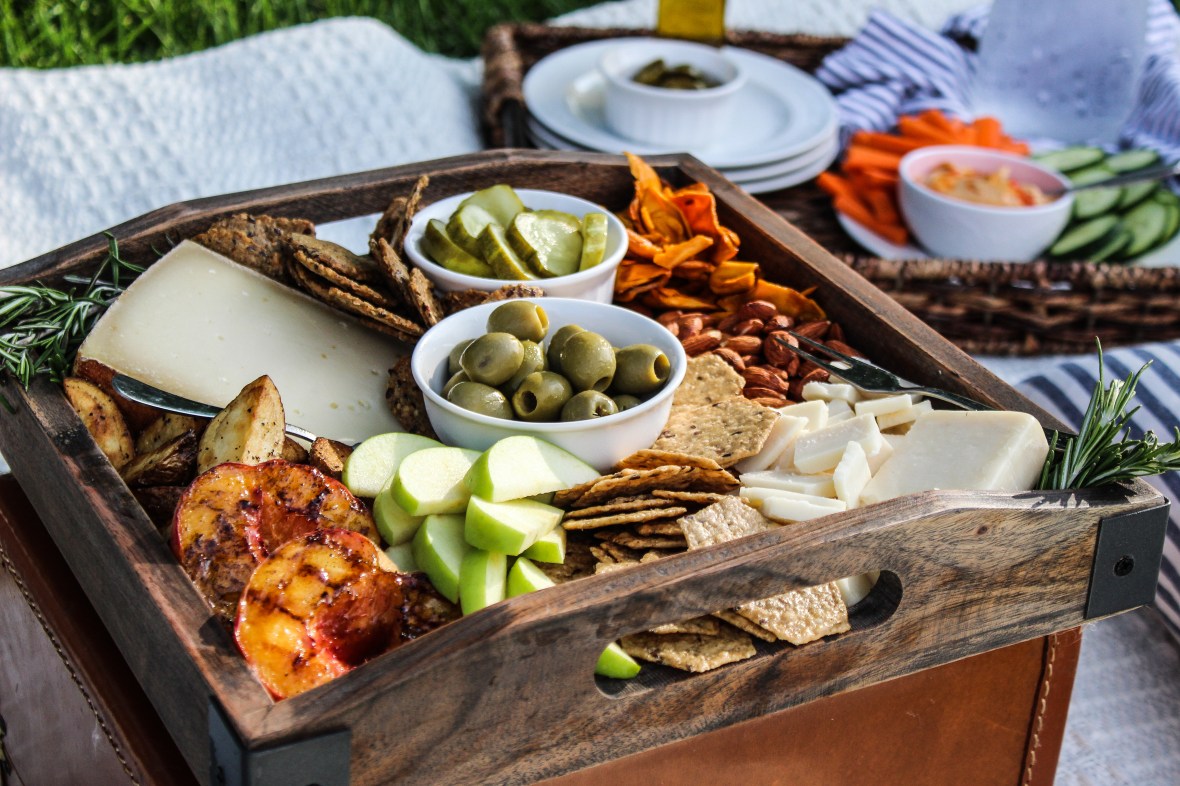
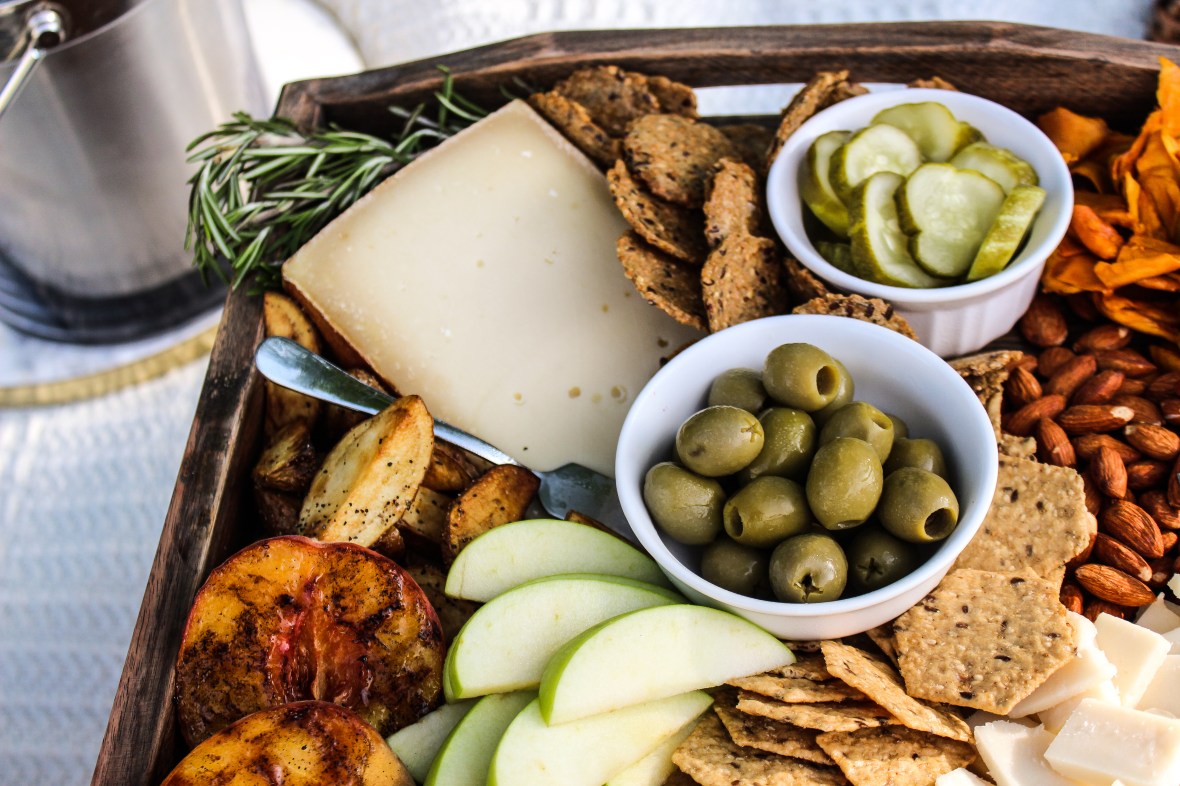
MOOOOOOOM: What’s for SNACK?

IMG_8940

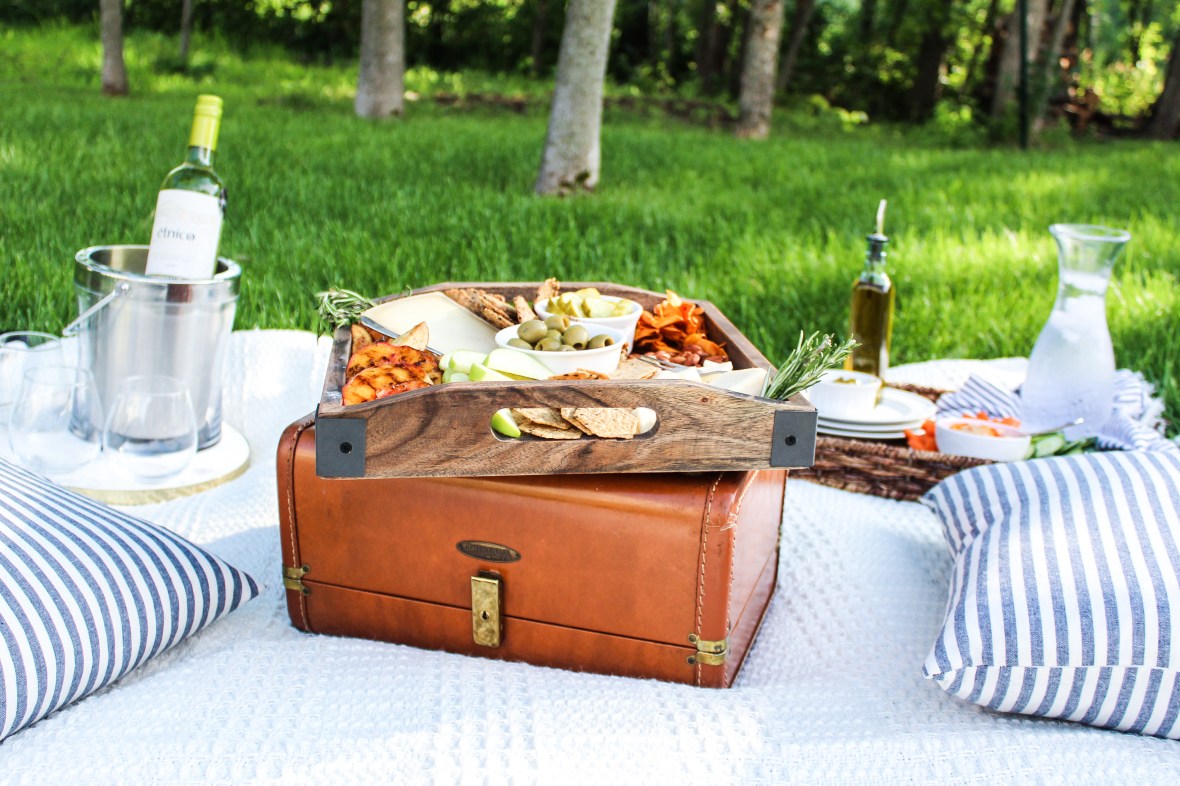
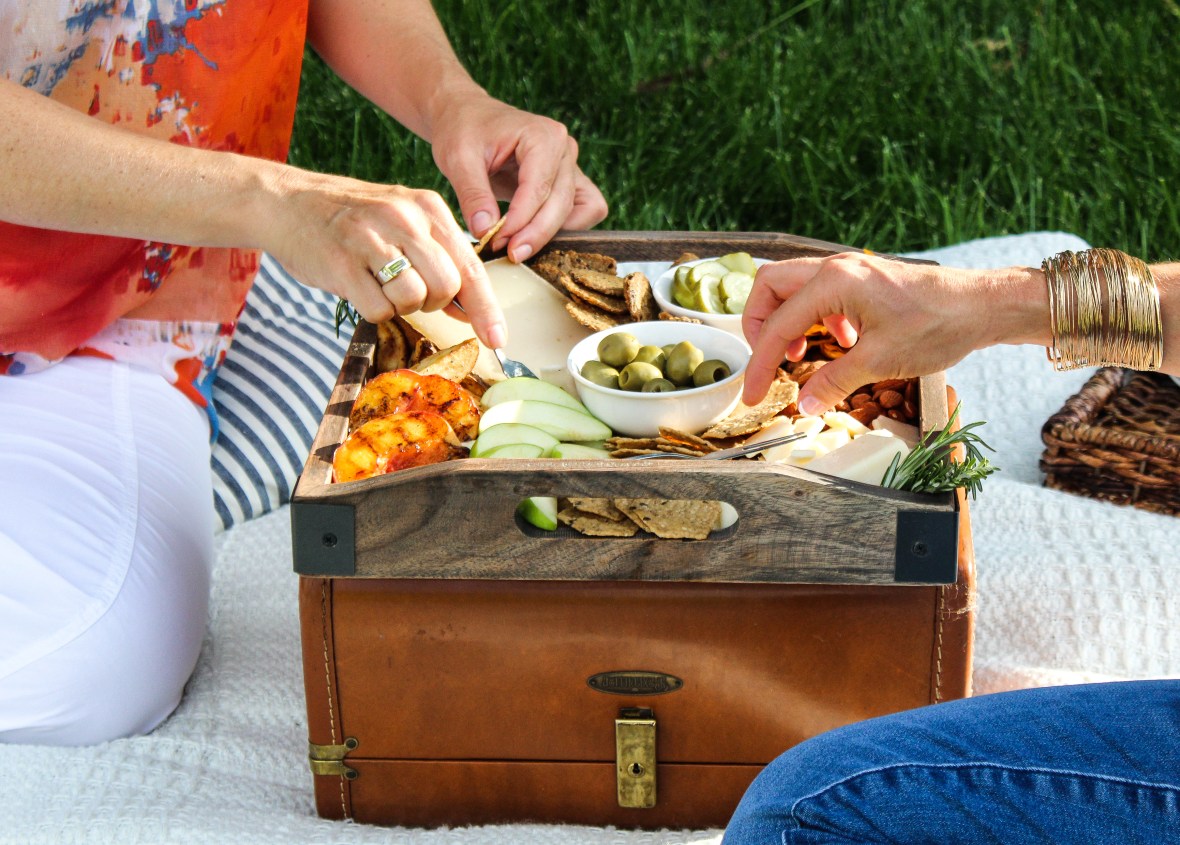
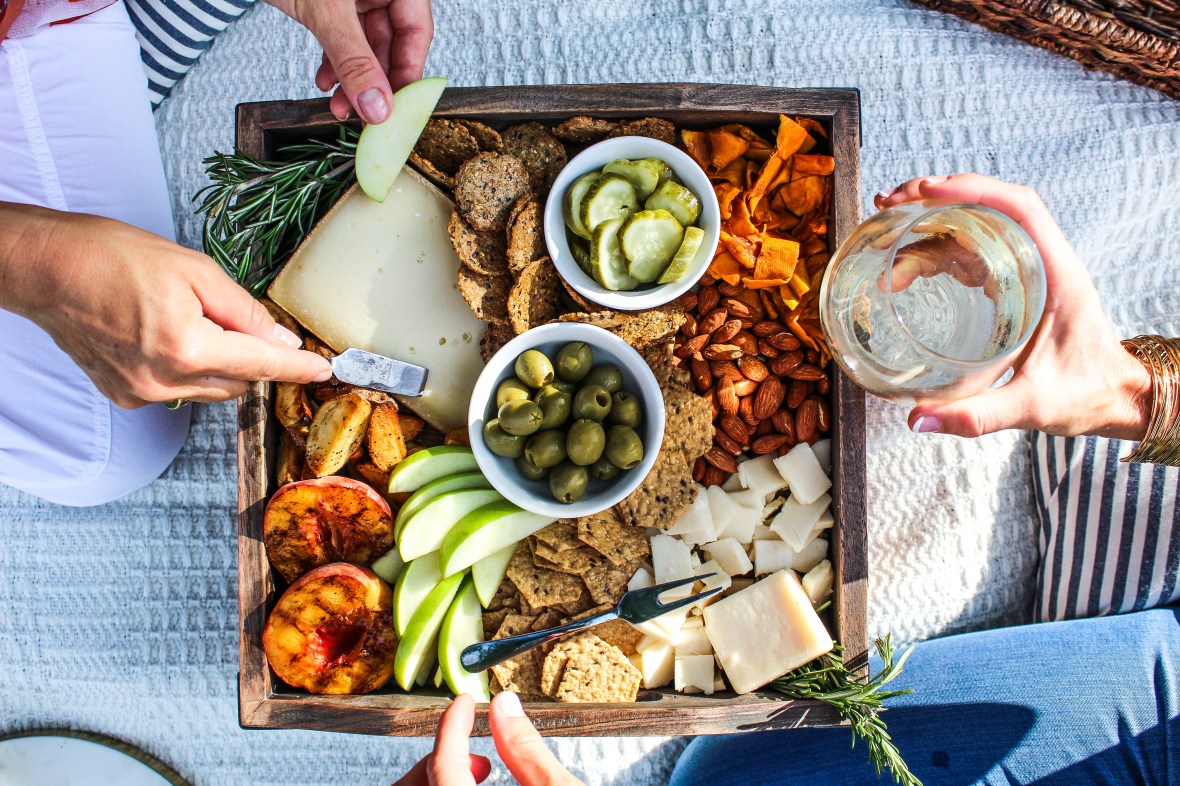
Cheese and crackers, cheese and apple slices, cheese and veggies, a miniature kid’s-sized cheese board…treat them like they’re miniature versions of you. I want to raise humans who eat more than chicken fingers and fries (time and a place for these too, though!) so I continue to introduce all foods to my girls as often and regularly as possible. Spices, bold flavors, unique combinations…they will try them all (even if they don’t like them yet!) 

Not every meal will be gourmet…but the most important thing is that every meal will be made with love. I firmly believe there is a reason for food being a big part of life: it brings people together. And that, my friends is where the magic happens. When you’re gathered together around the table with people you love. Some of the fondest memories I have are in those very moments.

From my kitchen to yours, wishing you a very memorable and smooth transition back into the school year.

To grab your very own Roth cheeses, visit their site to locate the retailer nearest you!


*This post is sponsored by Roth Cheese, but the recipes, opinions and immense enjoyment of the food is 100% my own.


Fermentation is one of my very favorite ways to experiment in the kitchen. From a wild yeast sourdough, to fermented vegetables from the garden to kombucha. The entire process is a lesson of time, patience, the right ingredients – and much like in life, varies greatly based on the conditions of the environment.

We’ve been discussing all things kombucha this summer over on my Instagram. Giving you a re-cap of how to make it yourself would be great…but I thought it would be even better to give you a cocktail utilizing your homemade kombucha!

Making kombucha at home really is quite simple. It’s also cost effective versus paying $4-5 per bottle on store bought kombucha. You’ll need a few supplies, some readily available ingredients and a SCOBY.

SCOBY is an acronym for Symbiotic Culture Of Bacteria and Yeast. Put bluntly: it may look disgusting, but its the living home for the bacteria and yeast that transform sweet tea into tangy, fizzy kombucha. The SCOBY bacteria and yeast eat most of the sugar in the tea, transforming the tea into a fizzy, slightly sour fermented (but mostly non-alcoholic) beverage that is relatively low in calories and sugar.

The recipe I followed with a few tweaks can be found on the kitchn’s site. From there, I was given a few tips and tricks from the help of my friend, Laurie.

IMG_8501

Tips for making kombucha:

  1. I use a 1/2 organic green tea + 1/2 organic black tea combo for a fizzier kombucha.
  2. Once your kombucha has fermented the appropriate amount of time and flavored, bottle them in long neck bottles to prevent it from going flat.
  3. Your fermentation process will vary based on the climate in which you live, and also the humidity levels and temperature of your home. A cooler, less humid room will slow the fermentation process. Because of this, begin checking the flavor at the 7 day mark. The first batch I did took 13 days to reach my desired flavor. For a sweeter kombucha, ferment for a shorter duration. For a more tangy kombucha, ferment for a longer time.
  4. Don’t use any steel or metal objects when fermenting, stirring or straining the kombucha. Using metal increases the chance of killing off the good bacteria necessary for the process.
  5. Refrigerate the finished kombucha once bottled to slow the fermentation process down. Note that it will continue to ferment even after it’s bottled.
  6. After the initial ferment, I use roughly chopped fresh fruits, vegetables or herbs in large mason jars and allow it to ferment an additional 2-3 days covered with a paper towel and rubber band.

28347AD6-9FDF-443B-8483-5F12AA1A4931

Ingredients + Tools needed for Kombucha:

  1. Black and Green tea
  2. Sugar
  3. SCOBY. I bought mine from my local co-op but amazon also sells them.
  4. Fermentation jar. I purchased this one from amazon for $15, which also includes a cheesecloth and rubber band for the top.
  5. Long neck bottles. I purchased this set of 4 from amazon for $18.99. Ikea also has some for $2.99 each.
  6. Funnel. I purchased this duo from amazon for $6.99.
  7. 2 cups reserved already made or store bought kombucha.

Margarita recipe

IMG_8469

I love spicy margaritas! The spicier, the better. This packs a good punch, both from an infused tequila, as well as from the strawberry jalapeño kombucha. You can certainly tone it down by using a plain tequila if you’d like.

The kombucha is infused with 2 diced jalapeños and 6-8 diced strawberries to one large mason jar for 2-3 days. It’s by far my favorite kombucha flavor I’ve made to date. For a less spicy version, infuse it for 1 day. Be sure to include the seeds as the capsaicin is what brings the heat.

To infuse your tequila, grab 8-10 peppers you’d like, be it jalapeños, serranos or habañeros. Slice them into halves and put them in the tequila bottle and let them work their magic. A good infusion takes place anywhere from 7-10 days, but you can get some good kick in as little as a day.

From there, you’ll just need a couple limes and some sparkling water. I’m not one for overly sweet margaritas with sugary mixes. This one is the perfect balance of spice, acidity and the slightest touch of sweet from the strawberry in the kombucha. Recipe yields 2 margaritas. Enjoy!

IMG_8471

Ingredients:

  • 4 oz. infused or plain silver tequila, divided
  • 4 oz. strawberry jalapeño kombucha, divided
  • Juice of 2 limes, divided
  • 4 oz. lime sparkling water, divided.

Method:

  1. Grab 2 tall glasses, rims lined with salt + filled with ice.
  2. Pour 2 oz. each of the infused tequila and kombucha over ice in each glass.
  3. Add the juice from one lime to each cocktail.
  4. Top with 2 oz sparkling water. Give each a light stir. Cheers!


You’ve asked and I listened! Here’s a round-up of some of my favorite wines. A mixture of rosés, reds, and whites (including bubbles!) that range from affordable to splurge-worthy.

IMG_8182-2

  • It’s no secret that I love a good rosé…it’s always the first section my eyes go to on the wine list. More often than not, I prefer a European vineyard – but not necessarily from France as one would imagine. A few years ago I discovered Austrian rosés are my jam! Dry, crisp, and sometimes reminiscent of a rosé and a sauvignon blanc mixed because they are citrus forward. My very favorite is Rosé Zweigelt Vintage 2018, Blauer Zweigelt.

    Cost: $12 at Total Wine.

    Separately, I love this canned rosé. In my previous post about hosting a girls night in on a budget, I told you about 
    the most amazing organic wine from Scout and Cellar on hand sent to me via my beautiful friend, Becca (it can be ordered here.) This is one of their offerings and I’m digging it for summer days, poolside!

    Cost: $35 for a 4 pack (but wait for their sales like I did!)

  • When celebrating anything, I love a good bubbly option. And when I drink bubbles, it’s usually just that: celebrating a special occasion…so I splurge a little. On our recent 10 year anniversary trip to Sonoma, we visited Gloria Ferrer winery and we both fell in love with their Extra Brut Reserve Cuvée. It’s very dry and not sweet, which I love.

    Cost: $50 (members of their wine club receive discounts!)

  •  On the same said trip, we found the most lovely family run winery called Troika. I’m normally not a red person, but all of their reds are beautifulWe ended up subscribing to a mixed case, including this Grenache. Even my husband loved their reds, and he’s definitely not a red drinker. All of them are lovely, so try them all!

    Cost: $40 (members of their wine club receive discounts!)

  • Sauvignon blanc is my OG wine. This Étnico Sauvignon Blanc from Chile is bright, acidic, super crisp and so lovely. It’s now a favorite of mine. Also from Becca (it can be ordered here.)

    Cost: $24

IMG_7408

There you have it! Some of my favorite wines.
What are you drinking that you love right now? Cheers from my kitchen to yours!

Motherhood, wine and cheese have to be synonymous…don’t you think? Add summer to the mix and VIOLA! You’ve got yourself the perfect ingredients for hosting a girls night in. What’s more: no babysitter required if they bring over their kids to run around and play together with your kids. Moms get to connect and the kids tucker themselves out in the fresh air catching frogs + fireflies. I call that a mom win!

There is something to be said for a warm summer evening alfresco spent sipping wine amongst friends. The magical golden hour that seems to linger on forever is the perfect ambiance for hosting an outdoor soirée. Using this ambiance brings an element all of it’s own to hosting, and throwing something together that compliments the scene doesn’t have to break the bank.

This past weekend I hosted such a gathering to share the details with you on how simple it can be, in partnership with my friends at Roth Cheese.

IMG_7363

First, let’s talk ambiance. I grabbed items I already had in our home to bring some charm outdoors: a few throw pillows, a neutral blanket, an antique travel case to double as a table…then set it all up in my backyard. I added a few trays I had as makeshift tables and an ice bucket to keep the wine chilled. Throw in some cloth napkins, plates and wine glasses and you’re all set.

IMG_7353

Now let’s discuss the menu. I created this cheeseboard with a budget in mind! The entire thing was made for just $20. Want to go a step further? It’s all 100% organic!

IMG_7304

The idea is simple: build a stunning cheeseboard for $20 using a combination of store bought items and pantry staples. For this cheeseboard, I used Roth’s Organic Cheddar and Grand Cru cheeses, then built the board around these flavors.

IMG_7391

I prefer to carry color themes throughout my cheeseboards, so I stuck to browns, greens and bright oranges. The finishing touch was some rosemary from my garden for aroma and visual effect.

IMG_7376

I also had the most amazing organic wine from Scout and Cellar on hand sent to me via my beautiful friend, Becca (it can be ordered here.) Organic, clean, sans chemicals and NO HANGOVER – that benefit pairs well with everything!

This Sauvignon Blanc from Chile is bright, acidic, super crisp and so lovely. It’s now a favorite of mine that will be stocked for evenings just like these.

IMG_7408

Just because you’re the host, doesn’t mean you have to front the entire wine consumption cost! If you have friends as lovely as I do – ask them to bring a bottle of wine to the party. My typical rule of hosting a small gathering is to have at least 2-3 bottles chilled or at the ready, and ask friends to bring 1 to contribute as well. They won’t find it rude.

Aside from that, I always have fresh veggies and hummus on hand, so I put a plate of that on the side and let the main star of the show (the cheeseboard) speak for itself. Here’s a breakdown of cost on how I put this together:

The cheeseboard

Grand total: $19.51

Pantry staples

  • Dried fruit. You can use anything here, but I always have raisins, dried apples and dried mangoes on hand. My kids eat them by the fist full. I chose no sugar added organic dried mangoes.
  • Nuts. Same idea here, any nuts will do. Those I have on hand on the regular are pistachios, cashews, almonds and peanuts. Occasionally I have Marcona almonds, which are an absolute favorite on cheeseboards, but I didn’t assume those to be as staple in everyone’s pantry. I selected organic lightly salted almonds. 
  • Fried potatoes. I always have an assortment of potatoes in my pantry. It’s not unusual for me take 1-2 potatoes out in the morning and fry them in avocado or olive oil in a skillet. I used 6 baby potatoes, quartered and fried, then added salt and pepper after they were crisp.
  • Crackers. I feel like this is a staple on every cheeseboard. The crunch is essential in my opinion, and I used an assortment of gluten free crackers that I always have on hand like Crunchmaster and Mary’s Gone Crackers.

IMG_7498

There you have it! An entire girls night in (well…in but outside) on a budget. The takeaway? You can put together a beautiful cheeseboard for $20 or less, provide a couple bottles of wine, but then ask your friends to bring an app or bottle to share.

It’s more about sharing in good company and conversation than it is about spending an arm and a leg. Cheers to curating more experiences that linger and practicing hospitality!

IMG_7426

Winter in the Midwest can be both beautiful and fierce. This winter, we’ve had a particularly intense season that’s brought one winter storm after another, as well as some drastically cold temps. Even though I’ve lived in Minnesota my entire life, winters here still chill me to the bone.

Add to that the amount of sick people everywhere, I’m always upping my game when it comes to boosting my immune system. I’m pretty minimal in my supplements: I take a daily probiotic, and a Spirulina + Chlorphyll supplement. Otherwise I eat a diet rich in fiber and fermented foods and steer clear of GMO’s and antibiotics.

I believe in the power of food – to heal or harm our bodies. I’ve recently been diving into roots + herbs and love the process of learning that nothing on this earth was created by chance or for waste.

Back to this tea…it’s loaded with ingredients that not only make me feel great, it tastes incredible. Just to dig in a little about the tea’s ingredients: Ginger is great for digestion, inflammation and cold and flu symptoms. Apple Cider Vinegar lowers blood sugar, kills harmful bacteria in your gut + lowers cholesterol. Cinnamon has anti-inflammatory properties from the antioxidants + lowers blood sugar. Cloves aid in detoxing the liver + is high in antioxidants. For good measure, I added my daily dropper of CBD oil to really up my anti-inflammatory game.

This tea is a perfect way to warm up, plus the antioxidants are a great aid to my skin on those frigid, dry winter days. It’s even better when sipped beside a loved one. My girls both love this tea…and tea parties will never be the same.

Cheers from my kitchen to yours!

Ingredients:

  • 12 oz filtered water
  • 1 blood orange, juiced + one slice reserved
  • 2 tbsp. Apple Cider Vinegar
  • 2 cinnamon sticks
  • 1 tbsp. cloves
  • 1 tsp. pure maple syrup (optional)
  • 2″ section of peeled ginger


IMG_5343

Method:

  1. Add all ingredients to a medium saucepan, including the slice of blood orange.
  2. Bring to a low boil for 5 minutes.
  3. Strain through a fine sieve and divide between two mugs. Or one large mug should you feel so inclined. Sip. Enjoy.

IMG_5348

IMG_5377

Give me any roasted veggies + I’m an insanely happy woman. Put them in dip form, and the entire house is happy. (Definitely me most of all.) This dip is a nod to the eggplant dip from Black Sheep Pizza in Minneapolis, which never disappoints.

Its creamy, roasted flavors pair well with just about anything.
Especially when consumed sipping a crisp Rosé or Sauv Blanc.

I used large aubergines for this dip, and peeled them to avoid the bitter exteriors. If you use smaller ones, feel free to leave the peels on for added depth of flavor.

We’ll be noshing on this tonight whilst watching the Golden Globes, but definitely making it again in the foreseeable future. Cheers from my kitchen to yours!

img_4431

Ingredients:

  • 2 large eggplants, peeled + diced into uniform sized cubes
  • 4 cloves of roasted garlic
  • 1/4 cup EVOO + 3 tbsp, divided
  • 1/2 jar roasted red peppers + 1/4 cup of the liquid from the jar
  • 4 oz. parmesan cheese, cubed
  • salt + pepper

img_4356

img_4360

img_4366

Method:

  1. Preheat oven to 400. Line a baking sheet with parchment paper
  2. Slice the top quarter of the garlic head off + place in aluminum foil. Drizzle with 1 tbsp of the EVOO + seal. Put it in the corner of the parchment lined pan. Fill the rest of the pan with the peeled + diced eggplant. Drizzle with 2 tbsp of EVOO and salt and pepper. Roast in the oven for 30-40 minutes.
  3. Add the roasted eggplant, red peppers + liquid, garlic cloves, 1/4 cup EVOO + cubed parmesan cheese pieces to a food processor. Puree until you get a smooth consistency.
  4. Place the dip in an oven safe dish and return to the oven for 10-15 minutes.
  5. Remove from oven, drizzle with additional EVOO if desired + serve with toasted bread, chips, crackers or raw veggies.

img_4378

Christmas is one of my favorite times for so many reasons – and as more Christmases pass by, the more intense my focus on creating vivid memories with family becomes. There is no other holiday that stirs up memories of my childhood as much as this one. There were always weekends spent together in my grandma’s small apple studded kitchen baking, where the scents of coffee mixed with baked goods + laughter the main theme song. My grandma’s laugh filled the room, and her love palpable. Her hugs were as warm as the coffee and when she spoke with you, her focus was on nothing but your words.

She was one of the kindest women I’ve ever met.

This recipe for gingerbread is hers – and my mom’s favorite. As the story goes, after I was born (in the middle of summer) my mom’s only request was for my grandma’s gingerbread. She snuck it into the hospital for my mom, and I can see both women enjoying it knowing not a nurse or doctor could challenge them otherwise. When the women in our family put their mind to something – especially out of love – nothing stands in our way. We are a determined bunch.

These can be made as cut outs + decorated per your whim – or for a simpler treat, bake them in a 9×13 pan as bars. A cinnamon frosting slathered atop them is glorious. I used a decorator icing to pipe, and my girls frosted some then topped with sprinkles. They’re also lovely on their own.

For any gluten free bakers, I substituted Bob’s Red Mill cup for cup Gluten Free flour and they turned out wonderfully.

From my kitchen to yours, enjoy baking with those you love this season!

IMG_1677


Ingredients:

  • 1 cup room temp butter (my grandma used shortening. I’m a butter girl.)
  • 1 cup sugar
  • 1 1/4 cup molasses
  • 2 room temp eggs
  • 5 cups AP flour
  • 1 tsp. salt
  • 2 tsp. cinnamon
  • 1 tsp. baking soda
  • 2 tsp. ground ginger
  • 1 tsp. all spice
  • 1 tsp. cloves

For the Royal Icing:

  • 1 lb powder sugar
  • 2-3 tbsp. whole milk
  • 1 tsp. pure vanilla extract (use Mexican Vanilla if you want a pure white icing)

Method:

  1. Preheat oven to 375. Line baking sheets with parchment paper/silpat liner.
  2. Mix the first 4 ingredients well. Add in remaining ingredients and mix until incorporated.
  3. Roll out evenly on a clean surface + cut with your favorite cookie cutters. Repeat with the scraps until all the dough has been used.
  4. Bake cookies 8-10 minutes.
  5. Transfer to a cooling rack + allow to cool completely before frosting/decorating.
  6. Mix the icing by combining the three ingredients until a thick icing is formed. You want it thick enough to avoid running through a piping bag. Add more milk if too dry, more powder sugar if too wet.
  7. Store in a cool, dry place or freeze until a few hours before serving.


IMG_4031-2

IMG_4036-2

Printable Recipe
Printable Recipe

Tacos are most definitely a food group in our home. They’re a regular on the menu every week, and that’s because tacos are an already delicious main on their own – but everyone can customize their meal without leaving me feeling like a short order cook.  From the simplest two ingredient taco to one mounded with 10 toppings, everybody at the table wins.

Whenever we make tacos, I make a few different filling options for the umami ingredient. My girls love shredded chicken, my husband the standard ground beef and I fluctuate from shrimp to veggie on any given week. But tacos are so simple to repurpose into meals for leftovers – be it in a bowl, burrito, quesadilla or salad.

I recently stepped back into eating a primarily plant based diet, and wanted to expand some options in our taco night repertoire. Into my fridge I went seeking out whatever veggies I had and found 1/2 a carton of cremini mushrooms my husband had used to top pizzas a few days prior. I hate wasting food, but quite honestly I dislike mushrooms almost as much. But I was determined to take on a good challenge and I’m so happy with the results.

The mushrooms on their own were great, but pairing them with slow simmered black beans made this one of my favorite new ways to eat tacos…and that’s saying something. Full of umami and flavor – I invite you to make these for even the biggest omnivore you know!

Recipe yields 4 heartily stuffed tacos.

Ingredients:

  • 1/2 carton organic cremini mushrooms, washed + chopped into uniform pieces
  • 1 yellow onion, diced into similar size pieces as the mushrooms and divided in half
  • 2 tbsp butter
  • 1 tsp onion powder
  • 1 tsp garlic powder
  • 2 tsp garlic salt, divided
  • 3 tsp. chili powder, divided
  • 1 can organic black beans – unstrained
  • 1 clove minced garlic
  • 4 tbsp EVOO, divided
  • 5 green onions, chopped
  • Flour or soft corn tortillas, lightly blackened on the stovetop+ all your favorite toppings for tacos (may I suggest avocado, cheese, raw onion, jalapeño peppers, and fresh cilantro.) You do you here!


IMG_2444


Method:

  1. In a medium size sauce pan, pour in the can of black beans + their liquid. Add the chopped green onions + 1/2 chopped yellow onion, minced garlic, 2 tbsp EVOO, 1.5 tsp chili powder, onion powder, garlic powder + 1 tsp garlic salt to the beans. Simmer on low, covered for 1 hour, stirring occasionally.
  2. For the last 10 minutes of the beans simmering, add the remaining 1/2 yellow onion, chopped mushrooms, 2 tbsp EVOO, 2 tbsp butter, 1.5 tsp chili powder + 1 tsp garlic salt to a medium size sauté pan. Sauté on medium heat, stirring occasionally until the mixture becomes a warm brown color + the onions translucent.
  3. Assemble your tacos with equal parts beans and mushrooms, then top with your favorite ingredients. I topped mine with raw red or white onion, fresh avocado slices, cheddar cheese, peppers + loads of fresh cilantro.

*note – I’m a firm believer in using the best quality ingredients that fit your budget. I shop organic as much as possible to both limit GMOs and also enjoy the quality of flavor each ingredient boasts. 

IMG_2449

Gather with the friends, family or people you love most + share tacos together.

Practice hospitality.

Cheers from my kitchen to yours!

IMG_2480

%d bloggers like this: