Gatherhaus Interviews Girl Meets Kitchen

It’s a rarity in life to find myself rendered speechless. Anyone who knows me would no doubt attest to the validity of this statement. The freedom of expression vibe is pretty strongly engrained in my bones; I am Scandinavian, after all!
I had the absolute pleasure of being asked by the two creative minds behind Gatherhaus, Katrina + Danielle to come into my kitchen last week to interview me about Girl Meets Kitchen. I was humbled beyond words to have been asked and the morning quickly crept into midday while we chatted & ate at my kitchen table. The article left me speechless…well I guess not for too long since I am writing about it here.
For those new to Gatherhaus, it is “the enchanting reality of bringing these rare and beautiful pieces together. People, places, art, and food that inspire us and make us chase after dreams of deep, rich community and fulfillment.” Check out the site + subscribe to their updates: Gatherhaus
These women ooze creativity. Katrina is a highly skilled photographer (partnered with her husband, John) in the Twin Cities Studio Laguna Photography, (she also photographed our wedding!) and Danielle collaborates on more creative ventures than I could keep track of while also running a business out of her home. Both women have a passion for all things local, sustainable, creative + have the most amazing hearts. They are mothers, wives, successful business women with a drive to pay it forward & keep rooted in their communities. Did I mention insanely artistic? Because, wow.
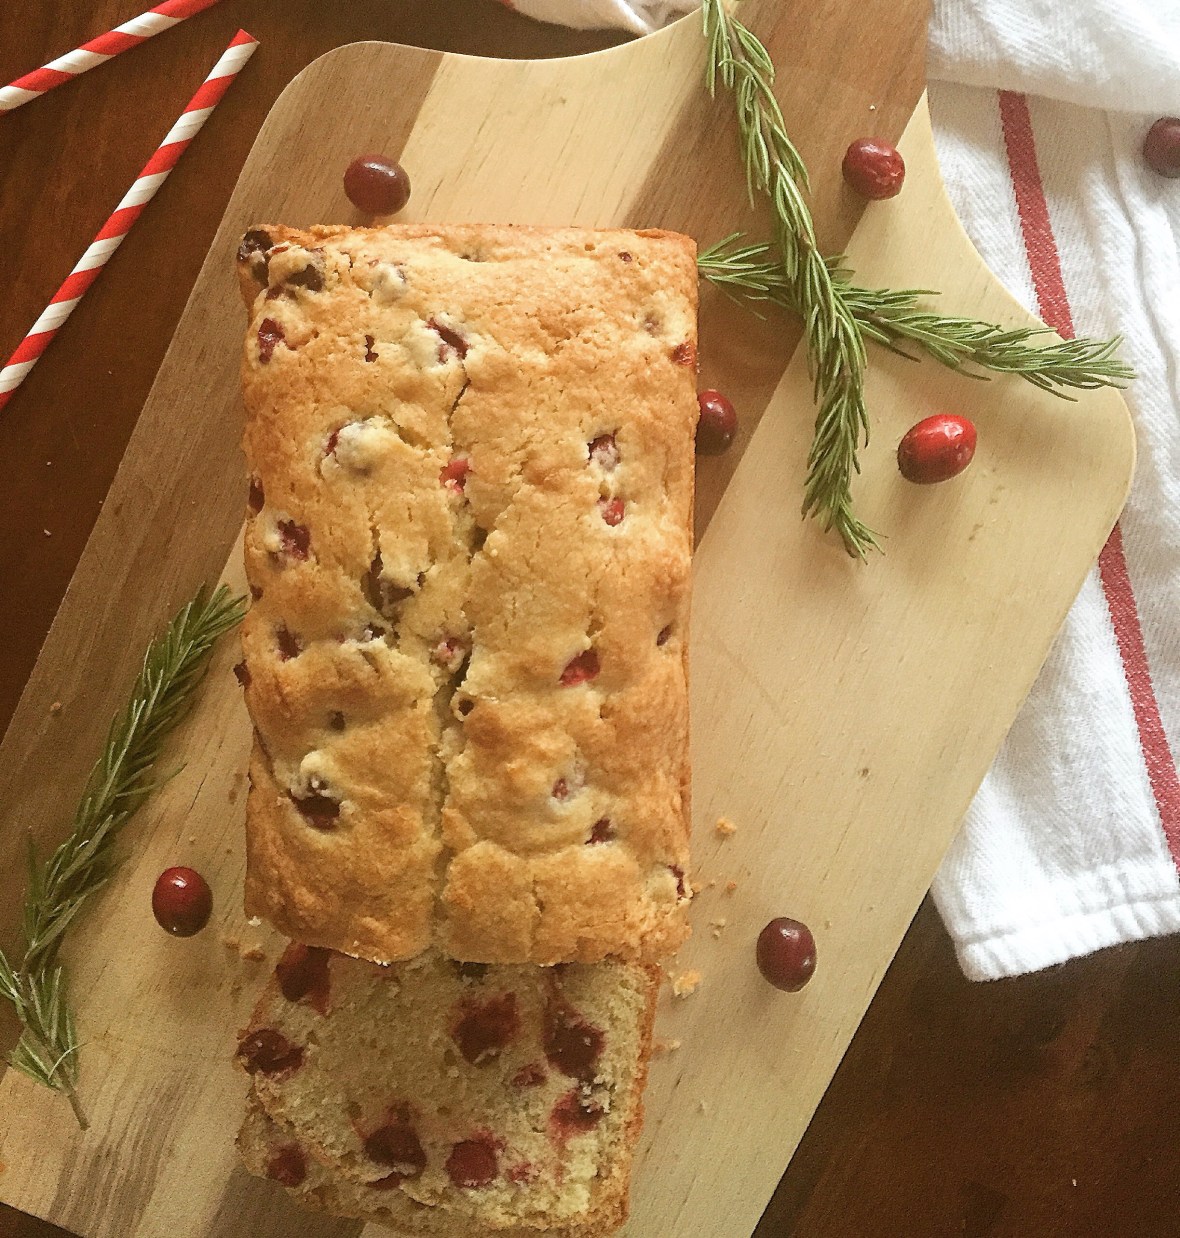
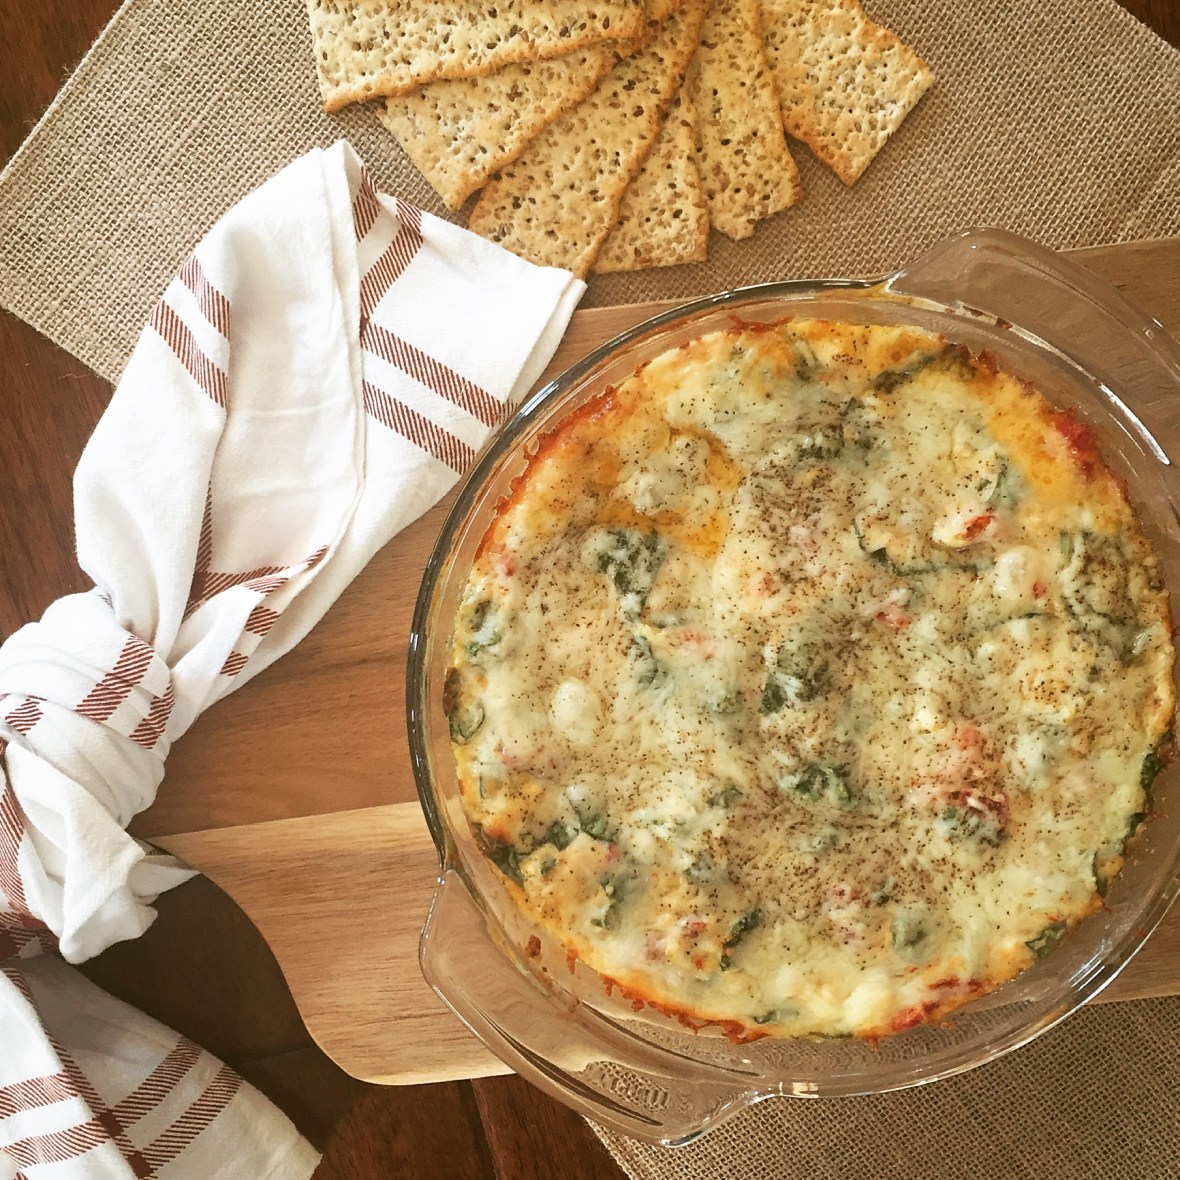
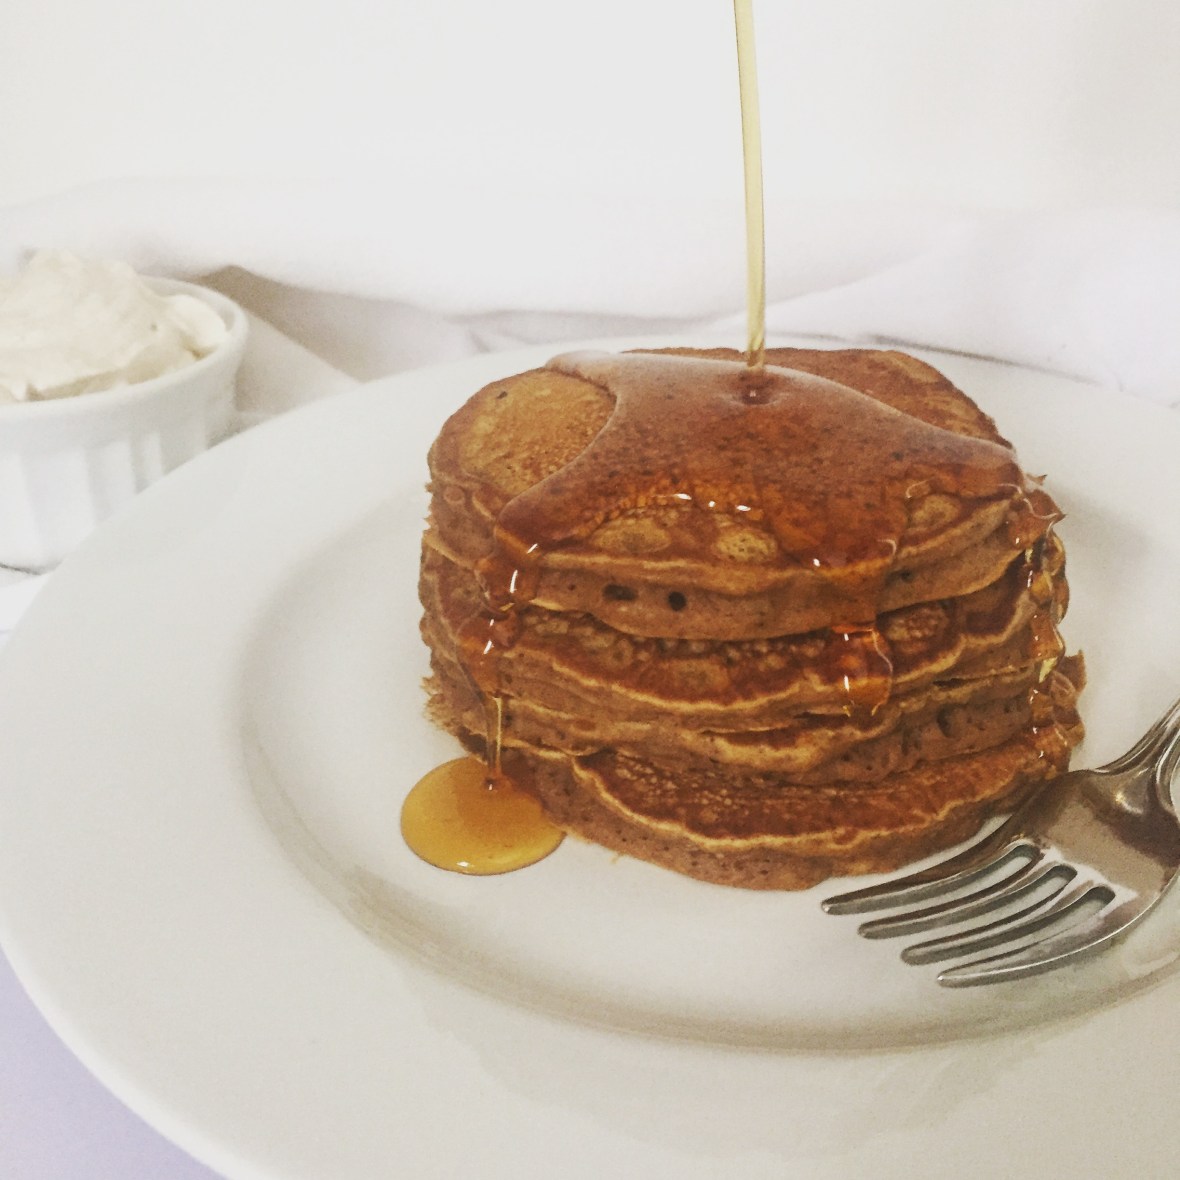
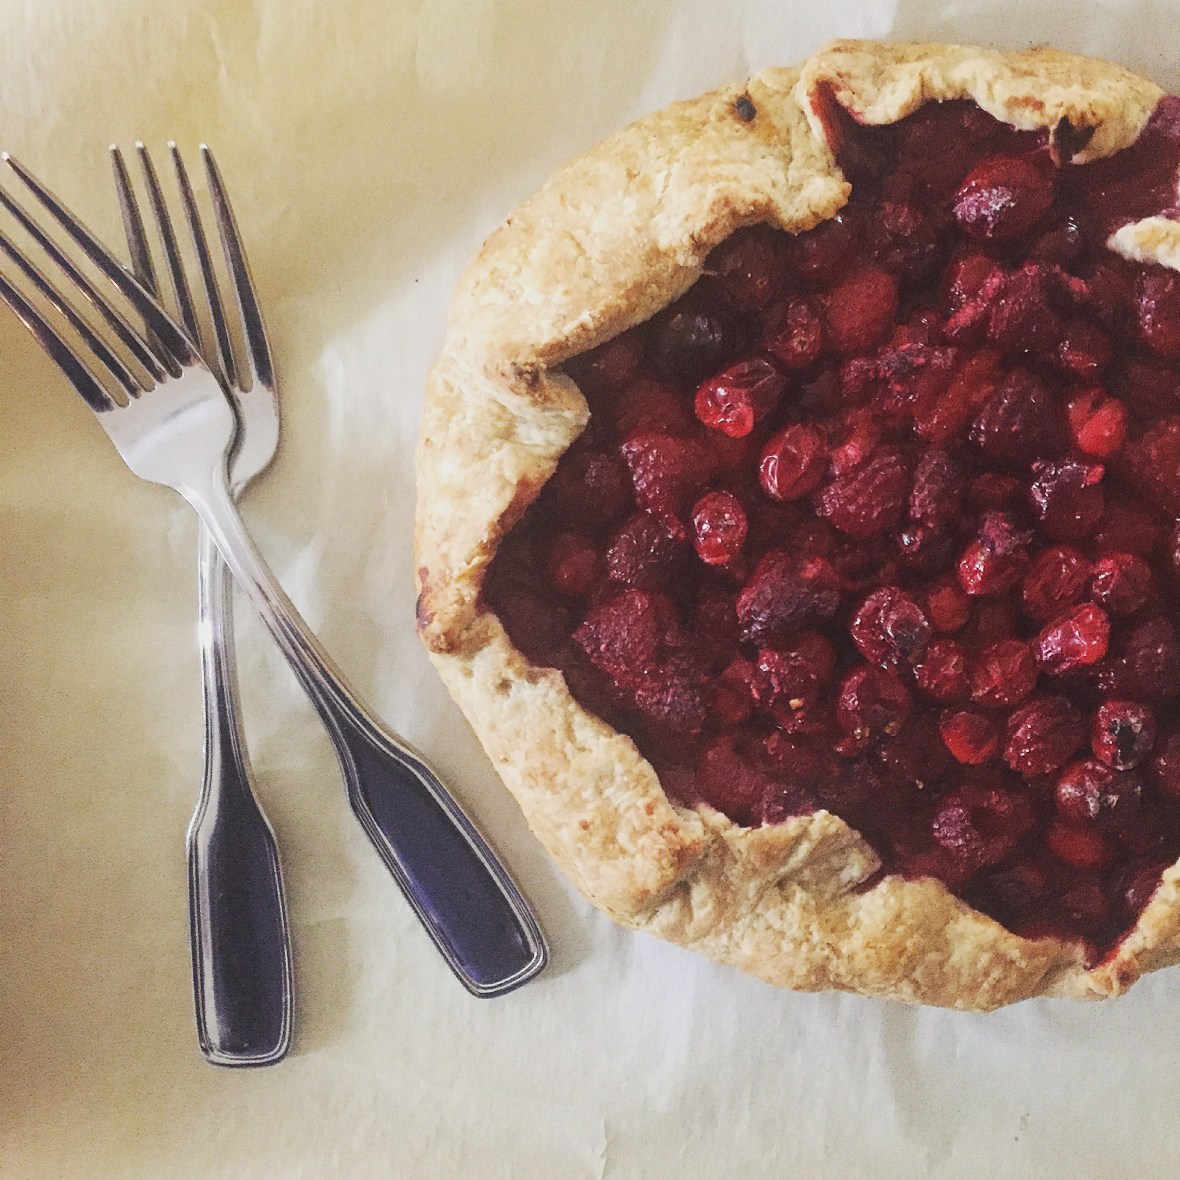
I was honored to have been asked to highlight Girl Meets Kitchen. It was done in such a succinct way and captured my journey through food perfectly. It encompassed everything I feel when I am able to share my recipes in person or over the internet. Thank you, ladies for the company + laughter we shared. It won’t be our last get together!
You can read the article at Gatherhaus Interview – Girl Meets Kitchen.
Thanks for stopping by, and happy cooking from my kitchen to yours!
~Julia